Search
The Renewable Energy site for Do-It-Yourselfers
$1000 Solar Water
Heater -- Collector Construction
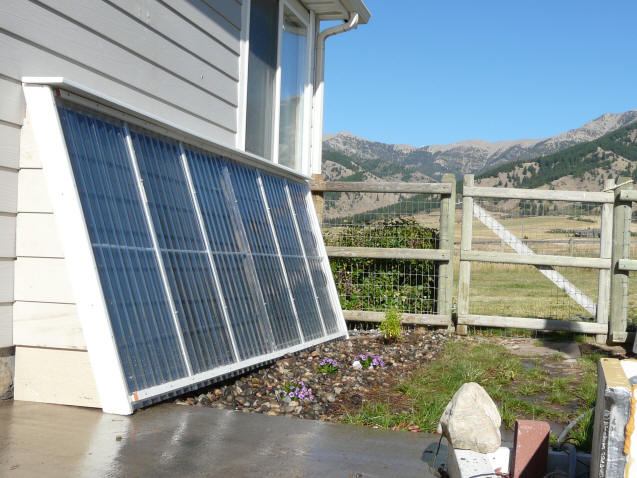
This collector is
a bit unusual because it had to fit within a specific area. Most collectors
are taller than they are wide, while this collector is the opposite to fit
under the window. So, the collector is about 12+ feet wide and 4+
feet high. The PEX collector uses a serpentine tube routing with a
down slope so it they drains back OK. The 12 ft width seemed to wide for
this approach, as a down slope over 12 ft would make the space between tubes to
great on the downhill end. So, I decided to use two serpentine runs, each
one 6 ft wide.
The construction
of this collector is similar to the PEX collector construction described in
detail here...
So, the material
below does not go into as much detail, but still gives a good idea how this
collector is different than the PEX collector prototype. See the above
link on PEX collectors for more construction detail.
The collector is
52 sqft for two people. This is on the high side, and that is intentional.
My thinking is that it is very little more work and expense to make the
collector (and storage) on the generous side and to combine this with a tilt
that is more optimized for winter collection in order to get a higher year
round solar
fraction.
Construction.
Note that the
size, shape, and layout of the PEX (two banks) is quite a lot different than the
PEX collector prototype -- this is an advantage of doing the collector yourself
-- you can make it fit the space you have.
|
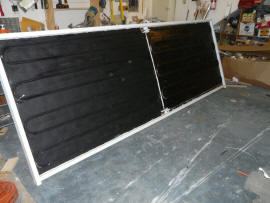
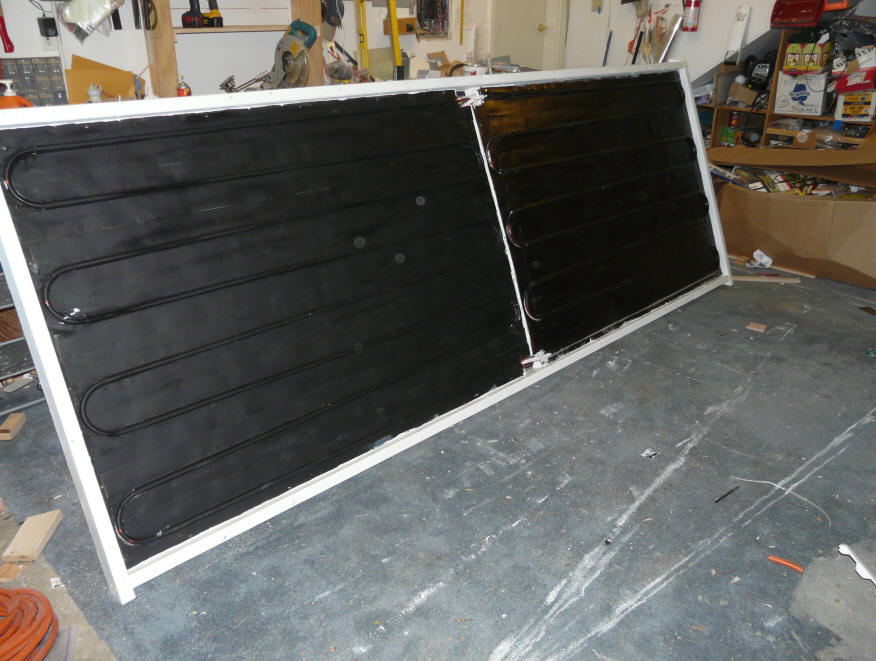
The collector is made up internally of
two separate, side by side collectors.
Each collector has its own serpentine
tubing run that is fed at the lower center,
with the return to tank at the upper center. |
Another view showing the two halves
of the collector with two separate side-by-side
serpentine runs of PEX tubing. |
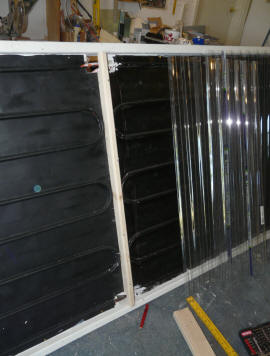
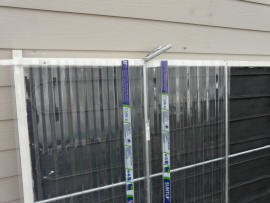
These pictures show the side-by-side
layout for the interior of the 12 ft wide by 4 ft high collector.
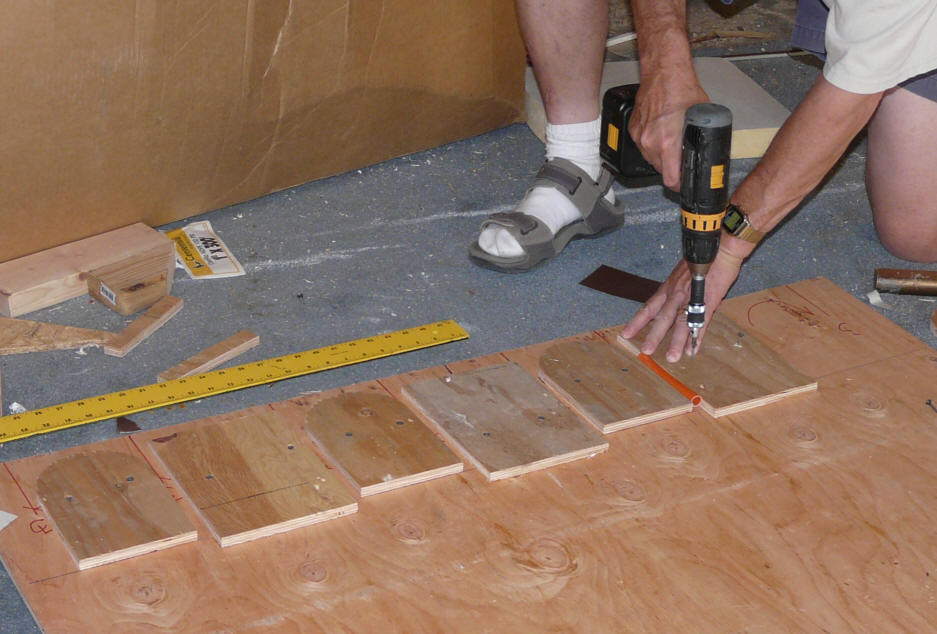
Absorber
These pictures show the construction
of the two absorber boards for the left and right sides of the collector.
This is exactly the same technique as described in detail for the
PEX Collector.
|

Laying out the guides that the
PEX tubing will be bent around. |

Routing the tubing for the 2nd (right) absorber.
Note the mirror image left half
of the absorber in front of it. |
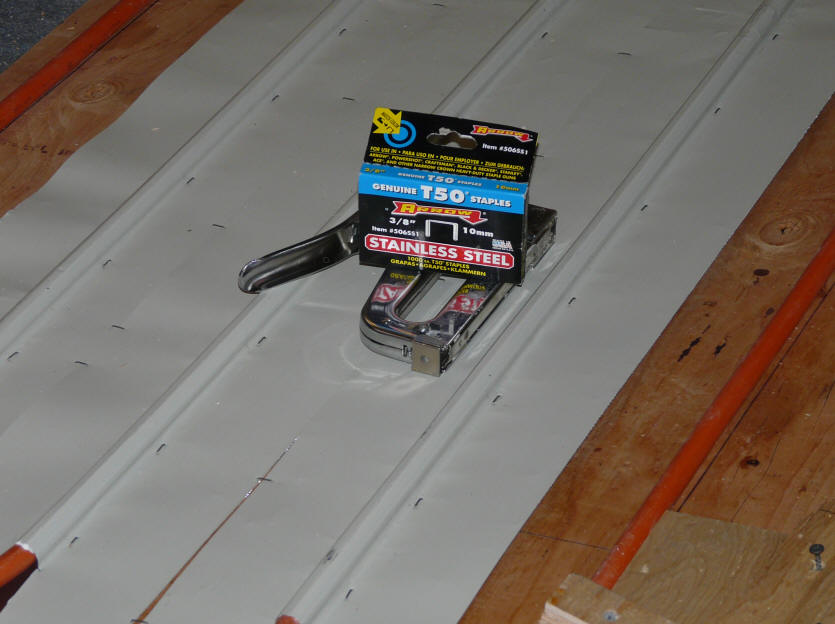
|

Stapling down of the aluminum fins with
stainless steel staples. |

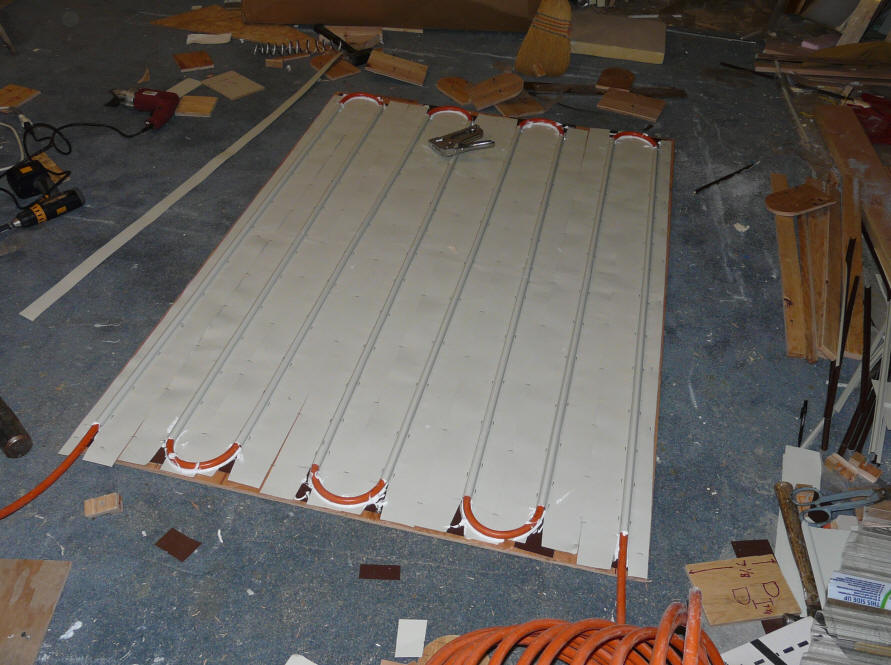
Right absorber board done except for painting.
Note how the aluminum fins are run into
the bend area as much as possible to
increase the amount of area covered by fins. |
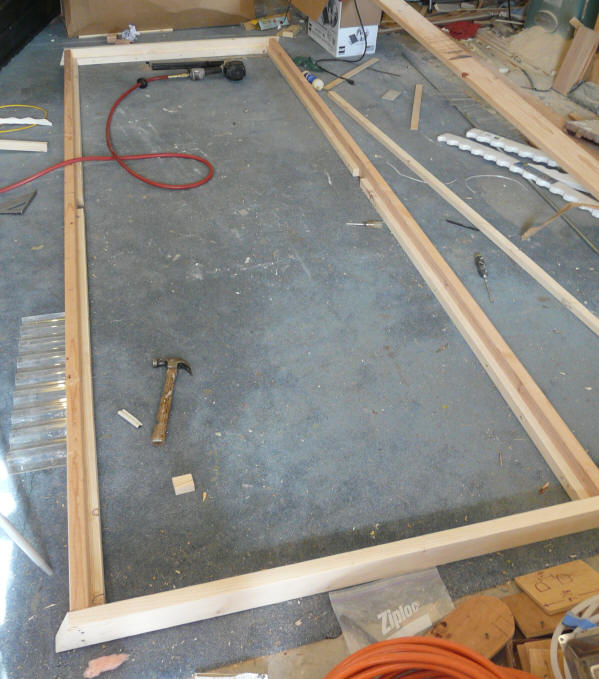
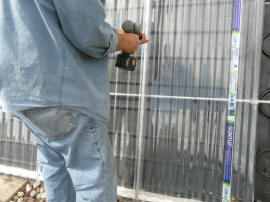
Collector Frame
These pictures show the wide frame that accommodates
both of the two absorber halves.
|
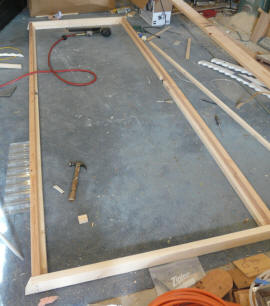
The collector frame. The side rails are
extended and cut off at an angle to
sit directly on the footings that support
the bottom of the collector. |

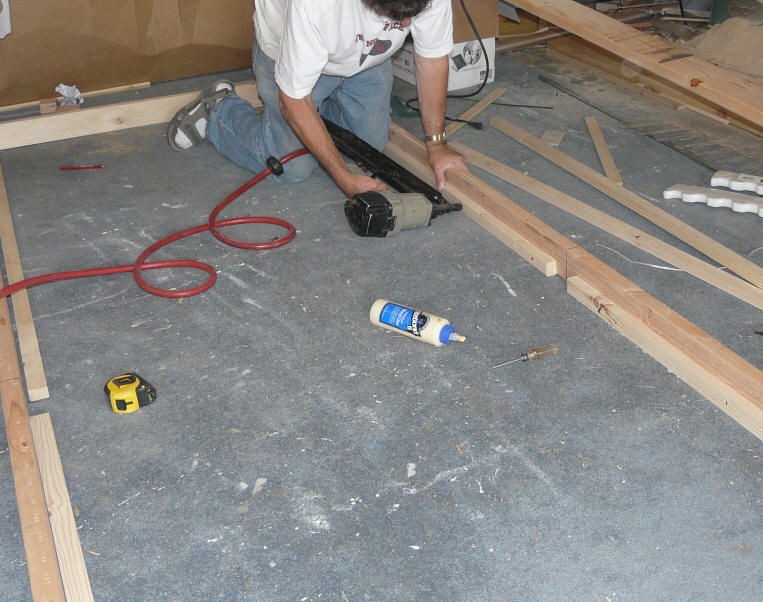
Installing the 1X1 ledger boards that will
support the absorber panels. |
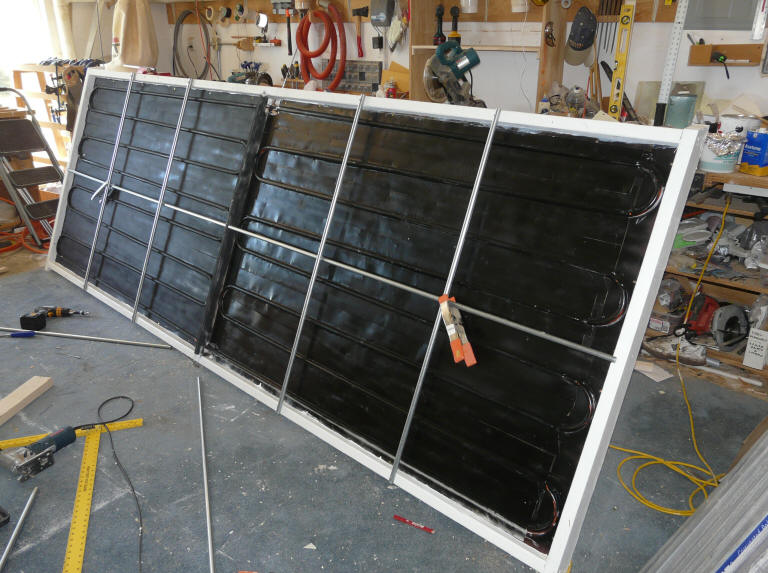
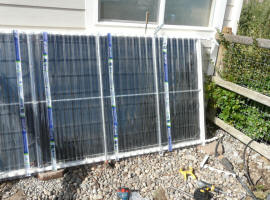
Frame with absorber mounted.
The galvanized EMT conduit provide support to the glazing.
The vertical EMT's run inside a corrugation, and
the long horizontal support runs just behind the glazing.
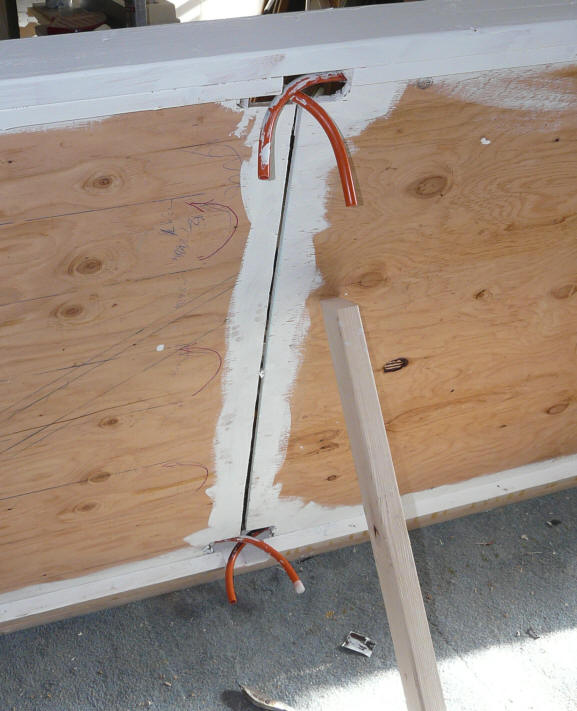
After the collector is installed, an extra wide sill
(of synthetic wood) is installed on top of the collector frame to seal the top
from weather and shed rain.
Plumbing Connections
|
The PEX tubes from the absorber
routed out to the back of the
collector for connection to the
storage tank. |
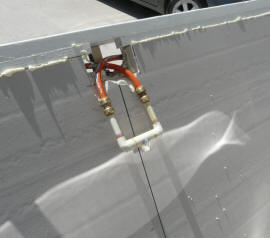
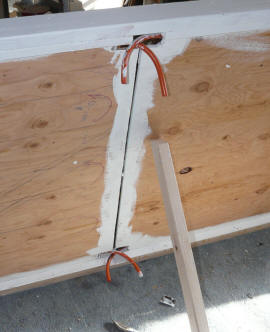
Using SharkBite fittings to make the
transition from PEX to CPVC.
Note that the diameter of this transistioned
from the two half inch PEX lines from the
absorber into a single 3/4 inch CPVC line
that leads back to the storage tank. |
This picture shows how the PEX lines are brought out the back of the
collector to be hooked to pipes leading down to the crawl space and storage
thank just behind the collector.
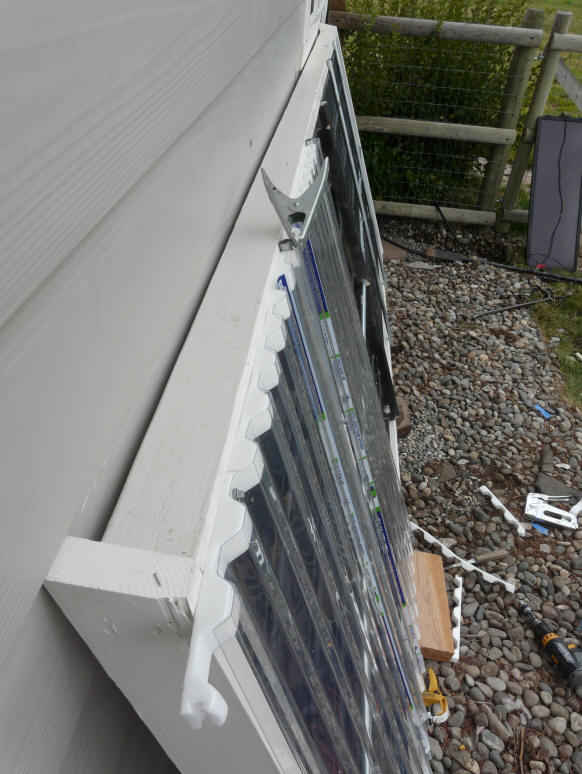
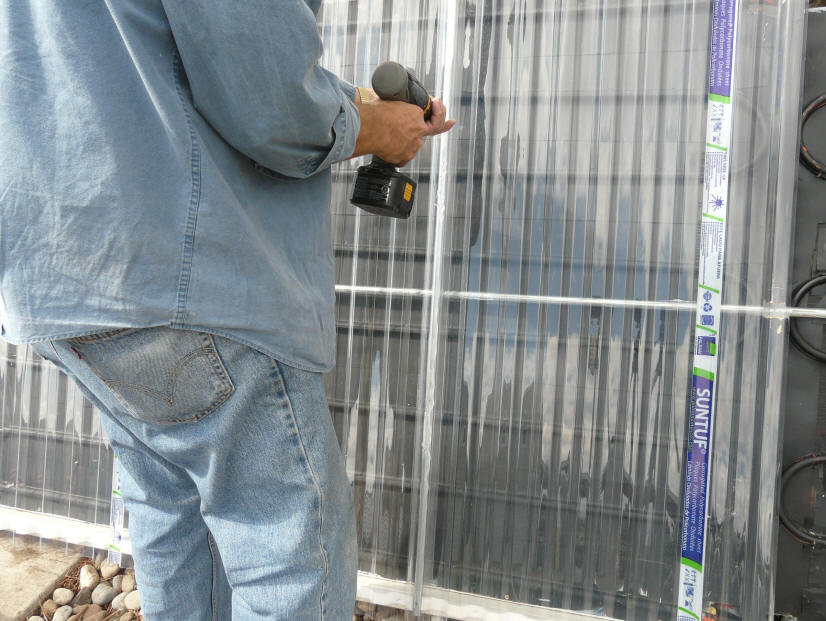
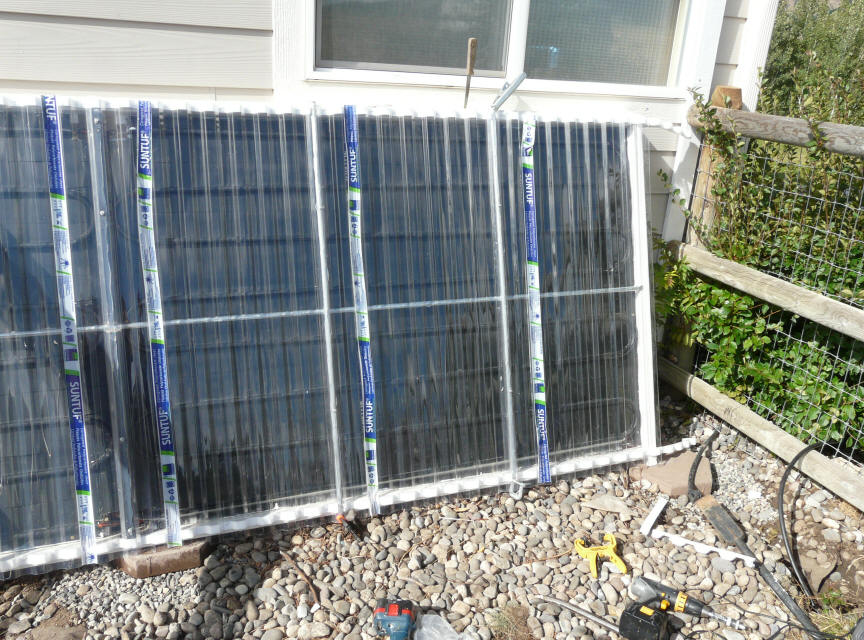
Glazing
|
Glazing panels being installed. |

"Wiggle Strips" close out the top
of the glazing panels. |
|
Securing glazing to the vertical EMT glazing
supports. Use the screws that are
designed for this that have EPDM washers.
Drill oversize holes in the glazing for
the screws so that the glazing can
expand an contract a bit. The screws should
be just snug -- don't mash down the
EPDM washers. |
Completed glazing.
|