Search
The Renewable Energy site for Do-It-Yourselfers
Advanced Tools for
Making Collector Heat Absorbing Fins
-- aka The Mother of All
Collector Fin Presses
While these tools are great for improving
speed and accuracy of making the fins, it is also quite feasible to use
these simple tools
if you are only doing a few collectors, and don't have Tom's machine shop at
your disposal.
| |
Update on Tom's Absorber Plates
Tom has decided to make absorber plates from his press available as a
regular product from his UP Truck Center business.
He offers plates to fit 1/2 inch and 5/8 inch copper or PEX pipe.
Fin length can be customized from 24 to 34 inches. He offers a
"standard" fit as well as a 90% wrap fit. The modified vice-grip
that make it easier to clamp the fins tight to the tubes are also
available.
The prices are very reasonable, and I can attest to the fact that the
plate fit is very good. I think this is a very good option for
anyone who does not want to bother with making fins.
All the details on ordering and from Tom... |
The kind of tools that Tom made would be a
great investment for a solar club or association to support collector making
workshops -- dozens of collectors could be turned out by a team of people in
a single workshop at a cost of around $120 per collector -- this would
result in a payback period of about 2 years! -- even less if your
state has an incentive or rebate program.
Thanks very much to Tom for making these
descriptions available!
Groove Forming Press
Here are some pictures of the absorber molds I've made to stamp out the aluminum
on my shop press. I plan on making a 320 Sq' collector array for my home this
summer, several of these
pool
heaters, and also will need
diffuser panels in
the house. In addition, several guys I'm working with are designing systems as
well.
I started working with my new
absorber material recently. I ordered a 3,000' coil of 8" x .018 "1100" grade
aluminum. This is supposedly more conductive and malleable than the "6061" grade
I believe the soffit aluminum is made with. It bends really nice, yet holds
shape well too. I've enclosed a few pictures I've taken of the absorber and some
more tooling. With a cost per foot on the soffit running about $.62 a
foot, the coil will get the absorber cost down around $.42 a foot, and will only
need to be cut to length.
The press is a lot easier on my body,
not to mention I can press out the panels in about 1/4 the time. I've quoted a
coil of .018" aluminum, 8" wide and 3000' long.
|
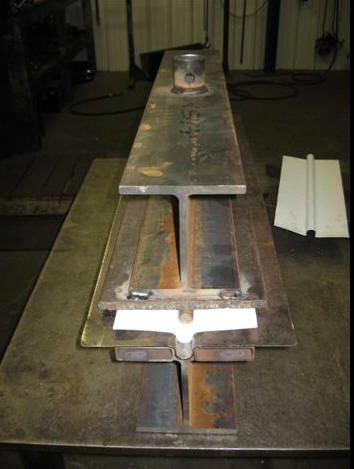
This is the basic groove making tool.
It goes in the press shown in the picture below.
|
|
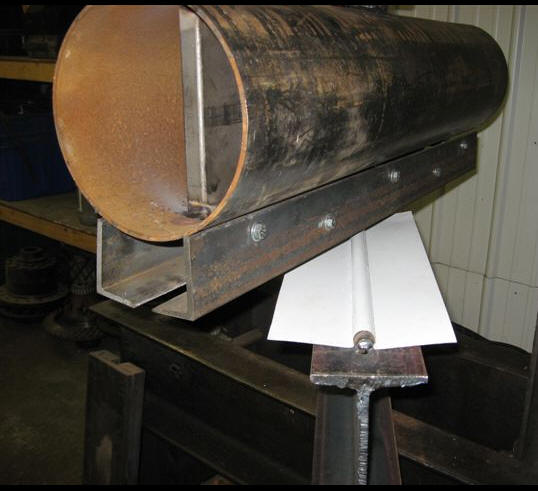
The tool used as the 2nd step in forming
the fin so that it wraps tightly around almost the full diameter
of the copper tube. |
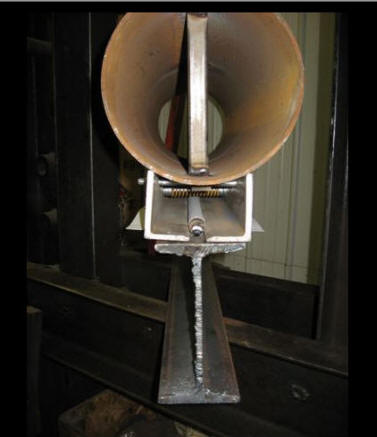
Another view. |
The pressing tools were modified many times to get the version that
works so nicely now. I believe the first molds are pretty self explanatory, and
get the initial shape to the aluminum. The second tool took some time to get
right. I started with three hinges welded to each angle iron and found the press
was stretching the hinges apart. I was also using a flat plate on top of the
angles, but this caused a "scuffing action" as the top of the angles wanted to
move out, and the bottom of the angles pressed the aluminum under the round rod.
I had some pipe left over from the wind turbine tower, and saw it would create a
nice transition area that would naturally push the top of the angles down and
outward at the same time (the bottom of the hinges press in an inward direction
creating the "wrap effect" I'm getting on the absorber). The "hinge point" to
the angles are two bolts in the center of the angles. They have springs on them
to force the lower part of the angles outward at the beginning of the procedure
to clear the widest part of the 3/4" rod (and aluminum absorber). The bolts at
the top of the tool are running through a channel of 1/8" x 1" strap tacked to
the pipe which suspends the angles to the pipe (and ultimately to the top of the
press). As the tool encounters resistance, the top of the angles start to
spread, hinging the bottom of the angles inward. I can run 2 absorbers a minute
through the first tool and 3-4 absorbers a minute through the second tool ( I
can do enough absorbers for 4 panels in a little over an hour).
Fin Installation Clamps
The picture below shows two of the clamps Tom made to hold the fin tightly
against the tubing while the fin is being secured. The tighter the fin
fits over the tube, the better the thermal connection between the fin and
tube, and the better the performance of the collector -- very nice!
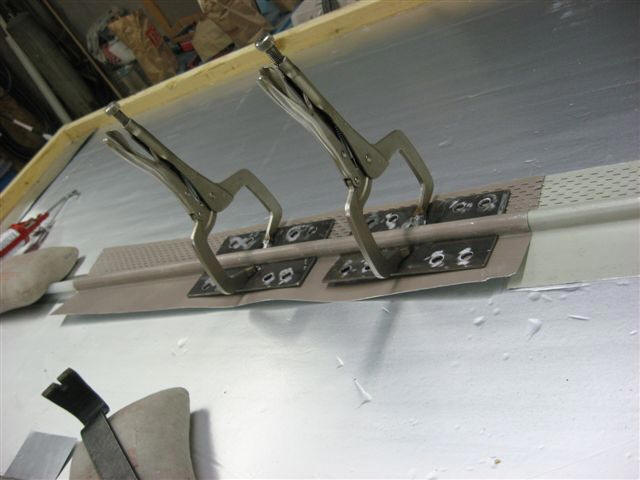
A couple of Vice Grip tools I made to get a better "squeeze" on
the absorber before installing my screws.
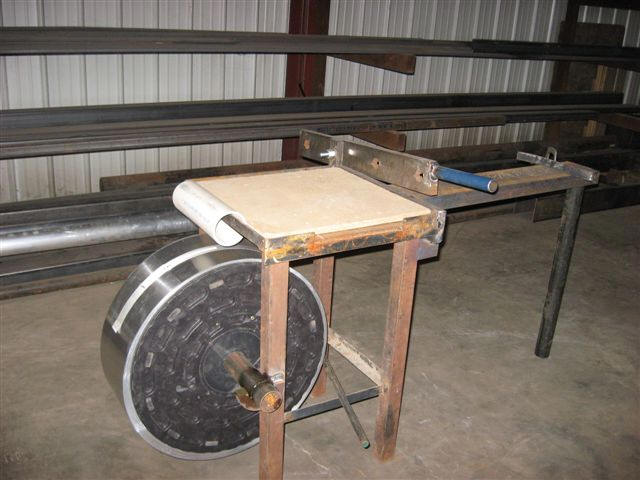
Aluminum Dispensing Roll and Shear
The picture shows the stand and "shear" I made to store, roll out, and cut
the absorber material. I looked for an old heavy duty paper cutter, but couldn't
find one. Fabricating a shear seemed like the best option. The cutting edge is a
piece from an edge for a big steel shear that a friend of mine had purchased
"new" at an auction but it wouldn't fit his machine. I cut out 75 absorber
blanks (enough for 3 collectors) in about 5 minutes on this shear.
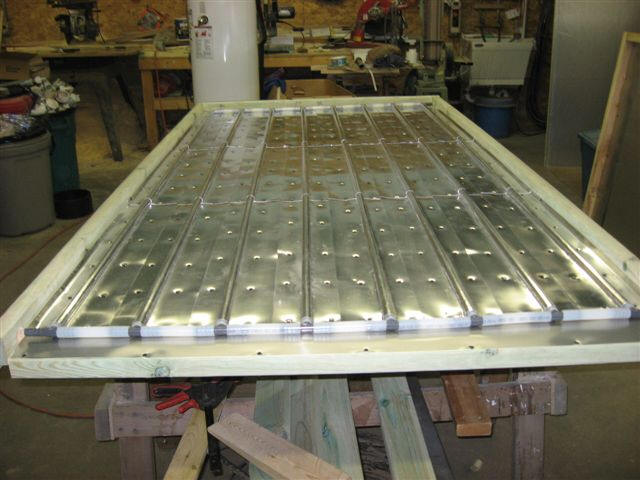
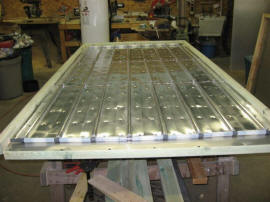
Finished Fins
Some pictures of the finished product.

A stack of the new material after pressing on my molds
Note how well formed Tom's fins are, and how the groove wraps nearly the full
circumference of the tube -- this is the key to good thermal contact between the
tube and the fin, which results in a high efficiency absorber.
| |
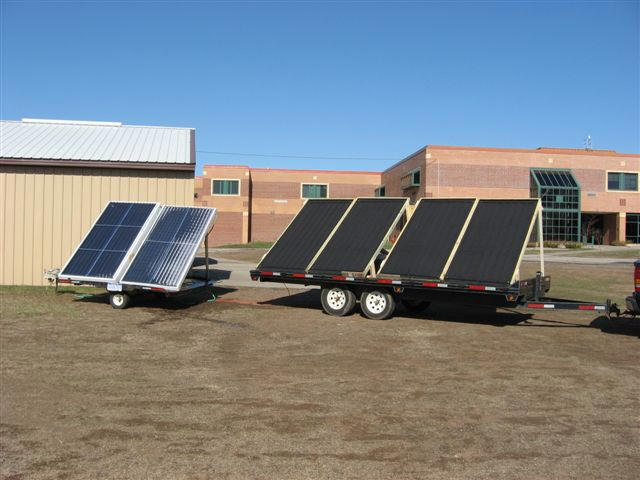
A collector completed with the new
absorber material |
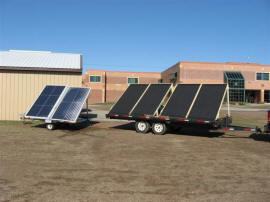
Collectors on trailers for
school demonstration |
|
Tom
March 28, 2009, and May 13, 2009
Tom will answer email questions --
you can reach him at: toms1 AT chartermi DOT net (replace At with @, DOT with
.)
Tom's Other Projects
Tom has sent in
several great renewable energy projects ...
Gary March 31, 2009, Added
clamps and shear May 13, 2009