
Search
The Renewable Energy site for Do-It-Yourselfers
ProMaster Camper Van Conversion -- Installing the Furnace
|
This page covers the installation of the furnace on our ProMaster camper van conversion.
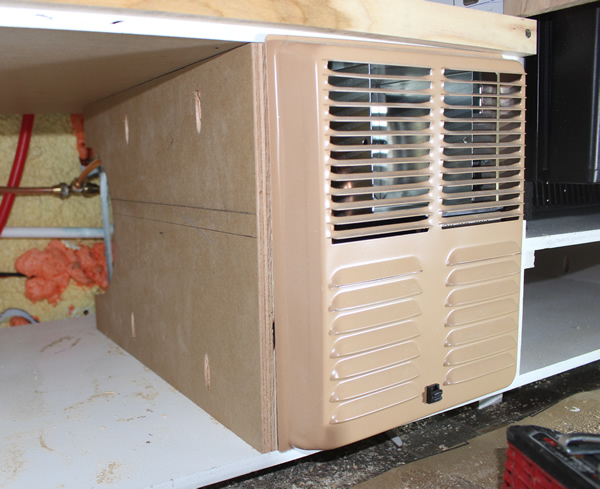
The furnace installed in the galley cabinet. This seemed like a little better a location noise wise than having in one of the bed bases.
We decided to use a small Atwood propane powered furnace to heat the van.
There are a number of other heating options, including other brands and models of propane furnaces, unvented propane space heaters, Webasco and other brands of furnaces that use diesel or kerosene or gasoline. All of these approaches have their own set of pros and cons, and its worth doing the research to determine what is best for you.
Go back to the main camper van conversion page...
|
|
| |
Important Update
The material on these pages describing our camper van conversion has been moved to our new new site dedicated to efficient RVs and camper vans.
The new site covers all the material here and adds a lot of new material on other camper van conversions, camper van design and build, resources for people converting vans, other efficient camping vehicles, new ideas in efficient RVs and camper van travel hints.
The new site is here...
I'm leaving these pages here as you may have bookmarked them and the Comments section has some good suggestions, but I suggest that you go to the new site -- I won't be updating this material anymore.
Thanks to all the people who read these pages and especially to the people who left comments and suggestions! Feedback on the new site is very much appreciated.
Gary
|
|
Furnace
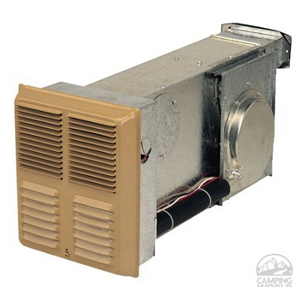
This the Atwood furnace that we have installed:
Atwood model 8012
Fuel: Propane
Heating capacity: 12,000 BTU/hr input, with 9100 BTU/hr output.
Uses about 0.13 gallons of propane per hour when on 100% of the time.
Size: Front grill is 8 inches wide by 12 inches high -- the depth of the furnace is 21 inches not including the exhaust vent.
Combustion air and combustion products are vented to the outside.
It basically works the same way that a home furnace works with a heat exchanger and combustion products vent to outside.
The cool room air is pulled into the bottom half of front grill, passes over the heat exchanger, and the heated air is pushed out the top half of the front grill.
There are no heat distribution ducts.
It is basically zero clearance on all sides, so it can be embedded in a wood cabinet.
The flue that expels combustion products is coaxial with and inside the duct that brings combustion air into the burner. Both come out the rear of the furnace, which must be fairly close to the side of the van.
Control is via a conventional low voltage, wall mounted thermostat.
The furnace draws about 1.8 amps at 12 volts DC to run the blower. If the furnace were to run full time over a very cold night, it would use 18 amp-hrs from the house battery.
In our case, this would be about 11% of the usable capacity of our 200AH batteries.
Cost $430 from American RV Company
This is the smallest furnace in the Atwood line. The larger versions generally require a simple duct system to distribute the heat.
Installation
The installation was straight forward.
I planned the galley cabinet with a cubby hole to fit the furnace.

The flue vent and combustion air vents are sitting on the shelf just above the furnace -- they will exit the back of the furnace when connected.
Sidewall Vent
The flue vent and duct carry combustion air into the furnace, and exhaust combustion products. The combustion products vent is coaxial with the combustion air vent, with the combustion air on the outside.
To get the placement of the vent cutout in the sidewall correct, I put the furnace and duct in place and traced the outline of the duct on the sidewall.

After tracing around the vent on the inside of van, I drilled small holes through the van sidewall to transfer the location to the outside of the van and then used the vent to trace the hole location on the outside so that it could be cut out from the outside.
My van sidewall has spray foam insulation on the inside, and this had to be cut away in the vent area.


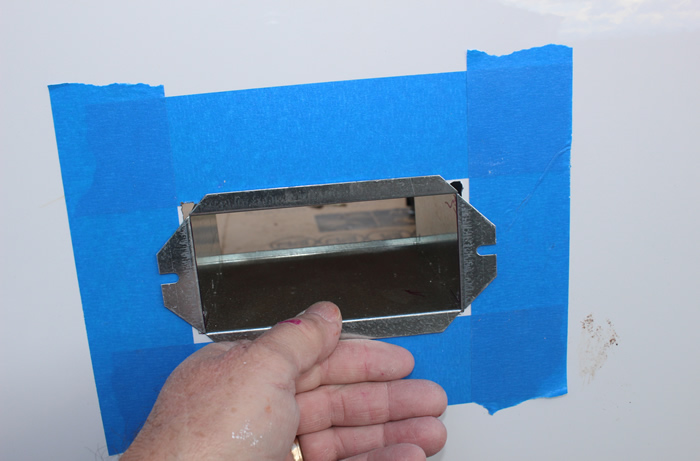
Cutting out the hole for the vent from the outside. Judging by the number of lines, I apparently had some trouble getting the tracing just right :)
The masking tape keeps the saw base from scratching the van paint.
Duct in place.
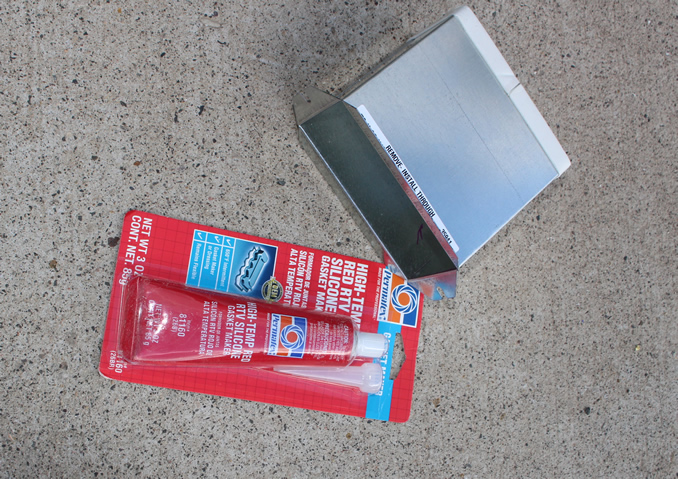
Used the automotive high temperature RTV to seal the vent in place

Combustion air inlet duct in place.

This is the combustion products flue tube that fits inside the rectangular duct that brings combustion air into the furnace.
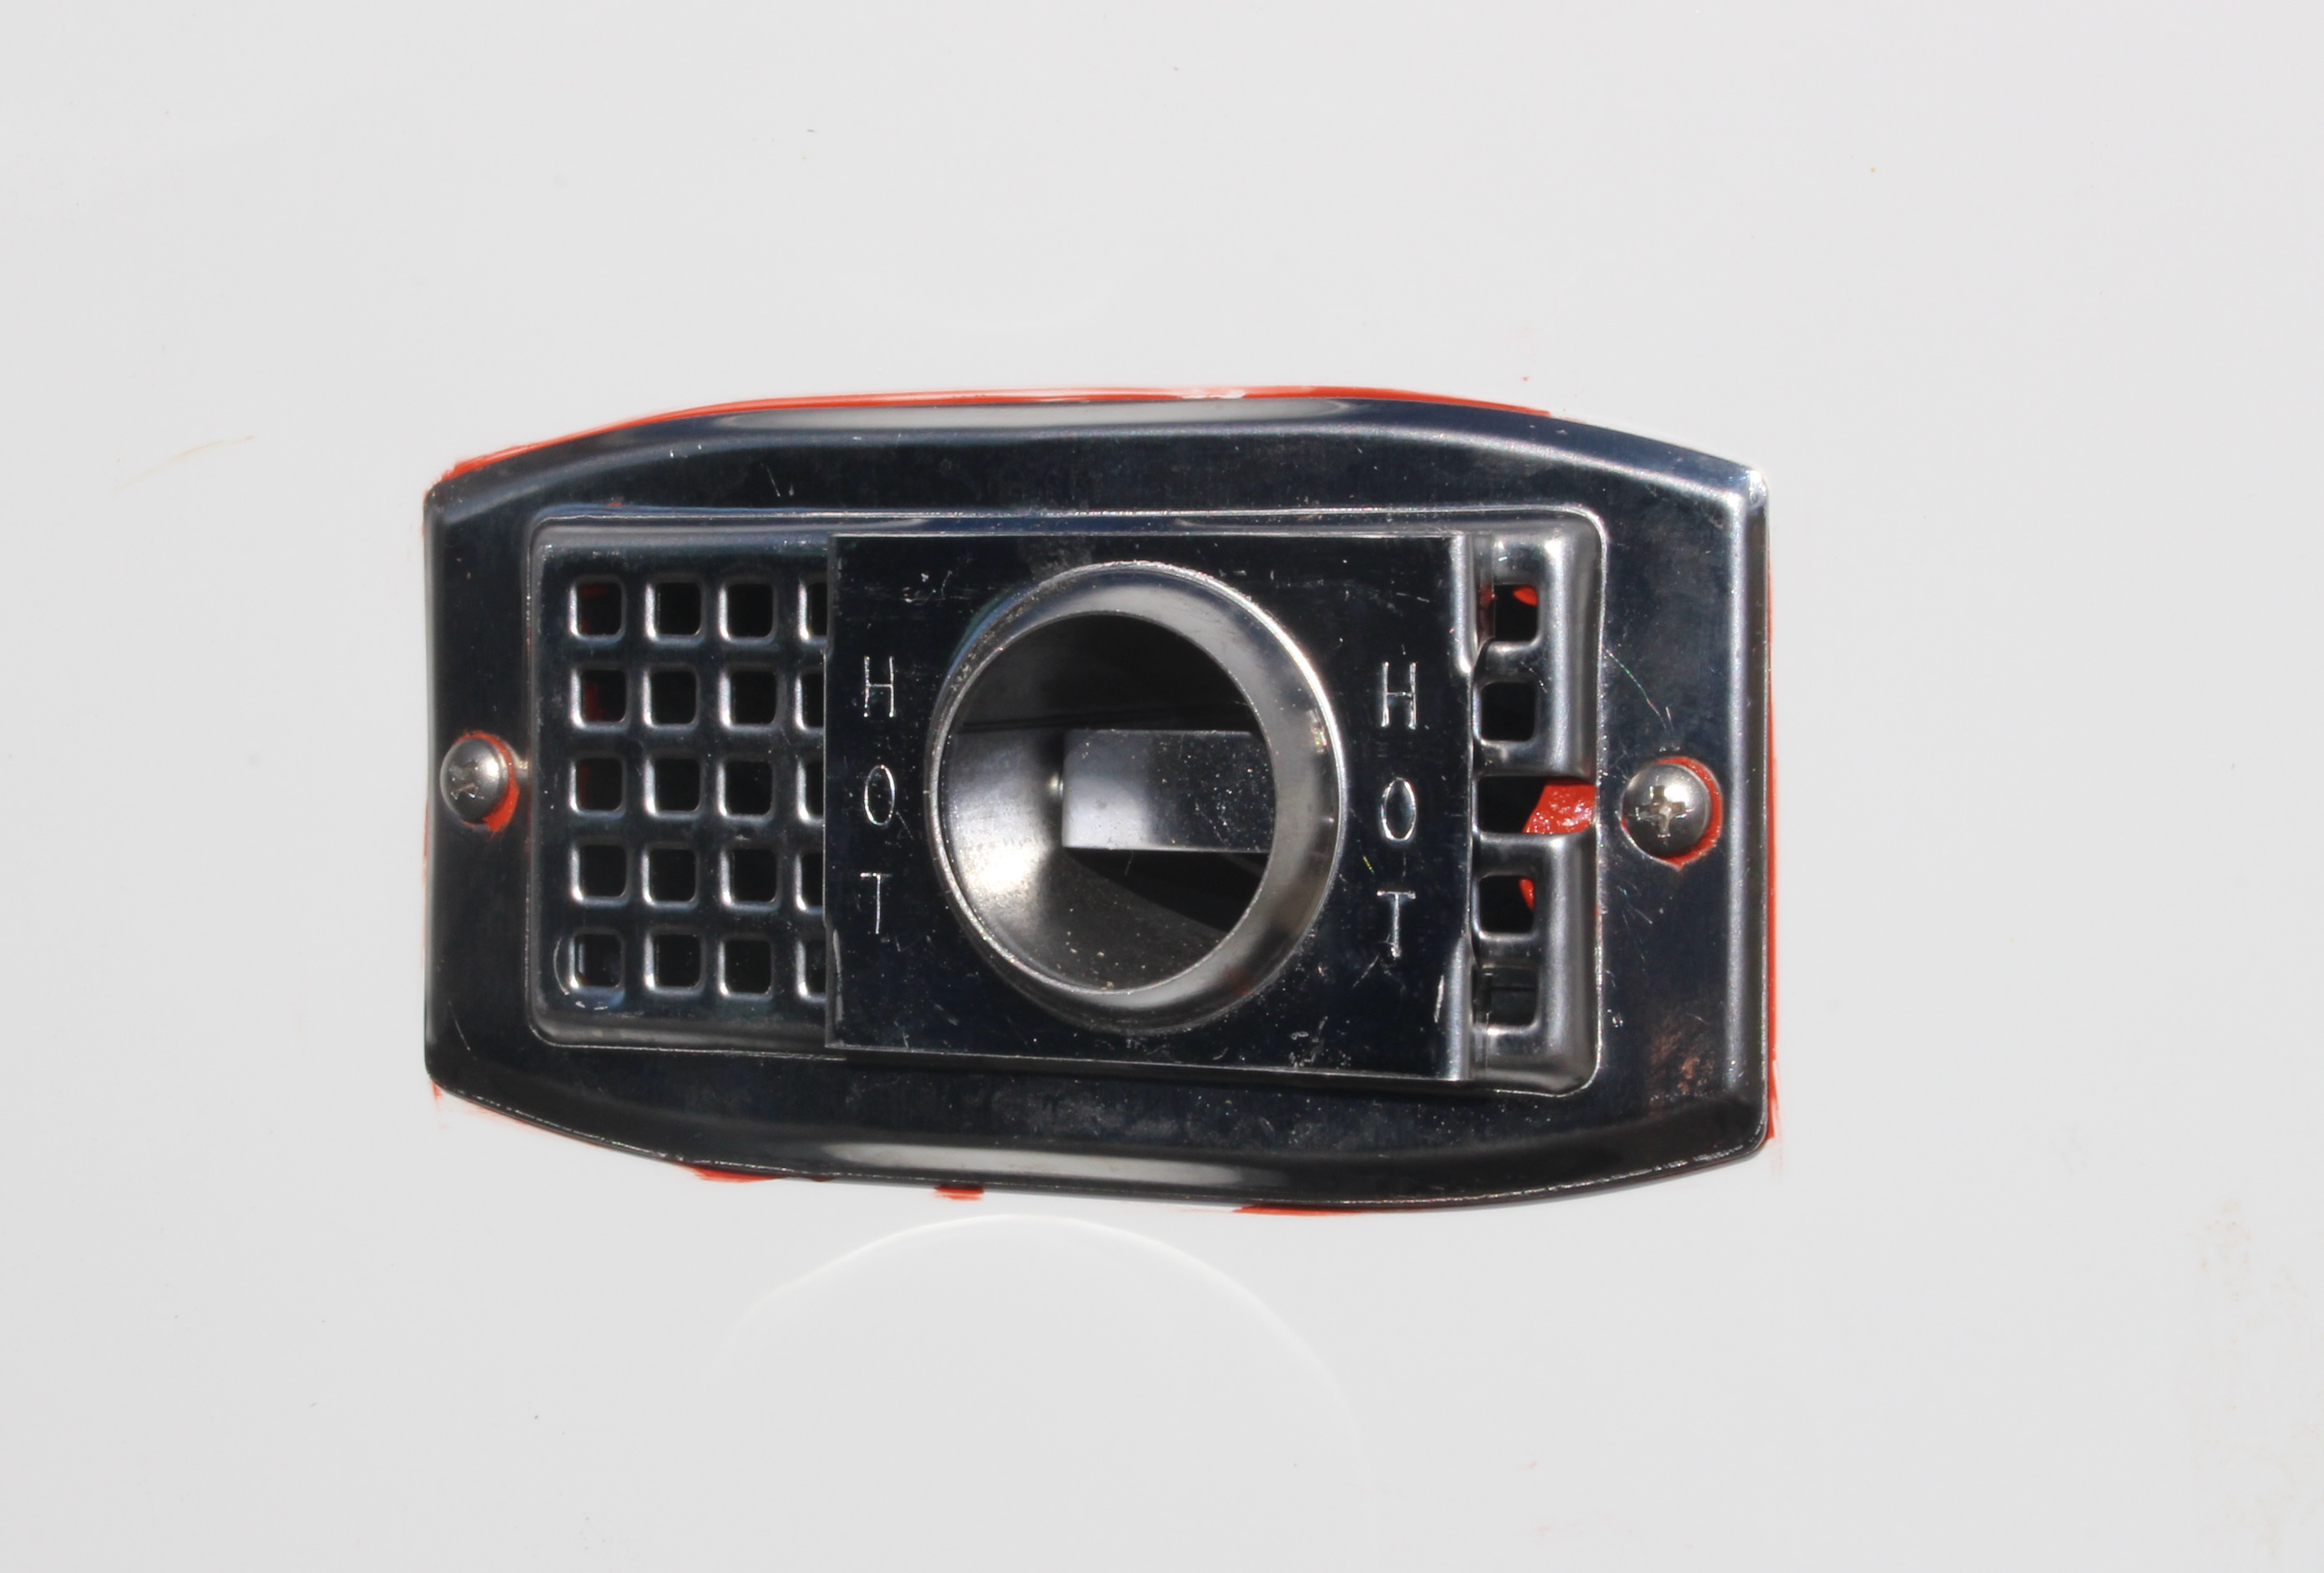
The stainless steel vent cover installed and connected to the furnace.
Wiring and Plumbing
The furnace has to be wired to a 12 volt DC circuit to power the furnace blower and electronics. On this model furnace, the current draw is only 1.8 amps.
Even though the amperage is low, I dedicated a separate fuse to the furnace.
The furnace is connected to the propane tank using 3/8 inch flexible copper tubing with flare fittings used to make the connections. For us, the propane tank is near the back of the van, and a single 3/8 propane line runs up the driver side where a Tee is installed with one branch going to the furnace and the other to the stove. More on this in the Propane section.
I thought about putting shutoff valves in for the furnace and for the stove, but decided the valve on the propane cylinder was enough.
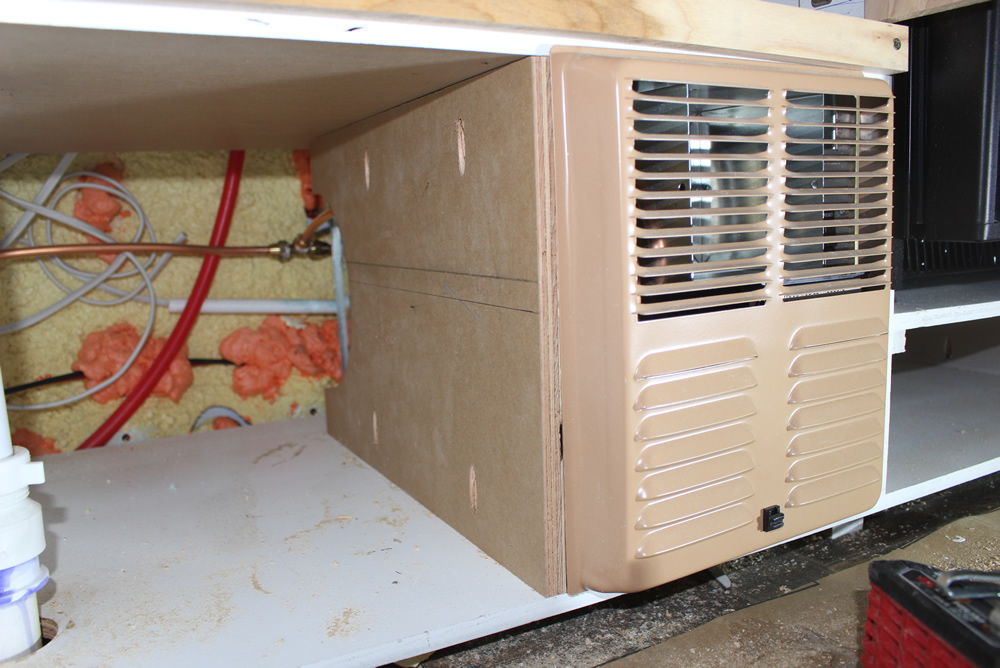
The finished install.
The furnace is held in place with screws to the plywood cabinet. The copper propane supply line can be seen at the back of furnace against the van sidewall. The vertical plywood on the left side of the furnace separates it from the pots and pans storage area in the galley cabinet -- I cutout an opening at the back of the plywood to match the inlet grill on the furnace.
Also installed a 1 inch thick polyiso insulation panel on the right side of the furnace where it shares a wall with the fridge compartment to prevent to keep the furnace from making life hard for the fridge.
Other Install Data
Here is another detailed description of installing this furnace in a Volkswagon Westfalia...
Installation manual...
Operation manual...
Performance
While our van conversion is not done at this point and we have not had a chance to test our little Atwood furnace on a real trip, I have been using it to heat the ProMaster while working on it. So far, I have been happy with it. Its reliable, heats the space well, and is relatively quiet.
Most of the noise is the fan, which is relatively quiet. There is a bit more noise when fan and burner are on, but not much.
At some point, I'll run some tests to estimate what the lowest temperature the furnace can heat the van to is. As a rough guide, with 19F air outside and 68F inside, the furnace runs a bit more than half the time. This would indicate that it should be good to well below zero when running all the time.
The furnace burns about 0.13 gallons per hour when on all the time -- this would be 1.3 gallons over a 10 hour night. At (say) 32F, I would estimate that it would run about 35% of the time, and burn about half a gallon of propane overnight.
This is with pretty good insulation on walls, roof, and floor, but no insulation (yet) on sliding or back doors, and no insulating shades on windows.
Cost, Weight and Time
| Item |
Cost ($) |
Weight (lb) |
| Atwood 8012 furnace |
$430 |
23 |
| 3/8 inch copper line and fittings (in propane section) |
in propane section |
|
| |
|
|
| |
|
|
| |
|
|
| Total |
$430 |
23 |
As far as I can remember, it took about 3 hours to install the furnace and hook it up.
Comments and Suggestions...
Go back to the main camper van conversion page...
Gary
November 15, 2014