
Search
The Renewable Energy site for Do-It-Yourselfers
The second wootank project
The first wootank was made a few years back as an experiment in low cost
custom tank construction. I wrote about it about three years ago on my blog.
It has been operating reliably for the last three years, with no signs of
deterioration (beyond the initial design flaws this new tank hoped to address).
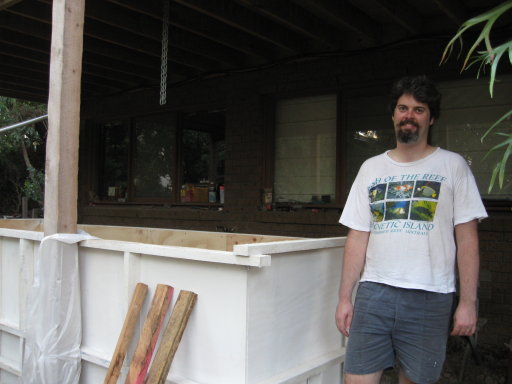
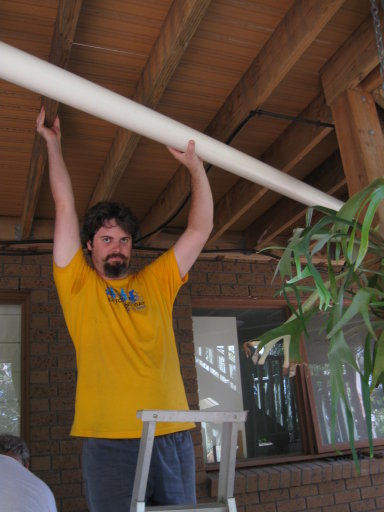
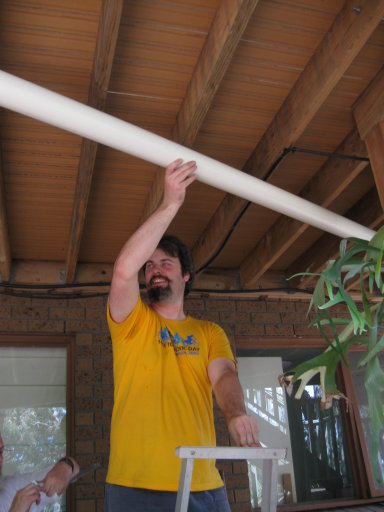
pfh kindly takes photos every now and then:
fish and water storage
Dad wanted to do something with the water off his back roof, so I suggested
this.
My brother is keen on keeping fish, and mum wants to be able to irrigate
plants with flood and drain (low water cost, low operational cost).
Its amazing how nice it was to just move 2.5 m^3 of dirt: progress is
evident, instant feedback, and you feel great after all the exercise.
There is a company in Melbourne that makes plastic water tanks called
plastank. This is a wooden tank, hence wootank.
Capacity? 4kL give or take a silver perch
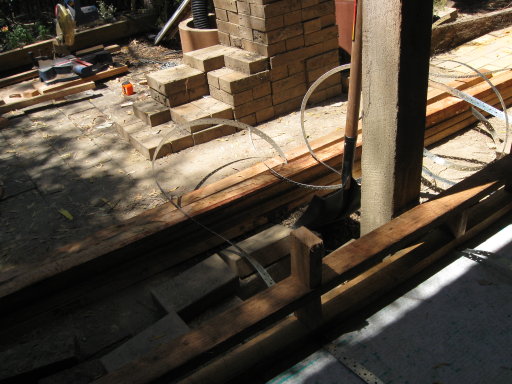
Peter asks: "are you comfortable with the weight? what's underneath it?
my initial impression of where it is (and my memory of the house) is that
there's wood under it. (i know it's a bit of a silly question after it's already
built, but better before it's filled at least.)" It actually sits on
crushed rock on original subsoil. (we cut back to the subsoil). Then a sheet of
cement sheet protects the liner from sharp pointy teeth in the crushed rock.
Then there is the liner. There is no load bearing vertically at all, the sides
are merely to stop the liner from flopping on the ground.

To test it we put all the other tank water into it, which gave us about half
a wootank full. There was no hint of bulge, unlike the first tank, which ended
up needing a steel girder added to the side to make it workable.
We have had quite a bit of rain over the following weekend too, and it has
been filled to the overflow. My brother reports there is no measurable bulge. So
this tank is over engineered.
Peter asks: "how does woo compare with plas ?"
It turns out cheaper by volume ($1.5k for 4.5 plastank, this cost $1.2k), but
more importantly if you want a non-standard shape this is your only option. It's
also interesting to look at.
A round tank is more materials efficient, an interesting puzzle is what is
the optimal shape.
Peter says "Whereas in Melbourne, available spaces are often
rectangular".
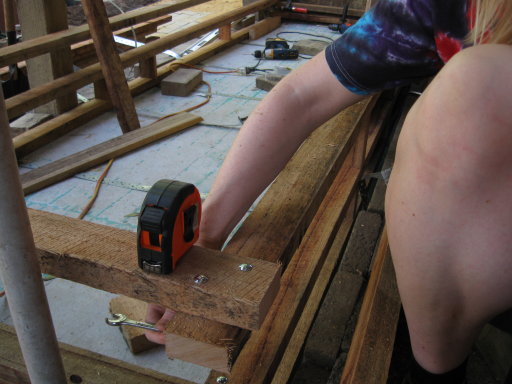
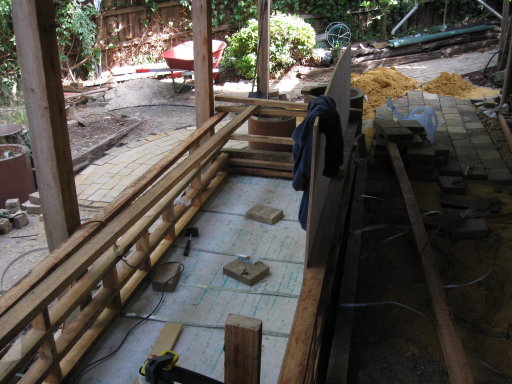
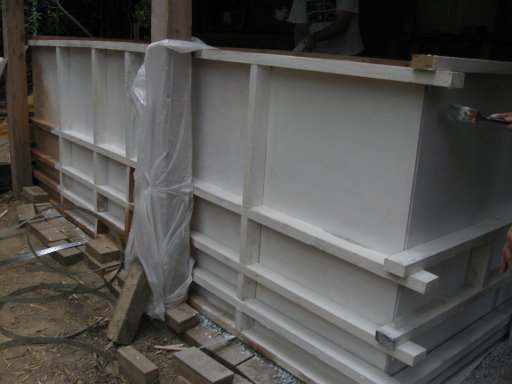
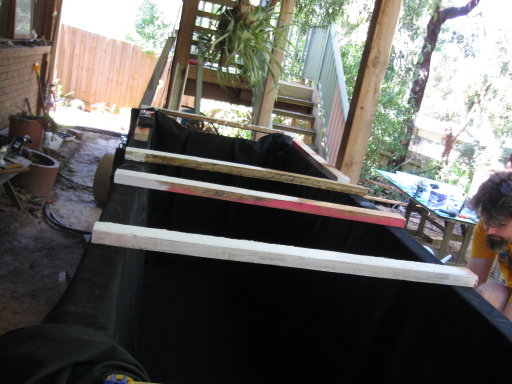
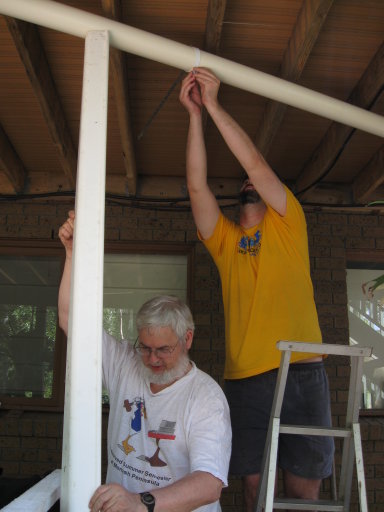
Notice the spacing on the rails on the sides. It was fun to work out what
that spacing should be. It turns out to have a simple, fixed rule.
The vertical strapping positions are not so clear, so I just made something
up which looked nice, was easy to calculate and felt right.
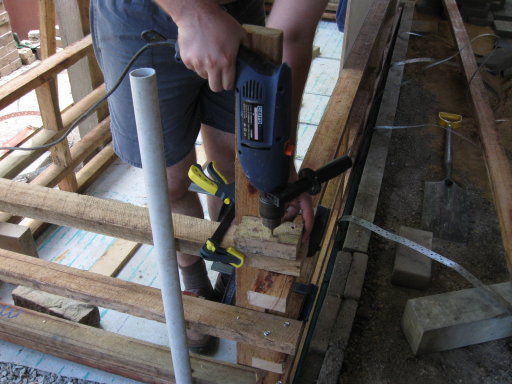
The reason there are more in the middle is because the ends are well
supported by the numerous bracings, and there is only half the water loading on
the end. The bending moment on a beam goes up as the cube (in this case, I
think), so we expect more force in the middle sections. Then we make it up.
What sort of problems do think there might be over the course of 100
years?
Termites
there are in fact termites in my parents garden, but the tank is made of the
same wood as the fence, which has not had a termite problem in 30 years, so I
think that's fairly safe.
Rot
It will need a coat of paint every now and then to protect from the weather,
and not look too peelly. The fact that it sits on crushed rock with air access
will protect it I believe, combined with Melbourne's dry climate. It's also
under the balcony, which protects it from the worst of the weather.
Sun damage
It gets morning sun, which might damage the liner.
Puncture
I don't know how easily this liner can be repaired.
Catastrophic collapse
Unlikely given its lack of movement on filling, and previous experience.
Change of plans
By far the most damaging affliction in my parents house. There is a very good
chance that the liner, ply, hoops and framing can all be re-used in a new
project.
I'm guessing it will last at least 20 years if well maintained, which is
probably all that can be said for plastanks.
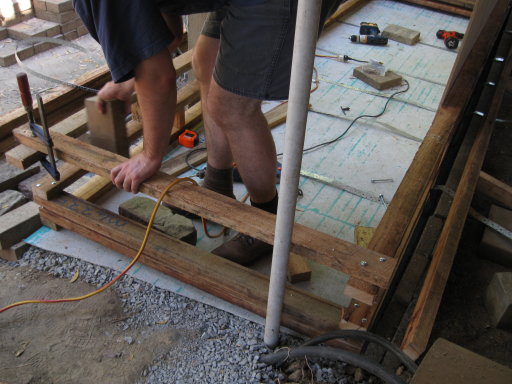
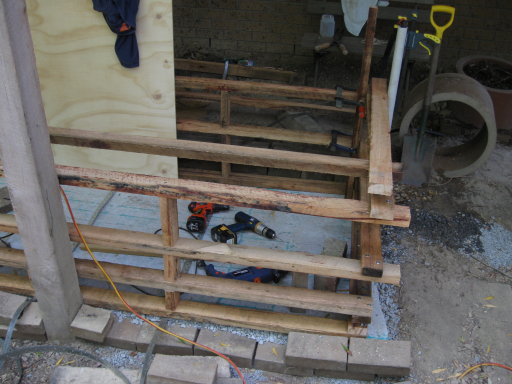
The frames are self contained rectangles made with fencing railing hardwood.
Unlike the first tank, there is no lapped joint, instead we rely purely on the
shear strength of the bolts (a few tonnes at a guess) and the wood (lower).
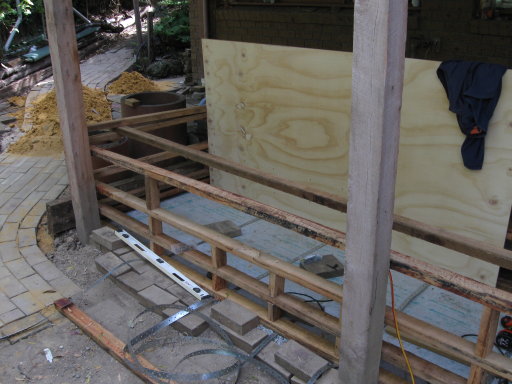
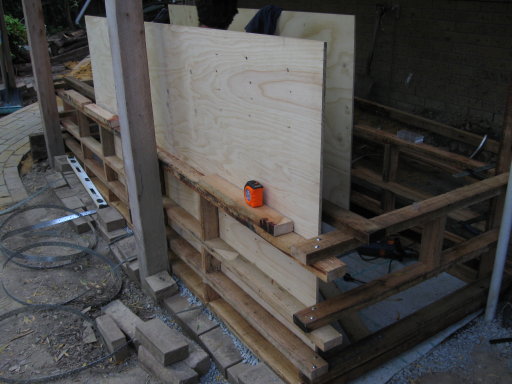

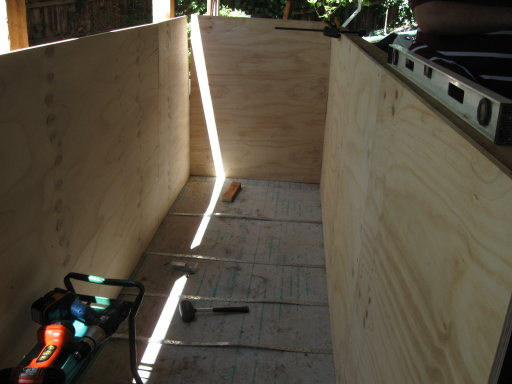
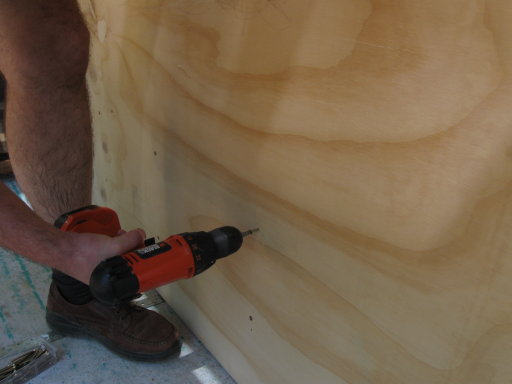
The biggest deviation from the wootank 1 is that the ply sits on the inside
of the frame. This loses some capacity, and gives it a distinct exoskeleton.
However, it also saves about 1000 screws, the plywood basically just rests
against the frame. We use 5 frames rather than 3, which had a huge effect on
rigidity, and we have these vertical blocks between the frames (which aren't
attached btw, merely gravity and a small tack holds them in place).
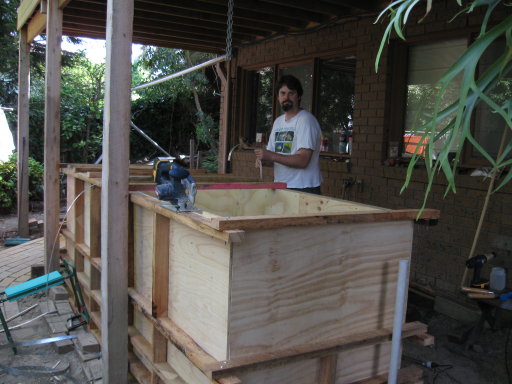
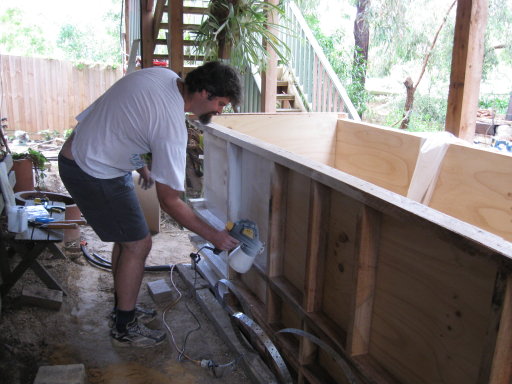
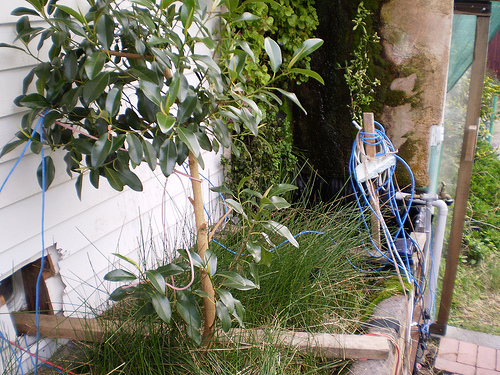
We decided to paint it to match the balcony (pale eucalyptus) to protect the
wood a little more. The undersides of much of the wood is unpainted to allow the
timber to dry a little more. My main concern is actually sun damage, which can
destroy even hardwood quite quickly outside.
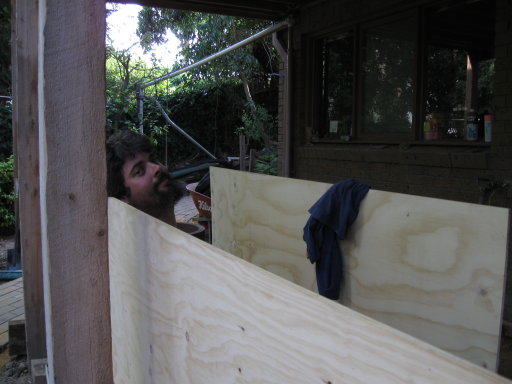
When the tank is empty it is easy to climb in and fetch those screws and
offcuts and whatnot from the bottom. Once full we need the special
fiksturegrübber tool.


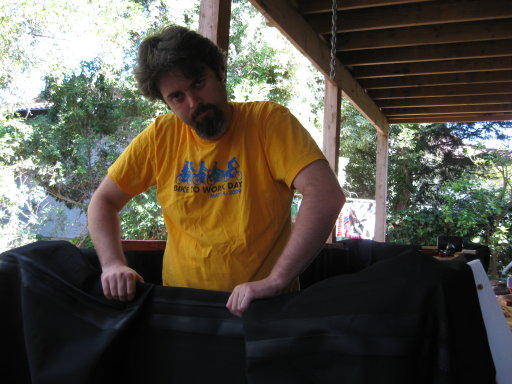
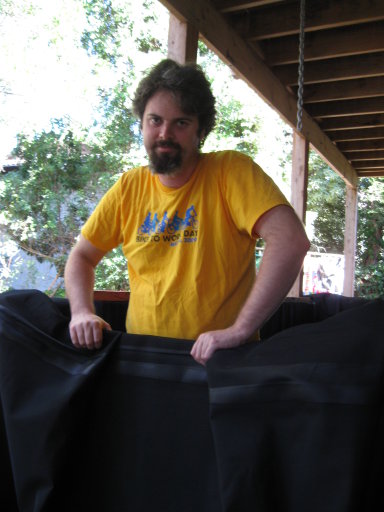
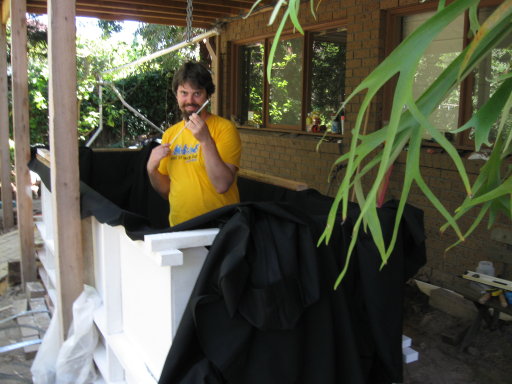
Getting the 'chinese takeout box' (as Nick Pine calls them) folds right is
fiddly work, after working my way around getting everything neat and tidy I had
to have a nap in the bottom of the tank for an hour (it was a hot day).
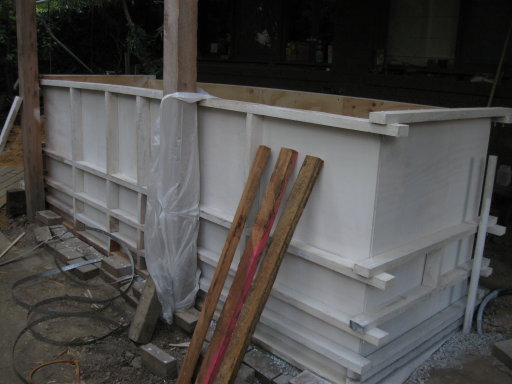
Once the liner is in place we put on the 5 bracing pieces and the 5 steel
hoops. (It's much easier to put these on before starting work, but make sure you
tie them out of the way or you'll spend the day cursing as you trip over them
again.
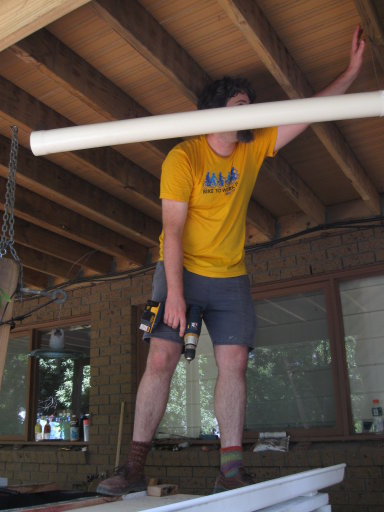
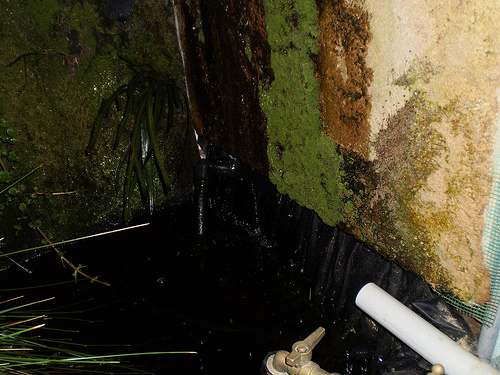
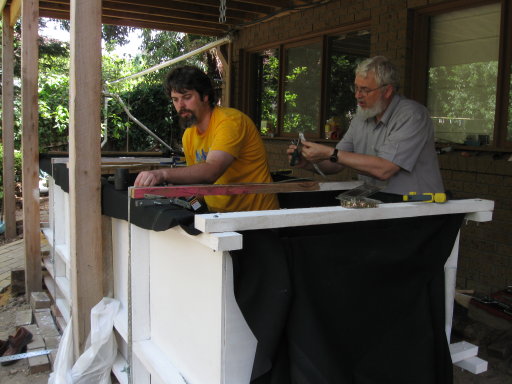
Finally, we realligned the existing guttering to dump straight in the wootank
with a few pieces of pvc storm pipe. The white guttering you can see in the last
picture is the overflow, made simply as a short length of guttering that feeds
into the existing leechfield (also known as the pond, with real leeches -
Heliobdella Fred tells me).
Nathan November 20, 2009
A follow on note from Nathan:
It would be worth noting that firstly the corners need a little more
reinforcement than I used. Where the plywood was straight cut I glued the
edges with cross linking PVA and it has been fine, but the other corners,
where my hand cut edges weren't fantastic there was nothing to glue, and the
plywood has deformed a little. It sufficed to screw on some stamped
galvanized steel angles to hold the corners tight.
Secondly, I realised afterwards that though I made the contiguous ribs
horizontal, with the vertical ribs merely compressed into position, it would
be stronger to make vertical squares and attach the horizontal beams to
those.
njh
January 2010, Some more updates from
Nathan:
We bought the expensive liner
from a garden pool shop (pond world at gardenworld in keysborough, vic). In
my original wootank I used PVC liner, but I now avoid using PVC due to its
environmental cost. The expensive stuff is also thinner and easier to
handle. (You'd be surprised at how heavy 40m2
of liner is)
If you are going to make a Woo Tank, here are some more "lessons
learned":
1) don't use green wood - it bends under load permanently.
2) reinforce the corners with steel brackets - I retrofitted some cheap (<
$1) stamped nailing corners designed for house framing. I used only PVA
glue (exterior), which has stood up fine, but only where the joint was
accurate to begin with. We hand cut the ply with a cordless circ saw and it
wasn't straight enough to glue.
3) the ideal spacing of bearers is roughly sqrt(i/n) for i in range 0 to n
as positions measured from the top as a ratio of the total height. So for 4
horizontals you get 0, sqrt(0.25) = 0.5, sqrt(0.5) = 0.7, sqrt(0.75) =
0.866. The verticals are more difficult to work out analytically (you can
do it from the euler beam equation, but if you don't know what this means,
don't worry). They will be focused in the middle because on the ends there
is only half the water pushing at the ends, and the ends plates provide a
lot of extra stiffness.
4) for a long tank like woo2, it would have been better to make the vertical
beams continuous and perhaps even leave out the horizontal ones - the
aforementioned beam equation means that the force on a long beam goes up
very quickly with length. In other words, invest your framing on the
shortest spans around the tank.
5) paint the wood before assembly.
6) Think carefully about your overflow before your start. We used a short
length of gutter with a folded over lap on the liner. It was fiddly to get
neat but does work really well.
7) We are planning to put fish in there, but that still hasn't happened. We
put a piece of shadecloth over it, but woebetide someone who lifts it up
(the eggs got in before we put it down). Woo1 doesn't have this problem
because it is in a greenhouse and full of fish.
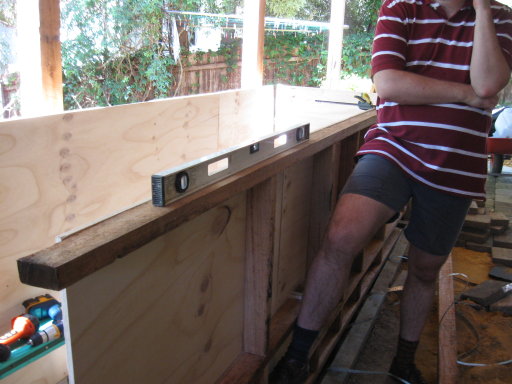
The tank was straight as a board when we gave it a test fill. It was only
after the tank was later filled with rain for a week that it bowed out by
3cm in the middle (which is pretty much the expected amount from my original
engineering calculations). However, because of the pattern in the design it
forms an optical illusion which makes it look more bowed than it really is.
In fact, in our case my dad was concerned that it was pushing against the
balcony posts and bending them and it really looked like it was. But
measurement with a steel straightedge showed that it was again an illusion.
If this does not fit your aesthetic, use thicker wood beams as measured in
the direction of the bend (thicker is much more effective than more for
bending forces).
Don't hessitate to ask more questions. I should add these notes to
my webpage.
njh
Thanks very much to Nathan for
writing this up and sending it in!
Gary December 1, 2009