Search
The Renewable Energy site for Do-It-Yourselfers
Building the
Aluminum Window Screen Solar Air Heating Collector
| This is part of a program to test several
solar air heating collector designs for performance... This
collector design uses three layers of ordinary aluminum window (insect)
screen l as the absorber.
The air enters at the center bottom of the collector, where an aluminum
baffle spreads the flow across the width of the collector on the glazing
side of the screen absorber. The
air rises up between the glazing and the absorber, and eventually finds
its way through the three layers of screen absorber and flows to the
back side of the collector. The air then flows up the back side of
the collector to the exit vent located at the top of the collector.
The design is similar to the
vented aluminum soffit absorber collector, and uses pretty much the
same collector geometry, but substitutes the three layers of window
screen for the vented aluminum soffit as the absorber.
NOTE: Some of the testing was
done with this collector that has an absorber made from 3 layers
of screen, but the screen collector used as the "reference" collector in
the later part of the testing season used only 2 layers of screen.
Back to the Solar Air Heating Collector test
program home.. The test collector was derived from the
aluminum soffit collector. The
changes made were to:
- Remove the aluminum soffit absorber, and substitute the 3 layers of
screen that were spaced about 0.4 inches apart from each other.
- Add about 1 inch to the collector depth to accommodate the thicker
screen absorber. The screen absorber sits on the same supports
that the soffit absorber was installed on -- so, the flow passages above and
below the absorber are the same depth on the soffit collector and the screen
collector.
|
|
The Collector Box
The first part of the construction is
the same as the Reference collector -- I
basically built a box with an insulation board back, 1 by 6 sides, and 2 by 6's
for the top and bottom sills as shown just below.
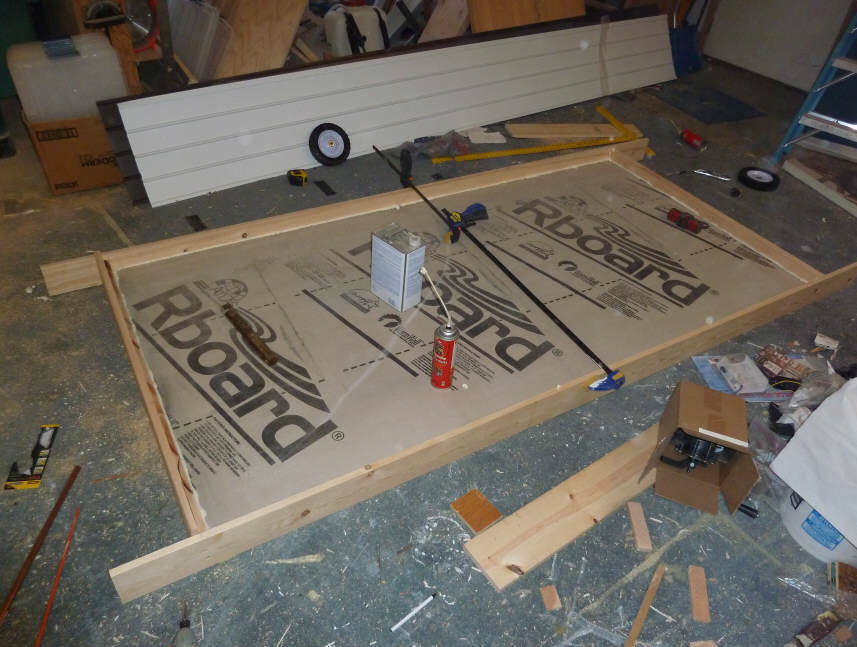
For the screen collector, you need
the dimension from the back of the glazing to the bottom of the box to be about
5 inches. Since I was starting from the Soffit Collector collector,
which was only about 4 inches deep, I added an inch of depth by gluing on one
inch wide strips to the sides and top and ends. This extra inch just
accommodates the thicker screen absorber -- the screen absorber sits on exactly
the same absorber edge supports as the soffit absorber did.
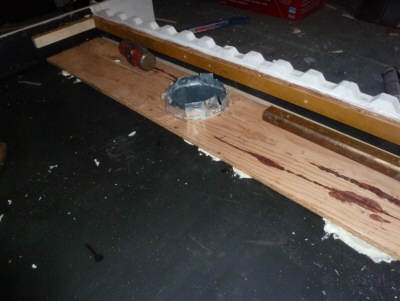
Vents
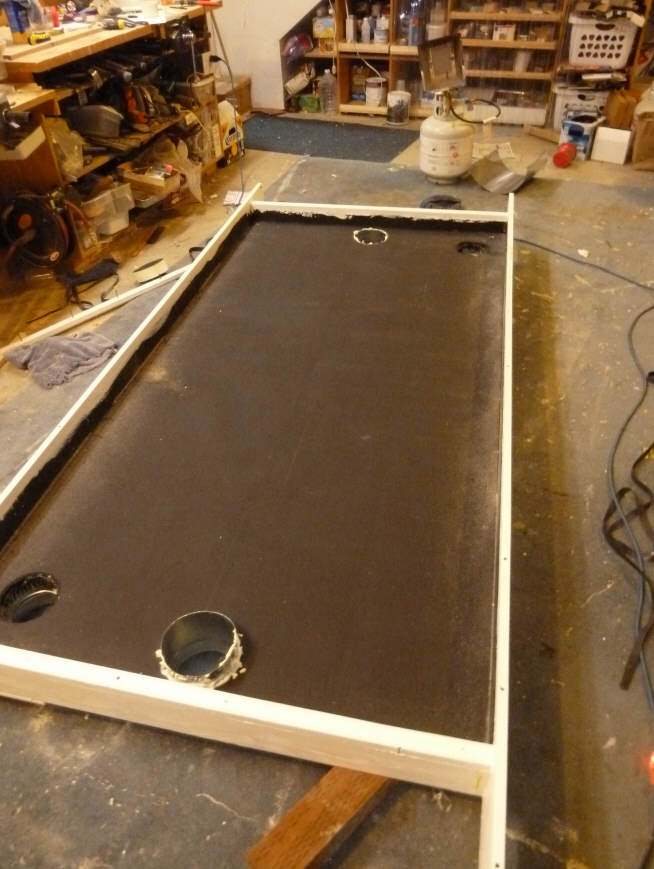
You can also see that the collector I
started with had its vents on opposite corners, and since the screen and soffit collectors
want vents on the centerline, I filled the old vent holes in with insulation
plugs and Great Stuff, and cut new vent openings on the centerline.
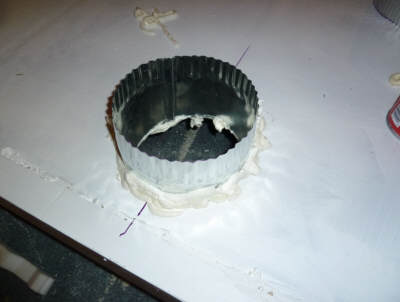
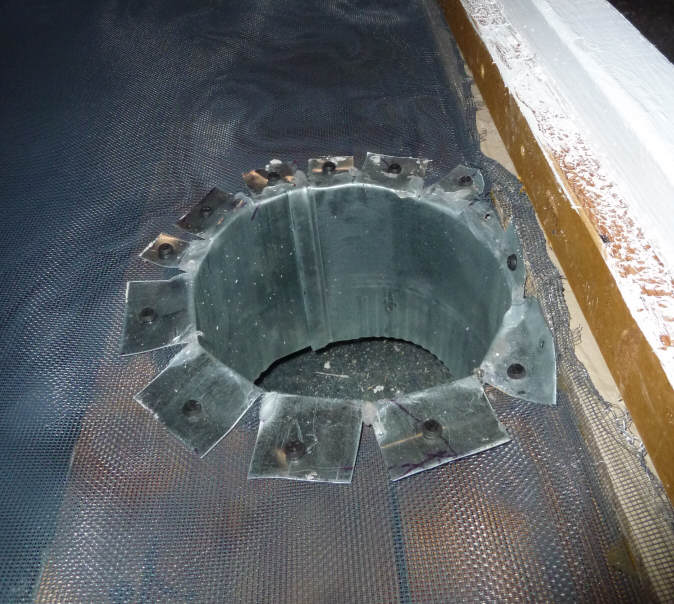
This is one of the new 6 inch diameter centerline vents. |
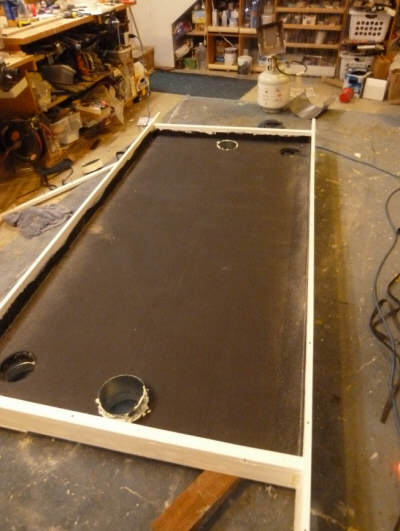
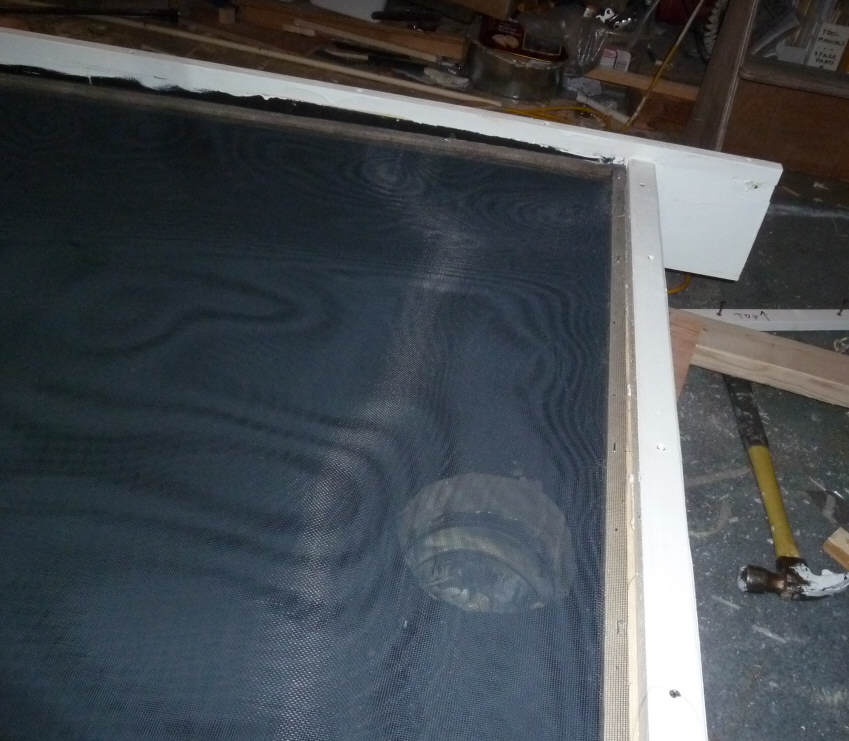
Shows the two new centerline vents and the two old vents before they
were plugged. |
All the vents are foamed in
place with Great Stuff to avoid leaks.
Absorber
The screen absorber is far from
the glazing at the bottom of the collector (where air enters), and is close to the
glazing at the top of the collector where air exits.
The idea is that most of the flow is
on the glazing side near the inlet end of the collector, and most of the flow is
on the back side of the absorber near the outlet end of the collector, so
sloping the absorber allows the depth of the flow path to match the flow rate.
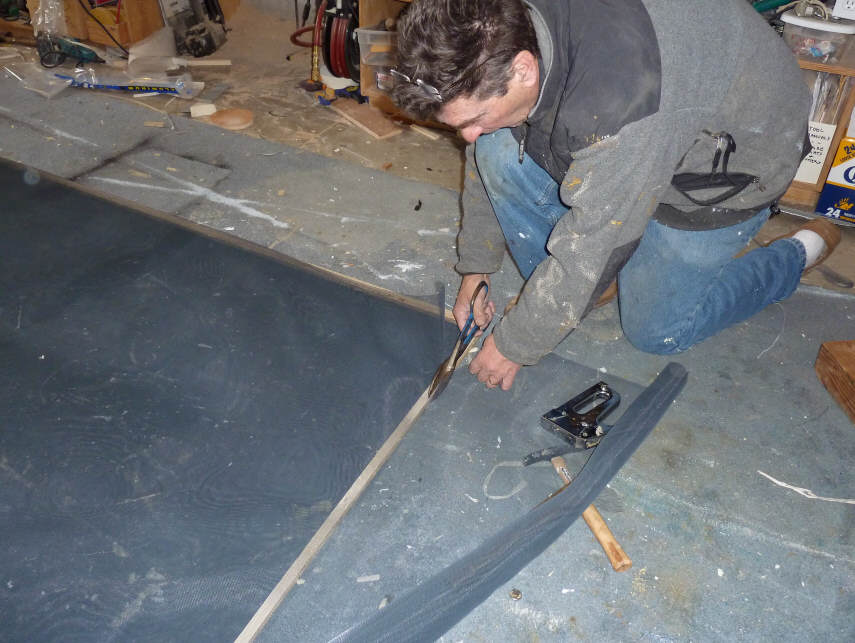
Absorber Assembly
Three pieces of Charcoal aluminum
insect screen for windows are cut out to just fit inside the box. The
three pieces are spaced 3/8 inch from each other by wood spacers that make a
sort of picture frame around the screen. So, the stack up from the bottom
is: 1) window screen layer 1, 2) 3/8 inch spacer board, 3) window screen
layer 2, 4) 3/8 inch spacer board, and 5) window screen layer 3 on top.
Total thickness of the absorber assembly is close to an inch. (Note that
for the two screen version, the stackup is the same except that the 3rd layer of
screen is omitted).

Corner of the frame for the 3 layer screen |
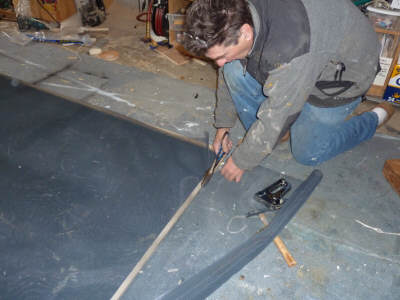
Cutting the screen to size.
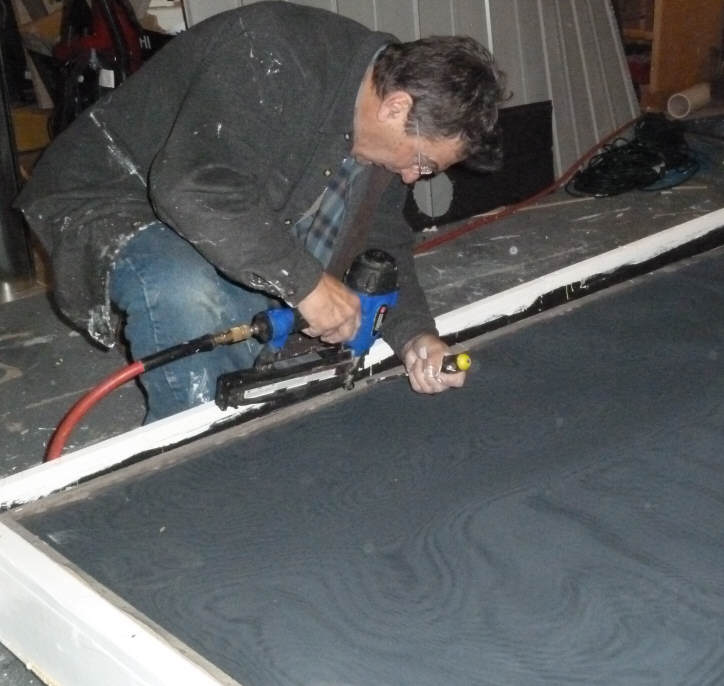
The screen is then just stapled to the edge frame. |
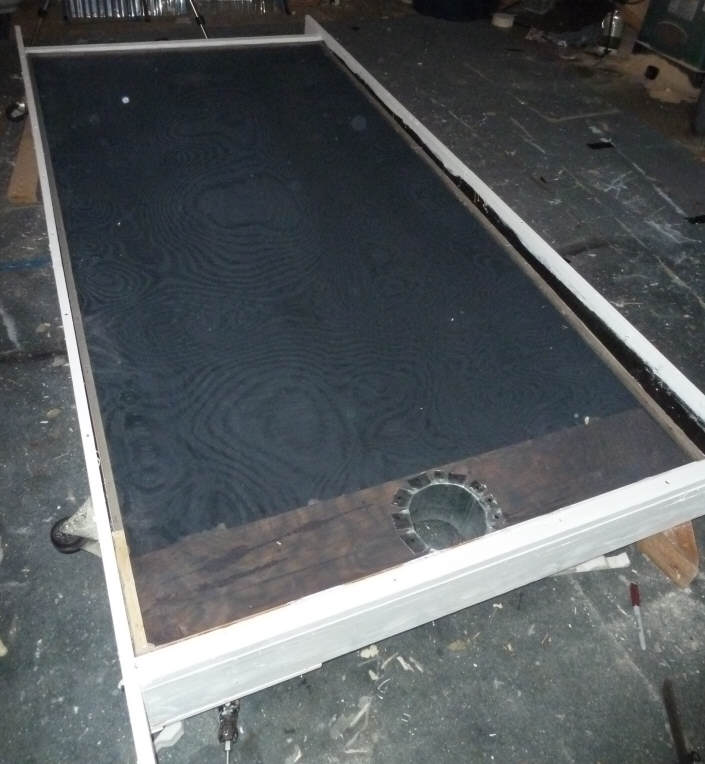
The finished 3 layer screen absorber. |
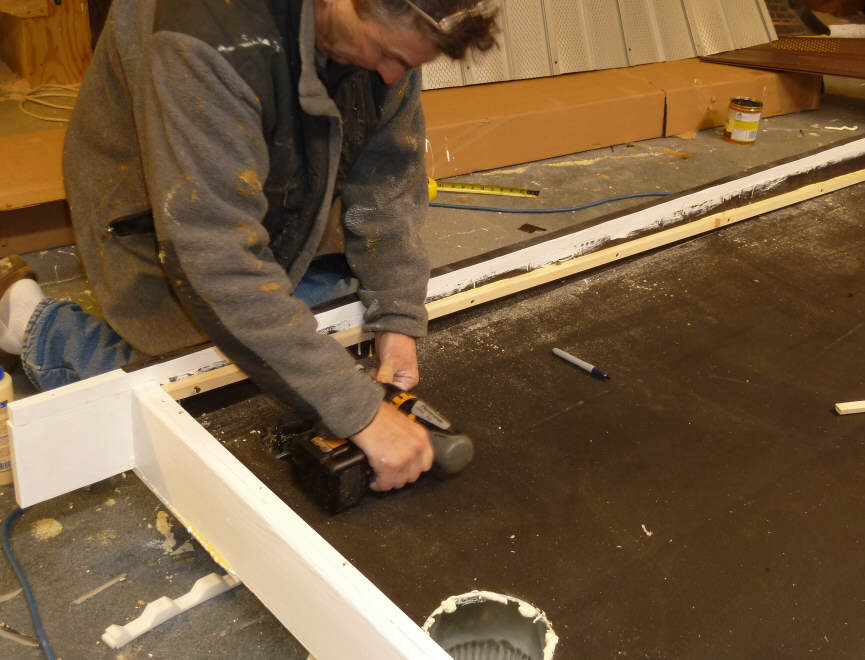
I supported all edges of the screen
absorber with wooden strips as shown in the next pictures. These are the
same strips that supported the soffit absorber.
The absorber support strips being
attached to the collector box sides.
The depth from the top of the strip to the back of the box is 3 inches on the
outlet end of collector, and half an inch near the bottom end of the collector.
This means tapering the support strip down to half and inch on the inlet end.
Outlet end |
Inlet end |
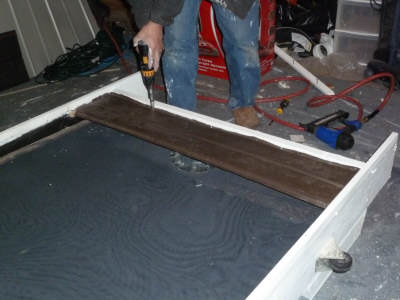
These pictures are from building the
collector that uses aluminum soffit for the absorber, so you see pieces of
soffit in the picture, but installing the vents is the same for the screen
absorber collector.
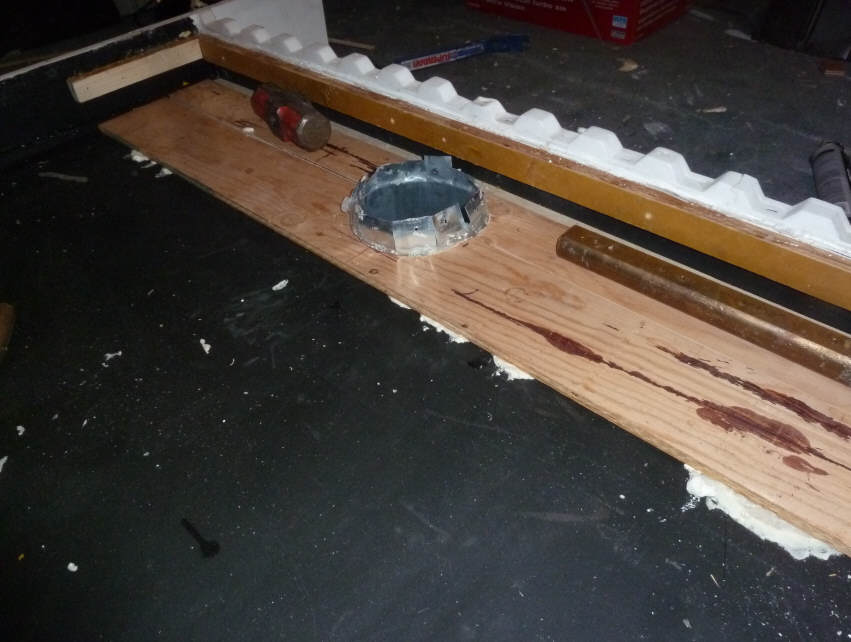
Inlet Vent Detail
This half inch plywood spaces the bottom of the screen a bit off the bottom
of the collector box, and provides a base to staple the screen to where the
screen is penetrated by the inlet vent (see below). It is just held in
place with Great Stuff foam.

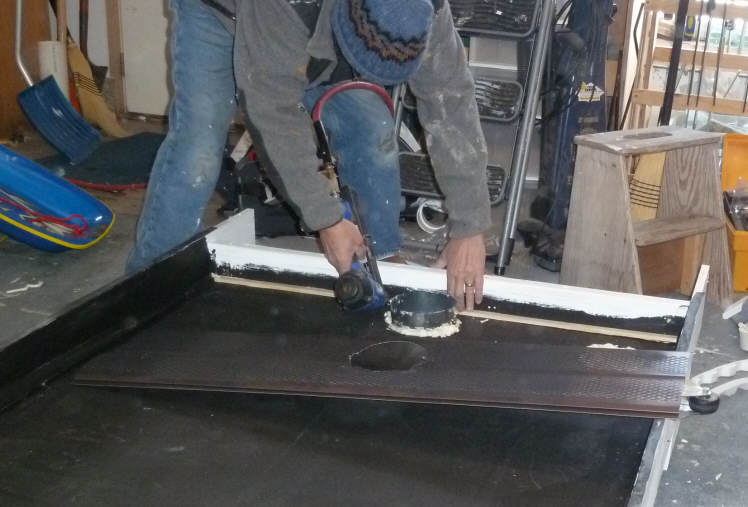
The screen absorber assembly has been set in place, and
a knife is used to cut a hole in the screen for the inlet vent to come
through. |

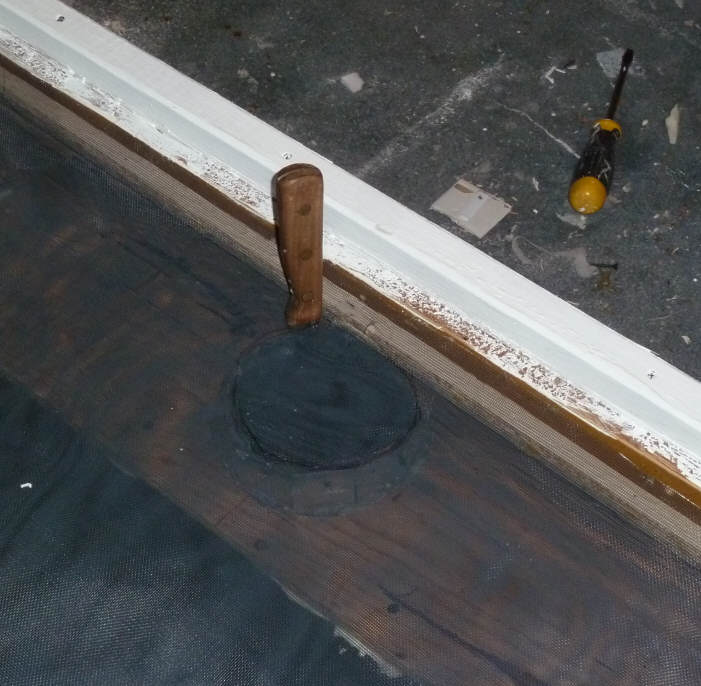
The inlet vent is cut to make tabs that are then folded
down on top of the screen. |

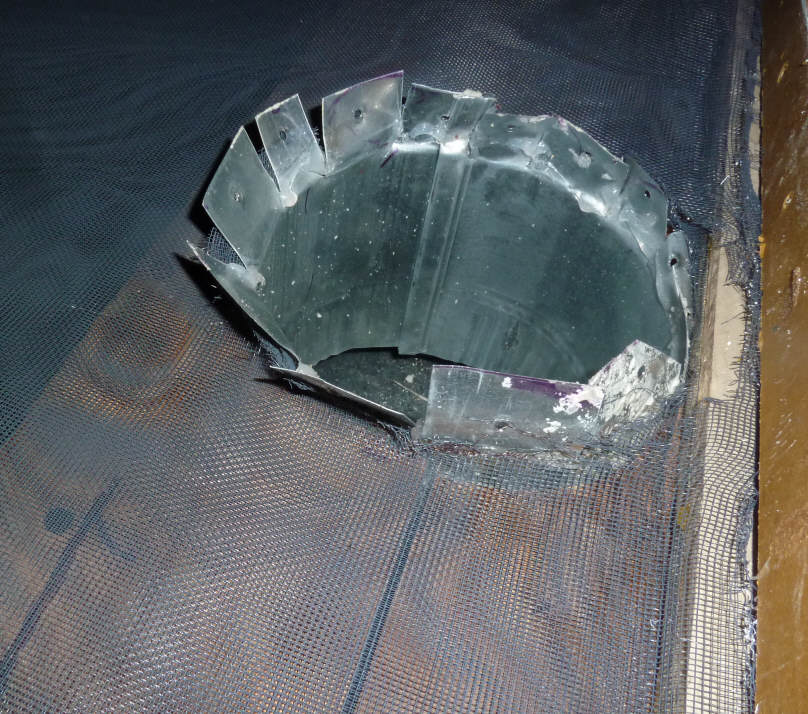
The inlet vent tabs screwed down into the underlying plywood strip and
capturing the three layers of screen. |
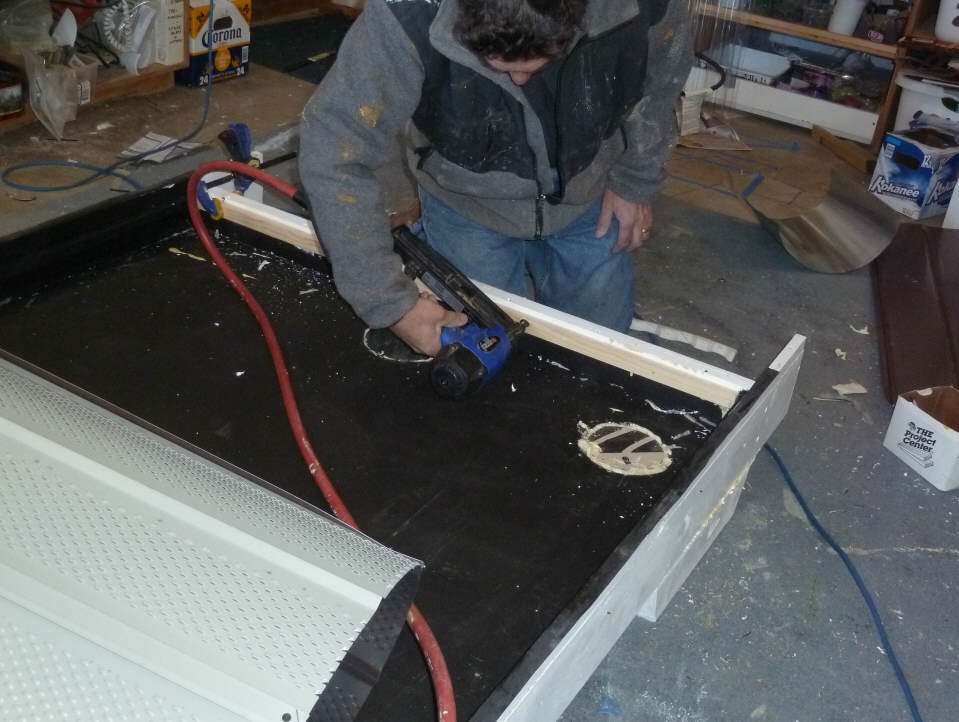
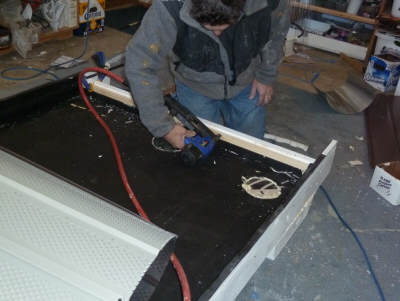
Securing the Absorber Assembly

Push the absorber frame down onto the
absorber support strips. |

Push the frame outward to put tension
on the screen, and then nail or screw the
absorber frame to the absorber support strips. |

The absorber assembly installed in the collector box. |
Install the baffle plate that spreads the flow from the inlet across the
width of the collector. This is the same baffle plate that was used in the
soffit collector. The purpose of the baffle is to spread the incoming air
out over the full width of the collector and to keep the inlet air from
impinging directly on the glazing (which would result in a lot of heat loss).
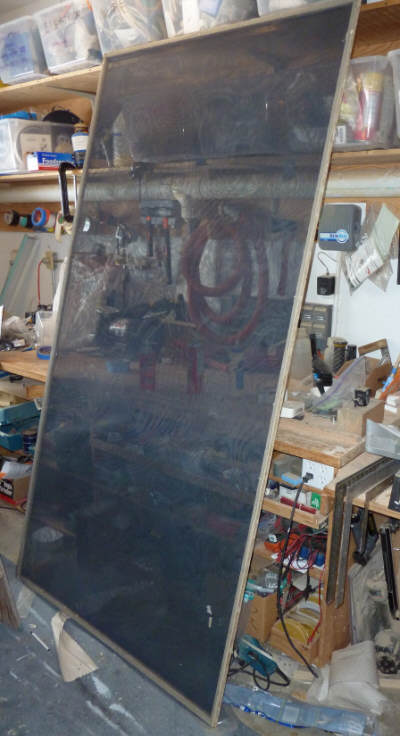
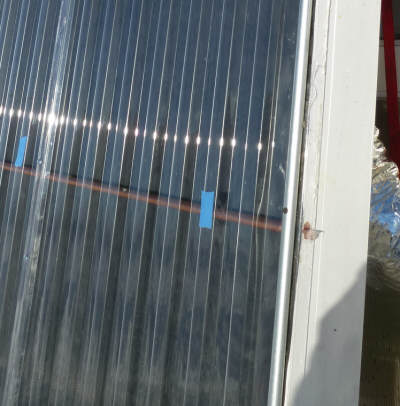
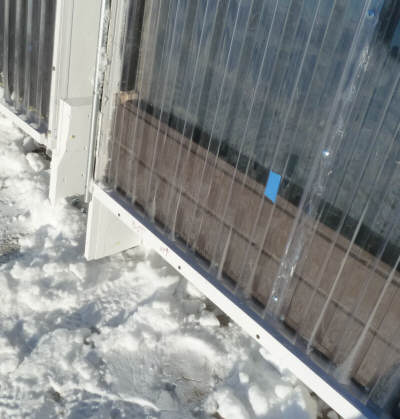
Install the Glazing
Install the SunTuf glazing. Suntuf glazing is corrugated polycarbonate. It transmits 90% of sunlight, has a high temperature capability, and is very tough. Home Depot is one of the retailers that carry it.
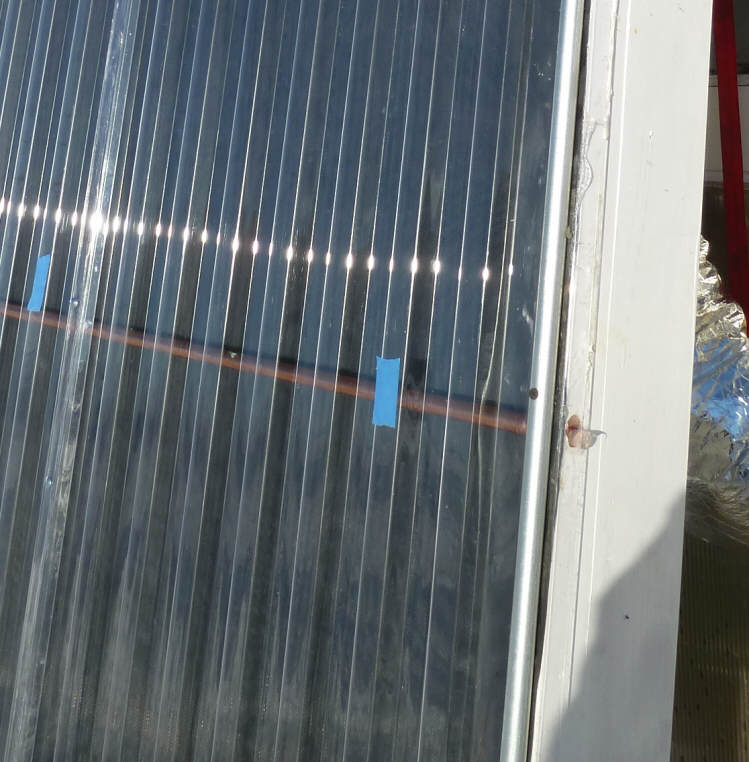
Be sure to install at least one glazing support bar to keep the glazing from
buckling excessively as it heats. I used scrap copper pipe for the support in this case, but half inch galvanized EMT conduit is fine.
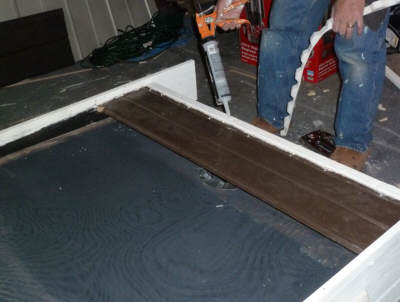
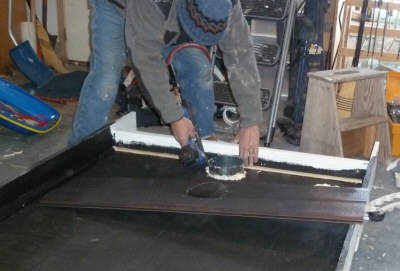
A bead of silicone under the corrugation close out
strips. |
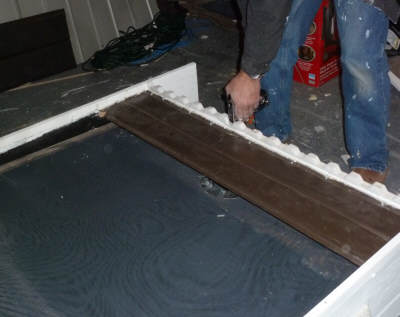
Staple the close out strips to the box. |
In this case, I used half inch EMT metal conduit to clamp the edges
of the glazing panels to the collector box. This was mainly to
make it
easier to quickly take the glazing on and off the box, and at the
same time insure a good tight seal between the glazing and the box.
There is a strip of EPDM rubber roofing membrane between
the glazing and the collector box. |
This shows the PVC "wood" compression bar used to press the
corrugations tightly into the foam closeout strips.
|
I should point out that these are collectors I'm building only for test
purposes. For permanent collectors, I'd give more thought to the life of
the collector.
Some people feel that wood should not be used in collectors as it may limit
the life of the collector. I'm not so sure about this as my 6 year old
large wood collector looks as good inside and out as the day it went up.
It probably depends on your local climate, and the details of how the collector
is mounted. I do think that using deck "wood" or PVC "wood" for the
external batten strips that hold the glazing down is a good idea as the glazing
batten strips take a lot of weather -- the 6 year old deck wood batten strips on
my Solar shed collector are still like new.
If you do use wood construction be sure to think about the details, don't let
water penetrate the collector, be certain to prime and then follow with two
coats of good exterior paint, and keep an eye on the collector for signs of
needing maintenance over the years -- take care of it like you do your house.
If you feel more comfortable with metal construction, then by all means build
the collector from metal.
Gary January 12, 2011