Converting a Clothes Dryer to Use
Solar Heated Attic Air
Randy describes his new clothes dryer setup that uses an attic solar
collector to supply
hot air for his dryer. This system saves the energy
associated with heating air for clothes drying and also the energy
required to heat or cool the air that a normally connected dryer pulls
into the house as it vents air outside.
Dryers are a major energy user in homes. A Canada study shows that
dryers typically use 930 KWH a year to do 416 dryer loads (2.23 KWH per
load). Nearly all of this heat energy simply expelled outdoors
(wasted). In addition, as the dryer vents air outside, it
pulls fresh air into the house which has to be heated or cooled (depending on
season) to room temperature -- this can easily add another 300 KWH plus
per year. Its amazing to me that this very large energy sink does
not get more attention.
Randy's setup is simple and effective, and it appears that it can
save a serious amount of energy.
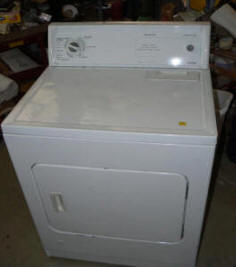
Here are some pictures on how I converted a used 110 volt Kenmore gas dryer I
purchased at a garage sale for $35. It can now be used with a solar collector or
attic heater. The the pictures below show how the normal dryer air intake was
blocked and heated air from the attic solar collector was used instead.
After converting the dryer, I blocked the intake and was surprised that it
was not even close to air tight. The design of the dryer and the worn drum gaskets
caused the exhaust to output more air than came in the intake. To overcome the
problem I decided to add a fan to the intake duct coming from the attic heater.
That combined with the powerful dryer fan should do the job.
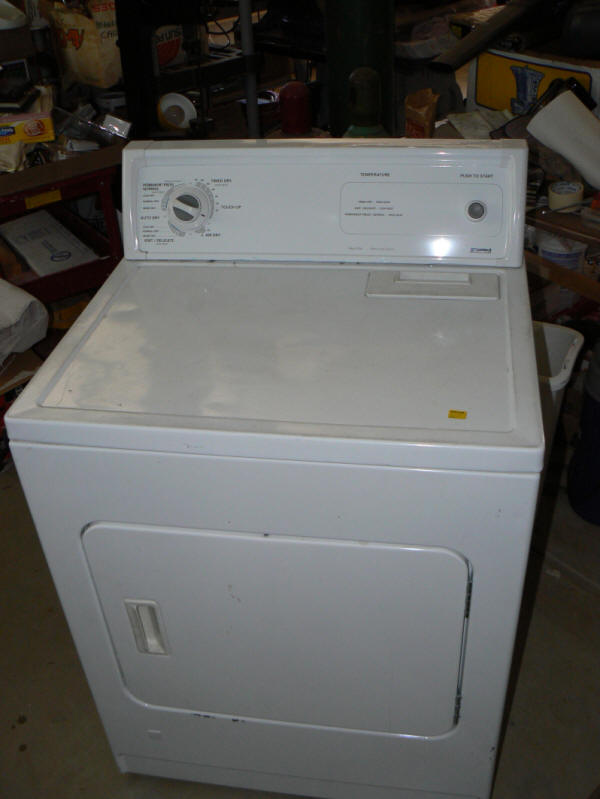
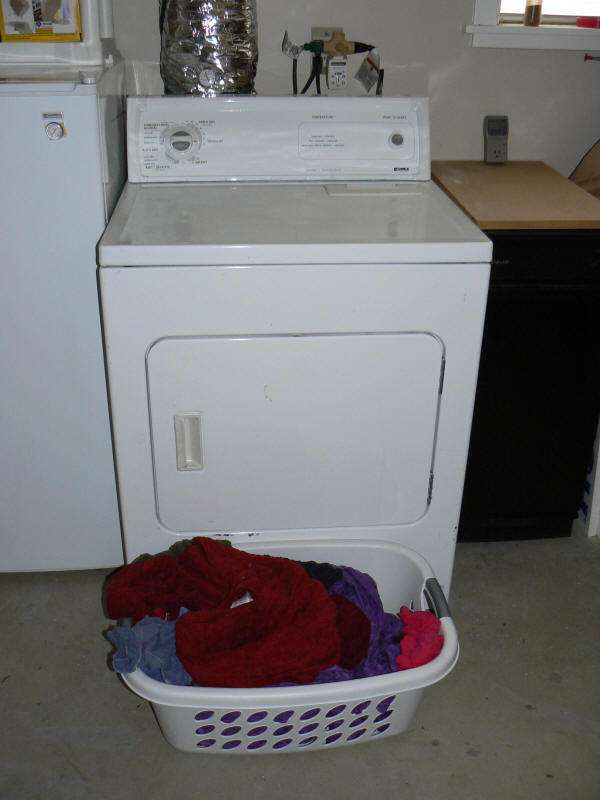
Gas dryer before conversion to use
attic air supply.
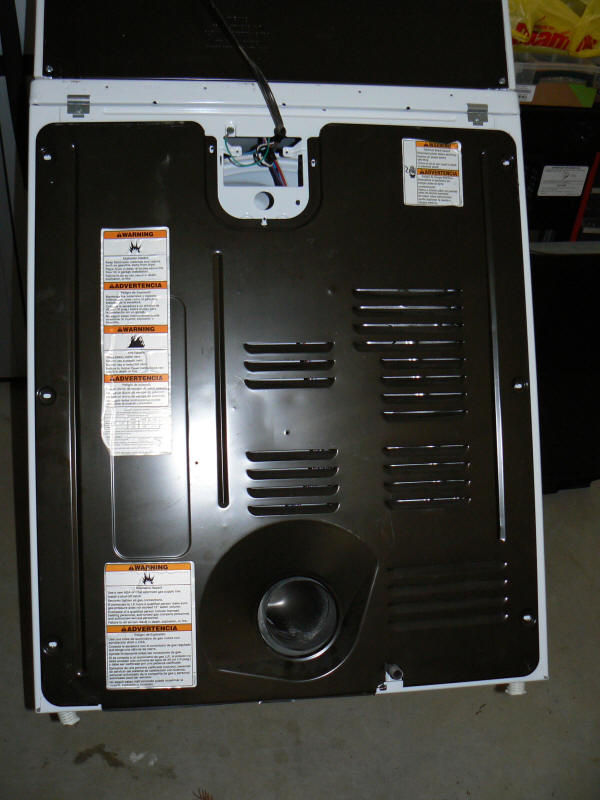
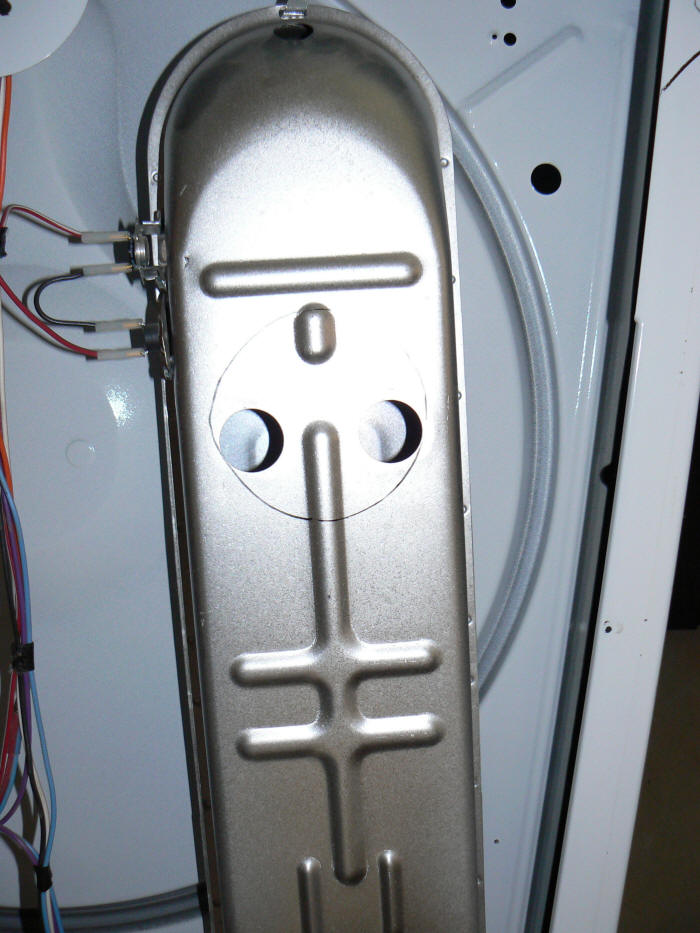
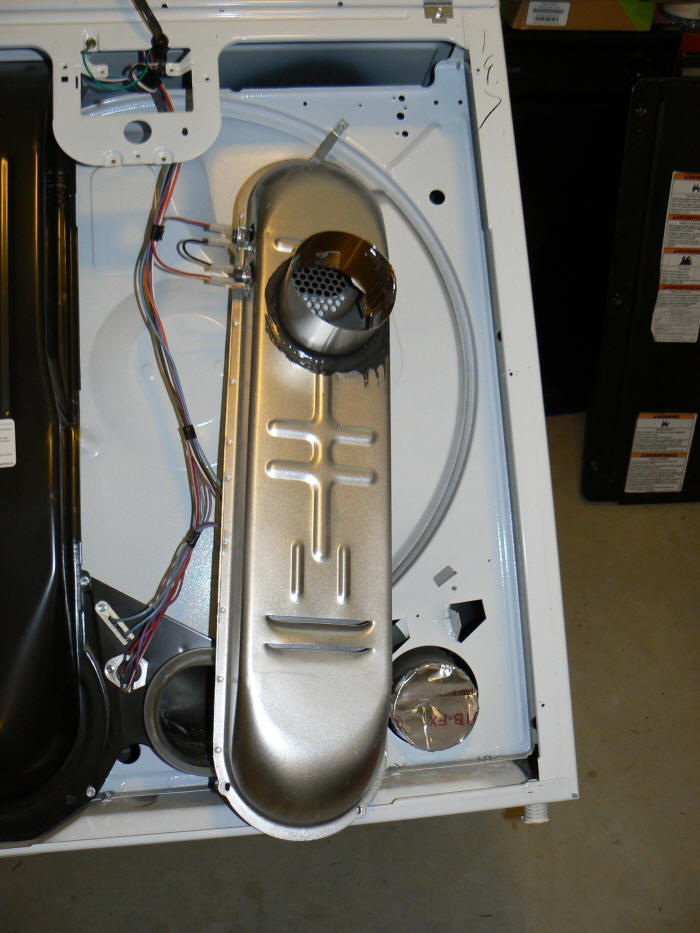
Back of the dryer before removing the cover.
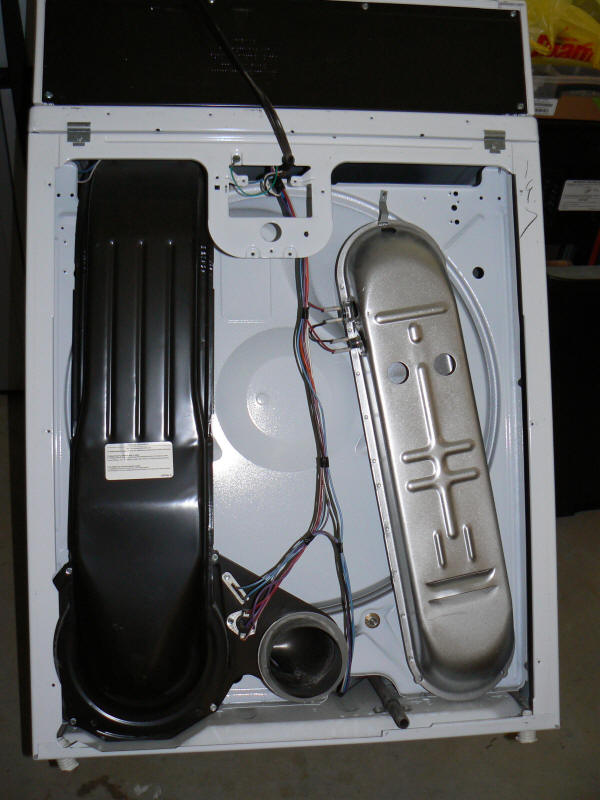
The black metal duct on the left is the
dryer exhaust duct, and the silver
colored duct on the right is the
dryer intake duct.
Circle marks the point where the duct
supplying attic air will be hooked up.
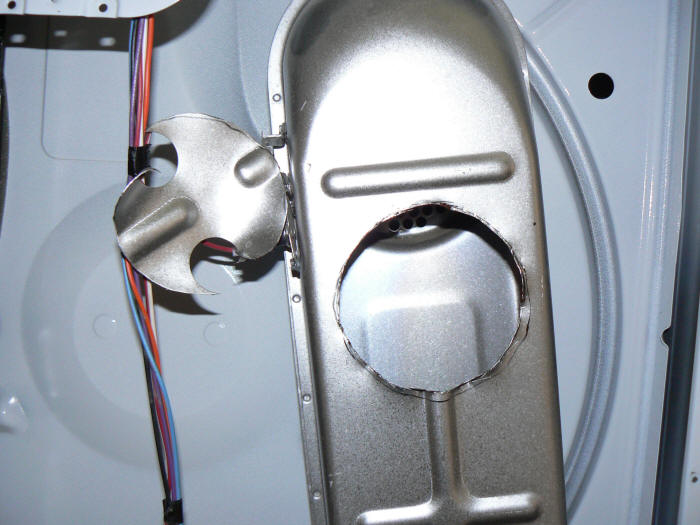
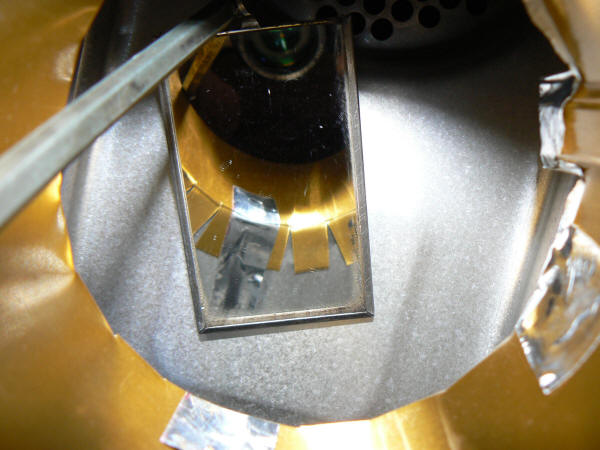
Cutting hole for attic air supply duct.
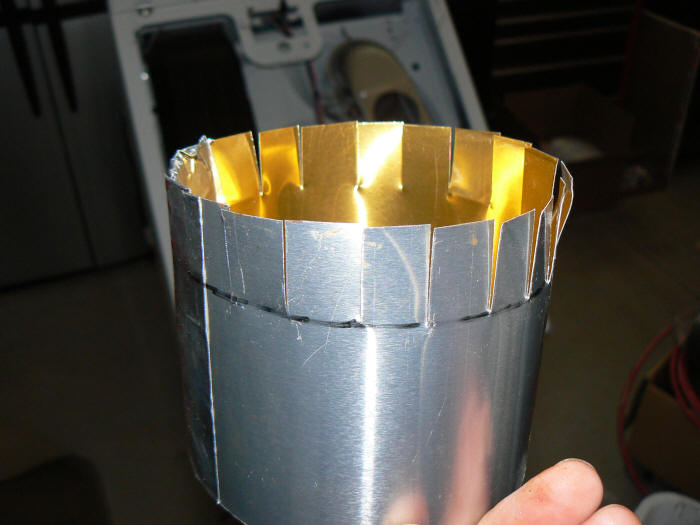
Making a flange to connect the duct from
attic to the dryer.
Aluminum tape to secure the flange
tabs in place until adhesive is applied.
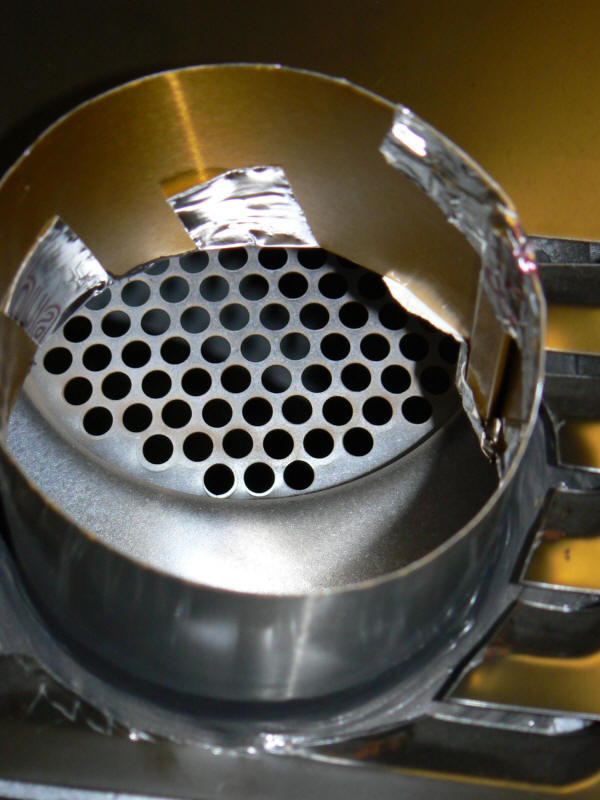
Showing how tape secures the new flange
in place.
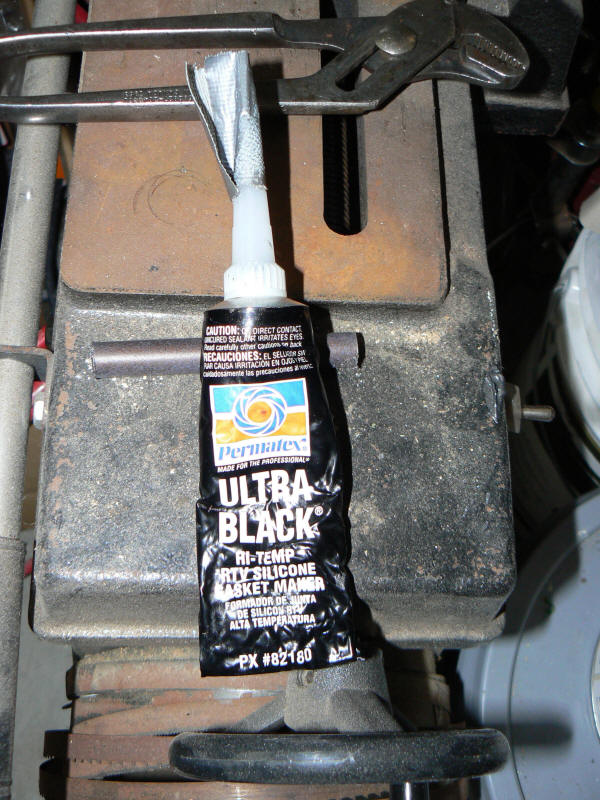
RTV high temperature sealer/adhesive to
secure and seal the flange in place.
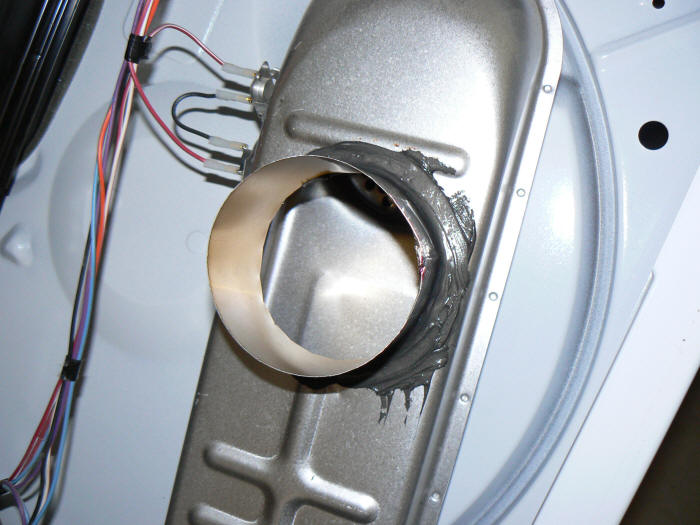
The new flange sealed in place.
The regular intake that pulls air from
the cabinet is closed with aluminum tape.
Closeup of normal air intake sealed up
with aluminum tape.
One thing to bear in mind is that this conversion will not let you use gas
heat as a back up, when solar is not available. I will have to tackle this later
on, when the permanent dryer install is done.
Hooking the Dryer Up to Attic Air Supply
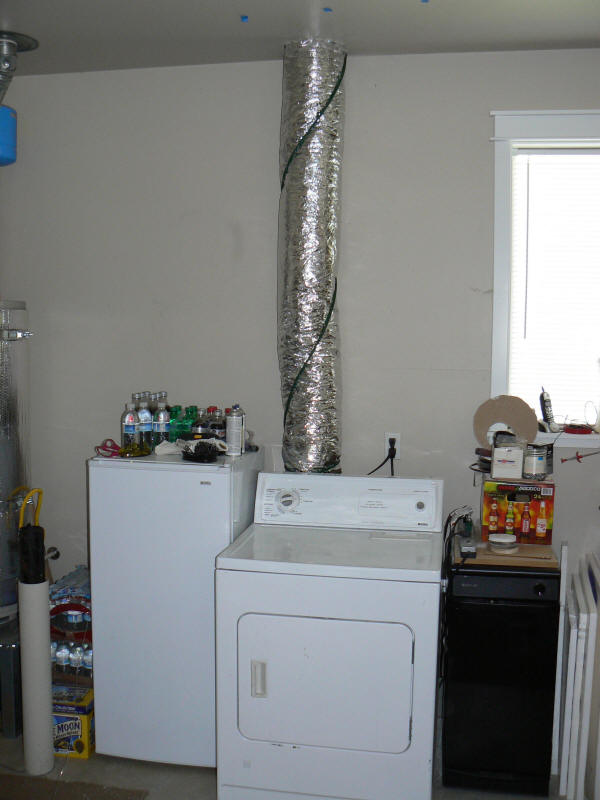
I used a 6 inch. insulated duct 23 ft. long to bring the heated air down from
attic heater to the dryer. A 6 inch. to 4 inch. adapter was used at the
vent attached to the dryer intake.
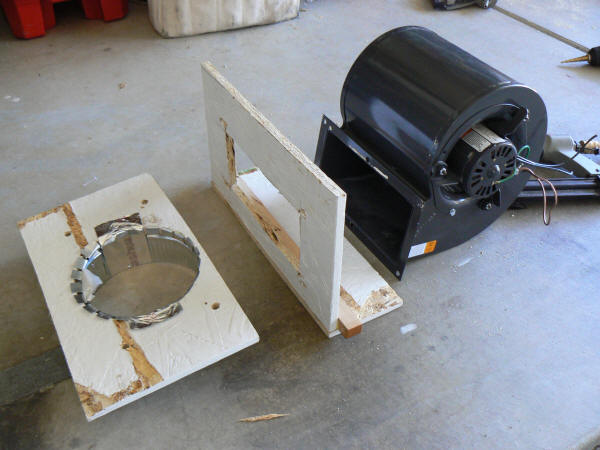
The fan installed in the attic plenum works great. I picked it up at the
local salvation army store for $20. It looks like new. It was installed in some
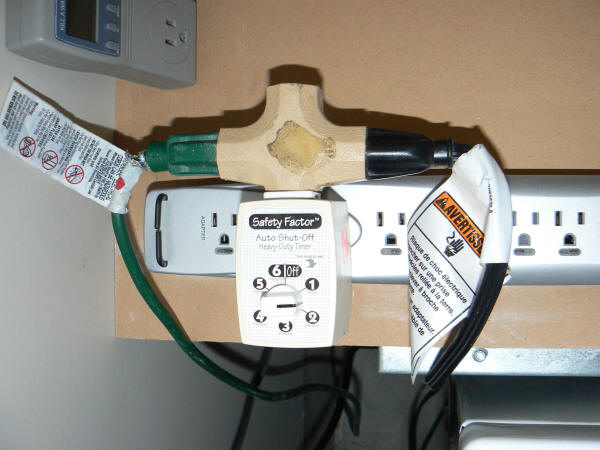
kind of portable filter cart. The dryer and fan cord are plugged into a timer,
which in turn is plugged into a switched
plug strip next to the dryer. The timer insures that we don't leave the
dryer on too long.
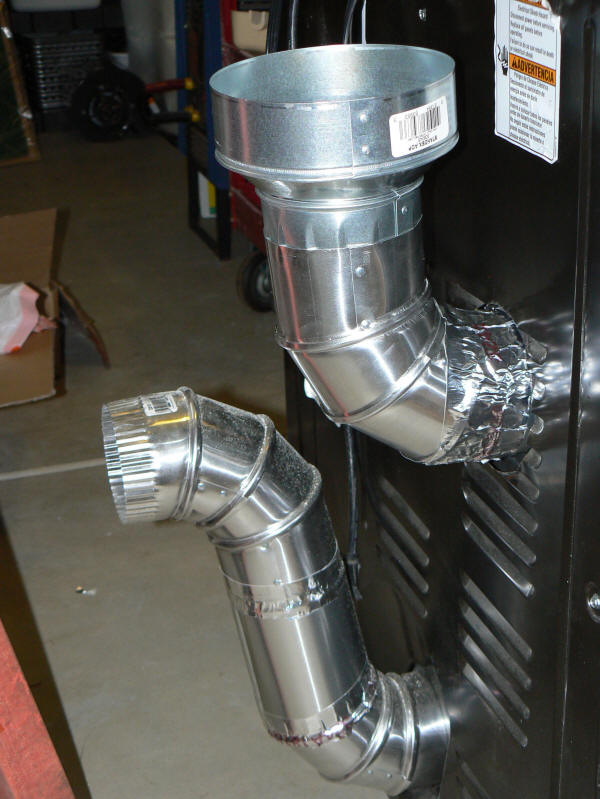
This shows the new intake connection for the dryer. The upper duct
connects
to the attic air supply and provides all of the heated air needed for drying.
The lower duct is the normal dryer exhaust and is vented through the wall to the
outside.
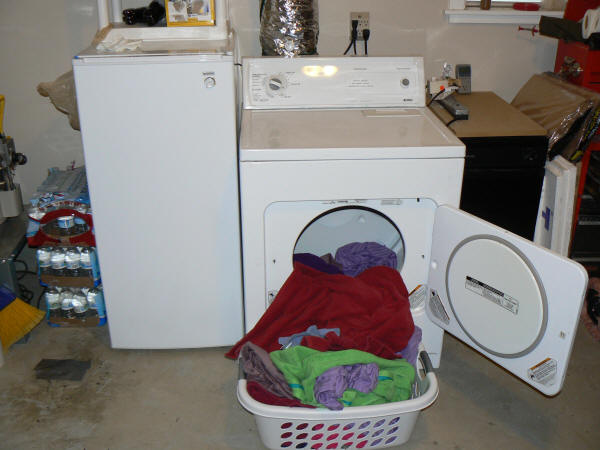
The completed dryer with the attic air
intake duct installed.
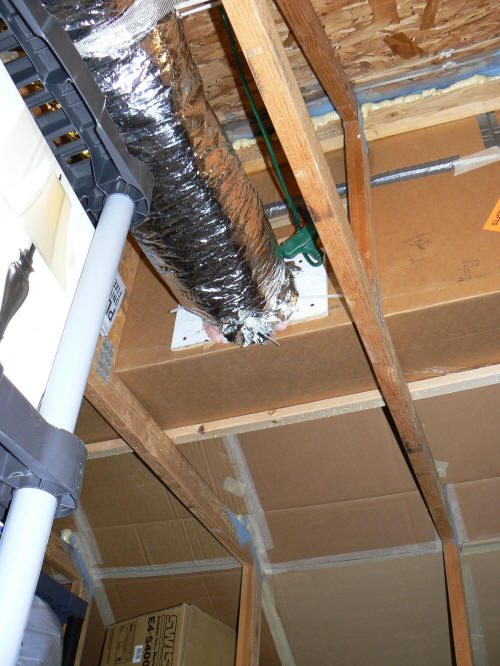
The attic air intake duct.
Connecting the dryer air supply duct
to the attic collector plenum and blower.
The dryer exhaust vent through the wall.
The blower used to provide sufficient hot air
flow for drying clothes.
Timer to control the fan.
The dryer was installed in the garage, next to kitchen and laundry room door
for convenience.
Performance
The dryer is in! It is functioning better that I hoped.
The dryer was installed in the garage, next to
kitchen and laundry room door for convenience.
Dry clothes come out hot like a normal dryer.
Left side gage is dryer inlet temperature,
right side gage is attic collector temperature.
Loads of towels, sheets, pants are running at 90 minutes for a full
load.
The booster fan is 110 volt and 1/15th hp. The cfm rating
unknown.
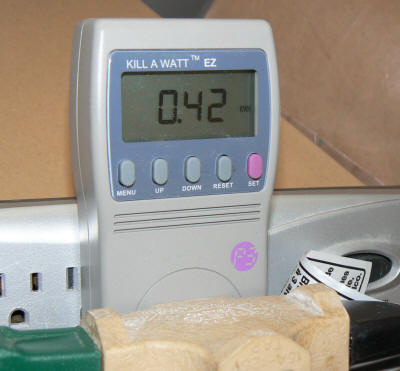
Power and energy consumption:
Dryer alone power use
264 watts
Attic blower alone power use
141 watts
Total Power Use (fan+dryer)
396 watts
Energy used for one 90 minute dryer load
0.6 KWH
Cost for one dryer load at 10 cents per KWH
6 cents
This compares to 2.2 KWH for an average electric dryer load without
counting
the additional energy consumed to heat or cool outside air that a normal
dryer pulls into the house. If one allows 1 KWH for heating or
cooling infiltration air, then the total energy use per load for a
conventional dryer load would be 3.2 KWH, or more than 5 times as much
energy as the dryer supplied with attic air!
The measurements on the attic dryer were taken with a Kill-A-Watt
meter:
My home is shaded at 4pm, but there is enough stored heat to last until
about 6:30pm. Shade will effect the drying
schedule.
Something I had not thought about earlier, is that a dryer draws 100-150 cfm.
When the dryer is operating in the home this causes the home to draw in outside air. If
outside air is 17deg. or 100 deg., I not only pay to run the dryer, I also
must now heat or cool the air drawn into the home. This is a hidden cost. Of
course if the dryer is in a room with a door, you can crack a window, if you
have one. But what do we usually do? We turn on the fan in the utility room
to vent the heat and moisture. That will now draw even more air. If dryers
were made to vent in air from outside the home, couldn't this prevent the
draw from the home and the hidden costs associated with it?
What I Would Have Done Differently
If I had it to do over, I'd make these changes:
Locate the dryer intake vent 4 inches higher to match the drum
intake holes.
Block off the intake with foam after cutting the hole. This
would have saved an hour of work removing the duct and taping up many
holes. It is tricky to reinstall.
Install a new gasket on the drum to close the gap where air bypasses
so that the additional fan is not needed.
Use sheet steel vent to the intake instead of sheet aluminum, its
much stronger.
Other Possibilities
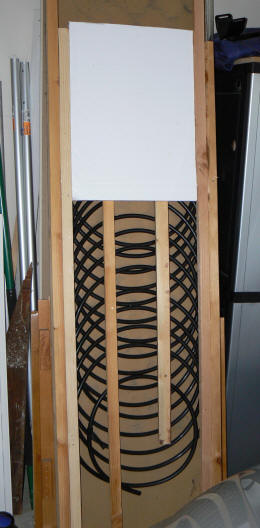
Here
is a possible attic water heater design. This won't work in winter and will
not drain back at night. The only way to drain it is if I kept each run
separate and used air pressure to empty the lines, in winter. Still
thinking. I like that it is low cost and uses few connectors and has lots of
pipe in contact with the heat source.
I'm also thinking about a 2nd attic heat collector, as I have more roof
area available.