The Barra Box -- A
Small All Solar Demonstration Space for Cold Climate Winters
Note: these are the notes on a series of tests that Nick
Pine and I did in trying to come up with a small demonstration space (a
"d-Cube") that could maintain a comfortable inside temperature through a Montana
winter.
The design uses a variation on the
Barra system.
These tests were done in 2010.
If you have any thought or ideas, I've added a Comments section at the bottom of
this page.
Gary 10/26/2012
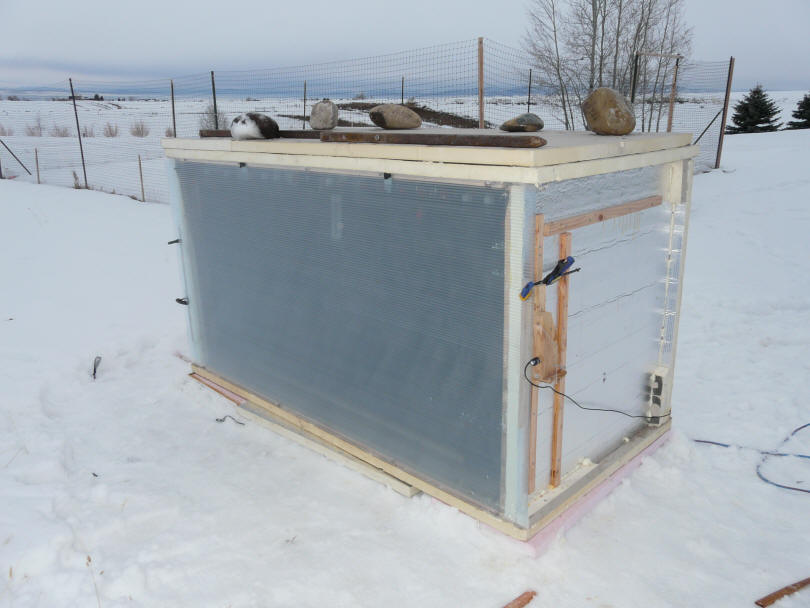
This page has a photo description of
the basic Barra Box.
Directory of other pages describing
test results and follow-on design changes:
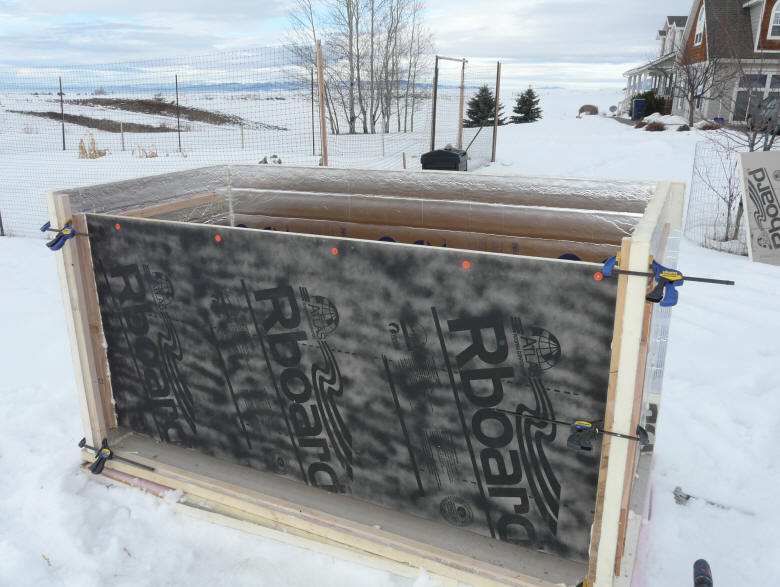
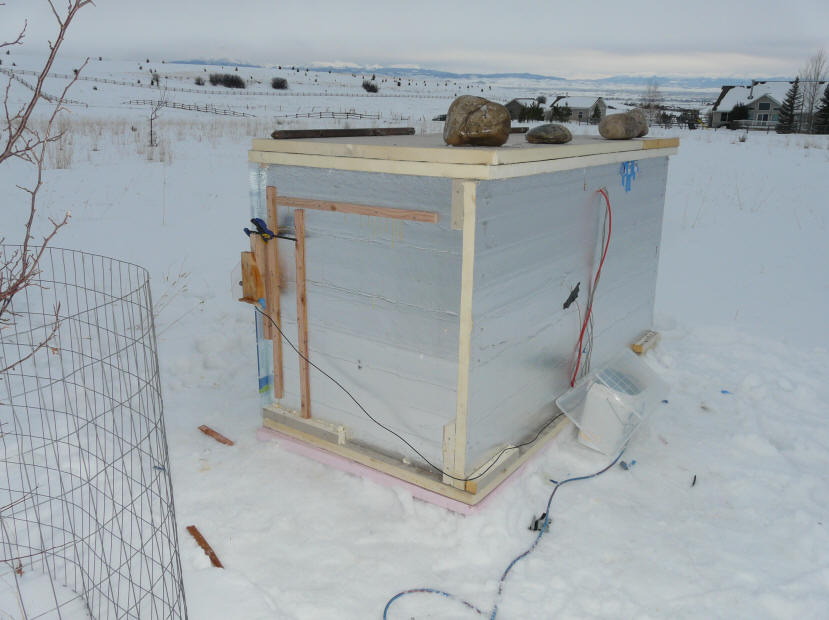
Some pictures of the 4 by 8 by 4 box
with Barra system. A precursor to the dCube.
The half dCube with a Barra system.
side view of the box
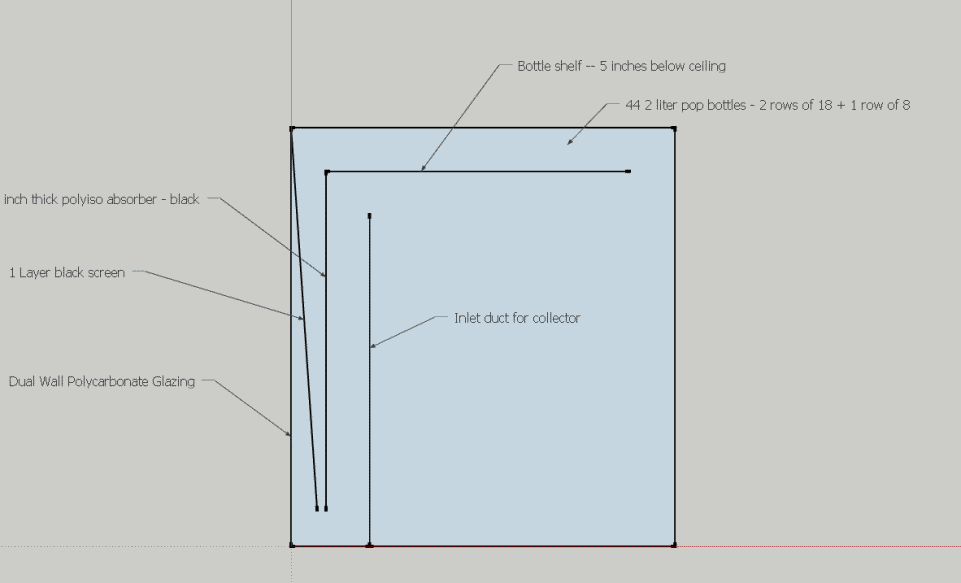
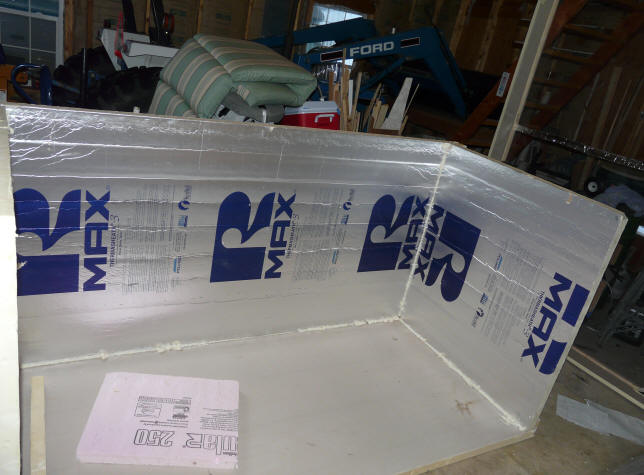
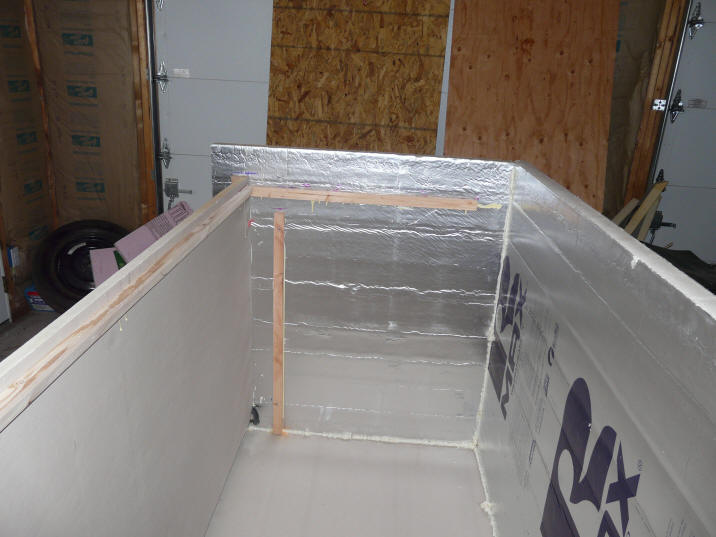
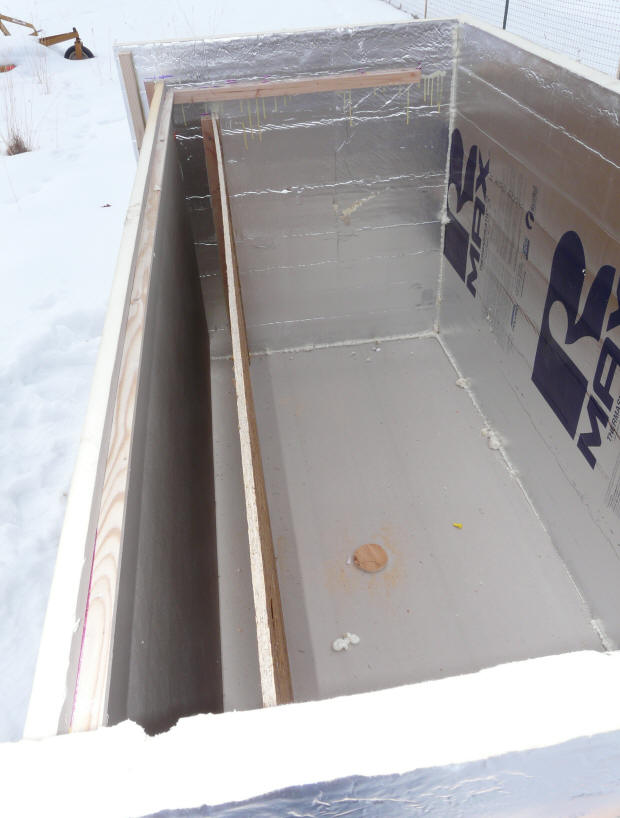
Back, sides, and bottom from 2 inch
polyiso -- glued together with "Great Stuff" PU foam in a can
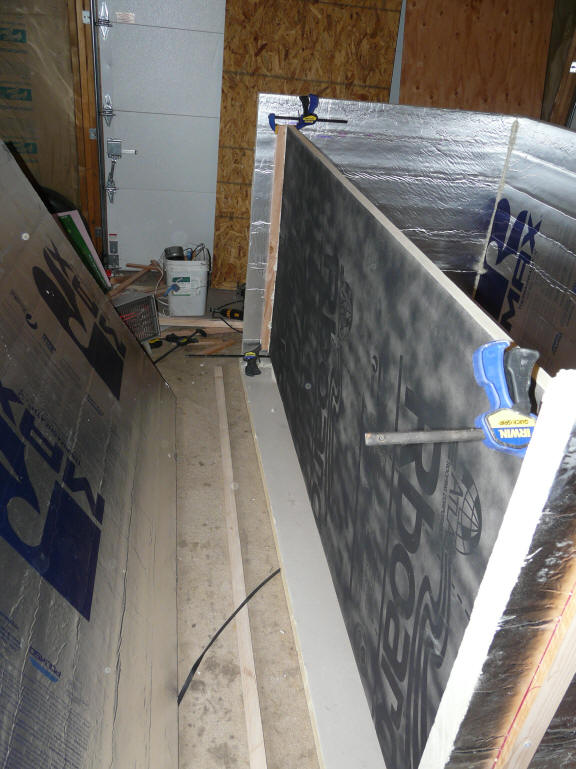
Attaching absorber made from 1 inch
polyiso painted black.
Back of absorber board. The
vertical wood board behind absorber is to support inlet duct for collector.
The horizontal board that ends at back of absorber is to support the bottle
shelf.
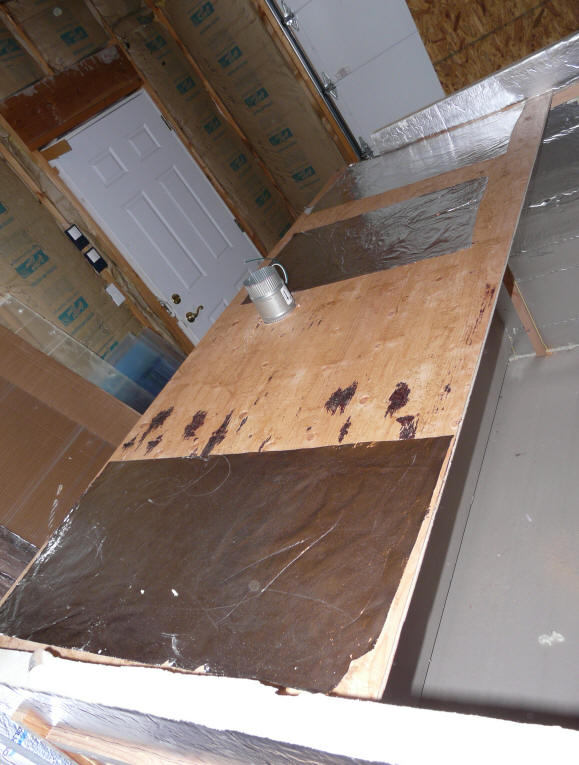
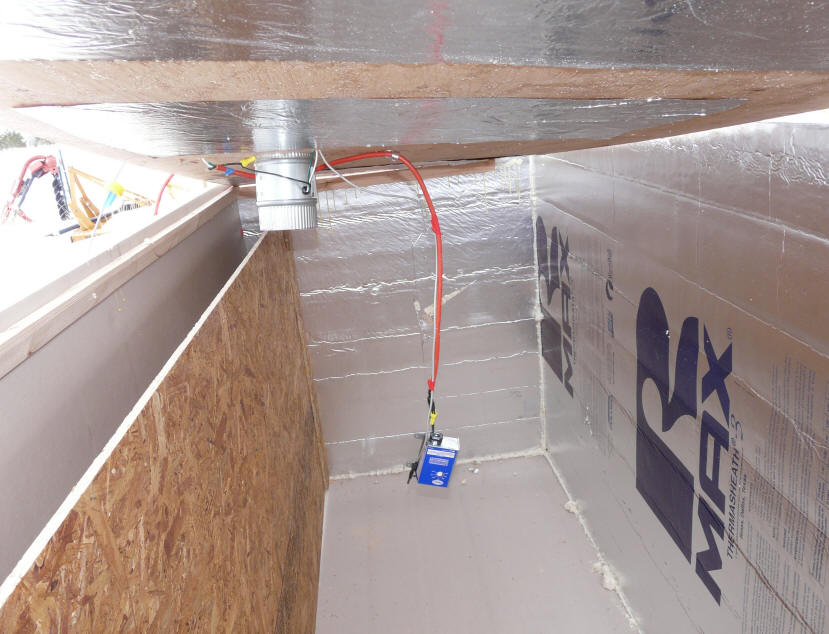
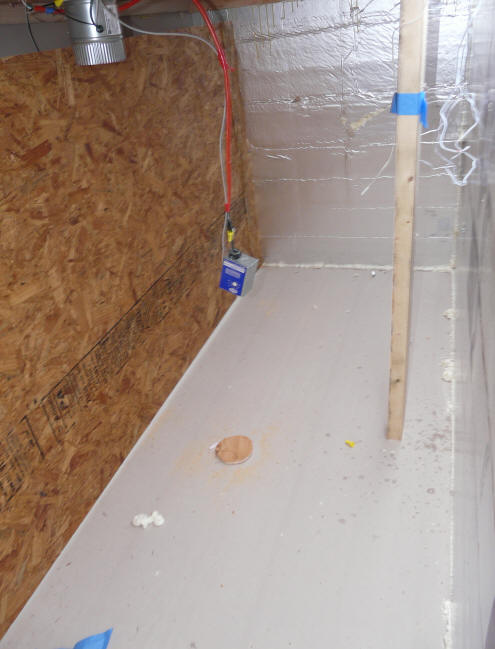
Bottom surface of bottle shelf board. The 4 inch duct has a small fan
inside.
Alum foil is adhered witht he 3M
spray cement.
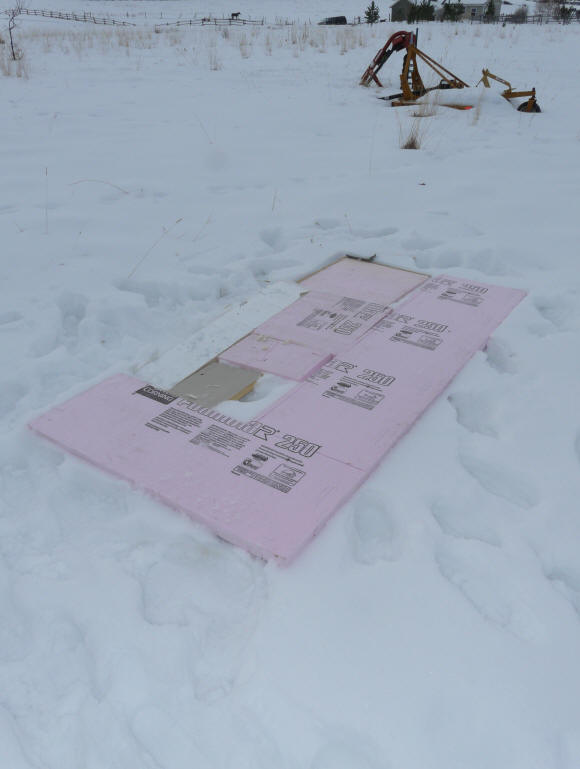
Box sits on these scraps of 2 inch
polystyrene foam.
Box in place ready to install
glazing, inlet duct board, and bottle shelf. The absorber is actually a
bit blacker than it looks in the photo, but could use a bit more BBQ paint.
The duct inlet duct board in place --
its half inch OSB. The duct depth is deeper than intended at about 5
inches.
Bottle shelf being dropped in.
The room thermostat is the blue box and hangs about half way down into the box.
The logger room temp sensor is
mounted in same place.
Thermostat is set to 65F.
Top of the bottle shelf. The 4
inch duct has a small fan to blow up into the bottle space.
The thermal snap switch mounted just
in front of the fan only allows fan to turn on if bottle store is 90F or hotter.
This is the lowest setting for this
switch.
The room thermostat and the thermal
snap switch are wired in series so fan only goes on when room is cold and
bottles are hot.
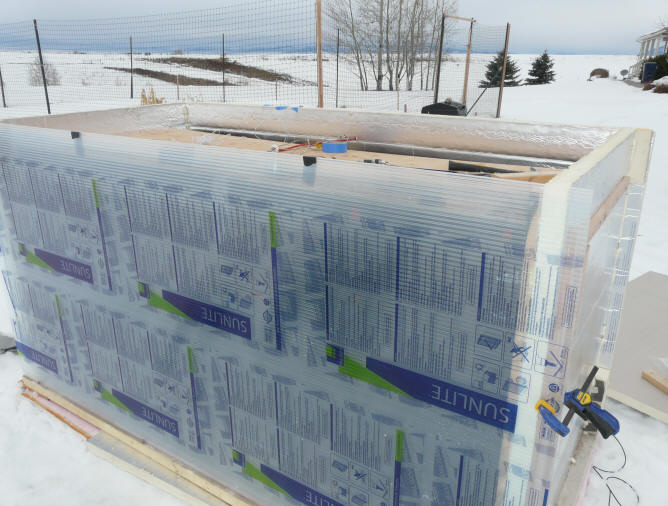
Installing 10mm twinwall
polycarbonate glazing.
Picture taken from inside the box by
lower camera through the slot at the back of the
bottle shelf.
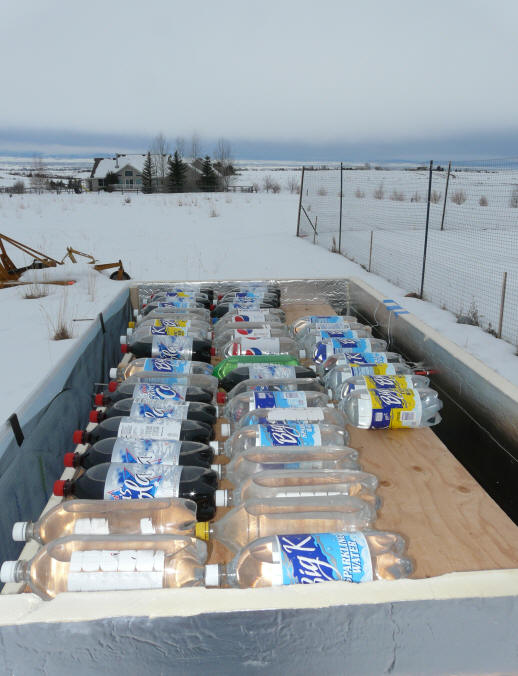
Bottles in position. 2 front
rows at 18 bottles, 3 rd row of 8 bottles.
Intended to have 3 rows of 18, but ran out.
Most bottles loaded with room temp
liquid, but about 8 loaded with 110F hot water.
Outside temp was 39F, and bottles no
doubt cooled some before the top went on.
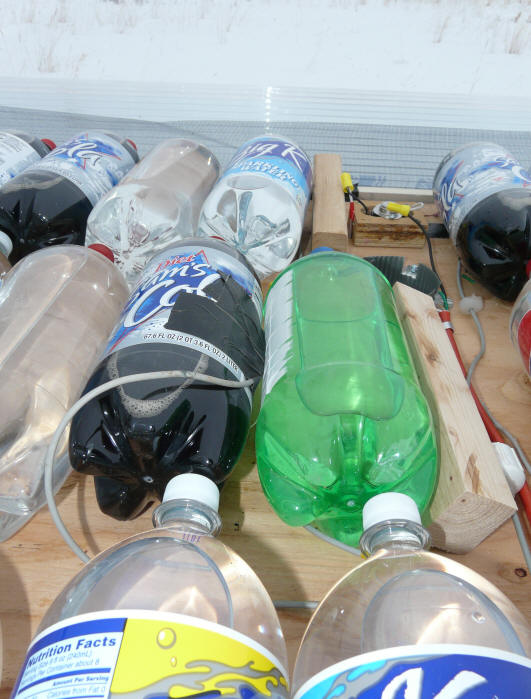
Bottle temp sensor duct taped to
middle row bottle at side.
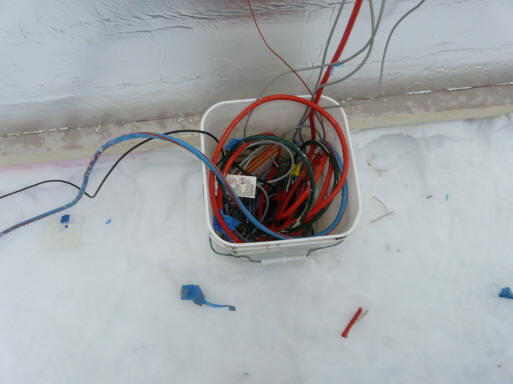
Logger wiring and power for fan/duct.
From the back/side with lid on and
weighted. Lid is 2 sheets of 2 inch polyiso. One aluminized and one
not.
Ran a bead of silicone around the top
where it joins the sides and back.
Also ran a bean of silicone around
the glazing panel.
Done! Time for a beer.
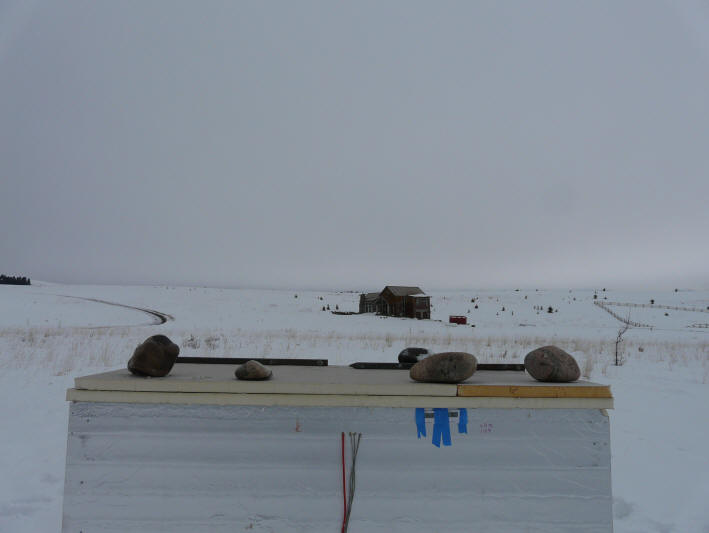
Sun logger is clamped at same angle
as glazing and half way up.
This is the clear view to the south
that the box has.