Search
The Renewable Energy site for Do-It-Yourselfers
Easy/Good LED Can Light Retrofit
|
Home Depot is selling a nice and easy LED retrofit for a regular can
light. We decided to try one as we have lots of can lights that
would benefit from an efficient retrofit. This page gives a
rundown on the installation and the results.
Bottom line is that we are very pleased with it so far -- after all
of 6 hours :)
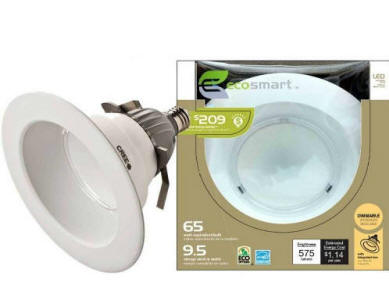
This is the
Home Depot listing for the light... Cost is $40 -- kind
of steep, but see the payback calculations below. The rated output is
575 lumens, and the light consumes 10.5 watts. The color
temperature is 2700 Kelvin, which is a nice warm light. Color
accuracy is 92%. |
|
Installation
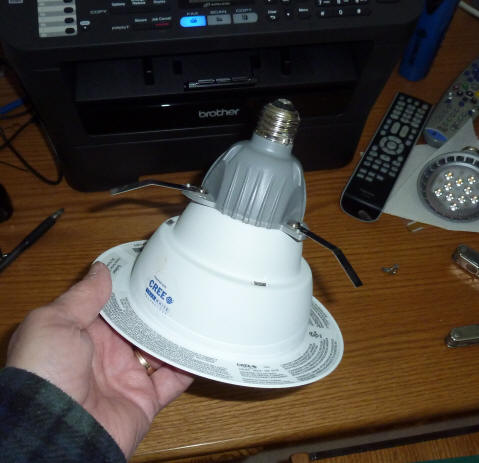
In our case, the light went in quite easily.
Basically, the new light has 3 spring clips that stick out as shown in the
picture below. When you slide the light up into the old can, the spring
clips engage the walls of the old can, and hold the new light in place.
The clips are designed such that when you rotate the fixture CCW, the clips
rotate inward and release the light.
The step by step:
- Get a work light, and turn off the power to the can you are replacing.
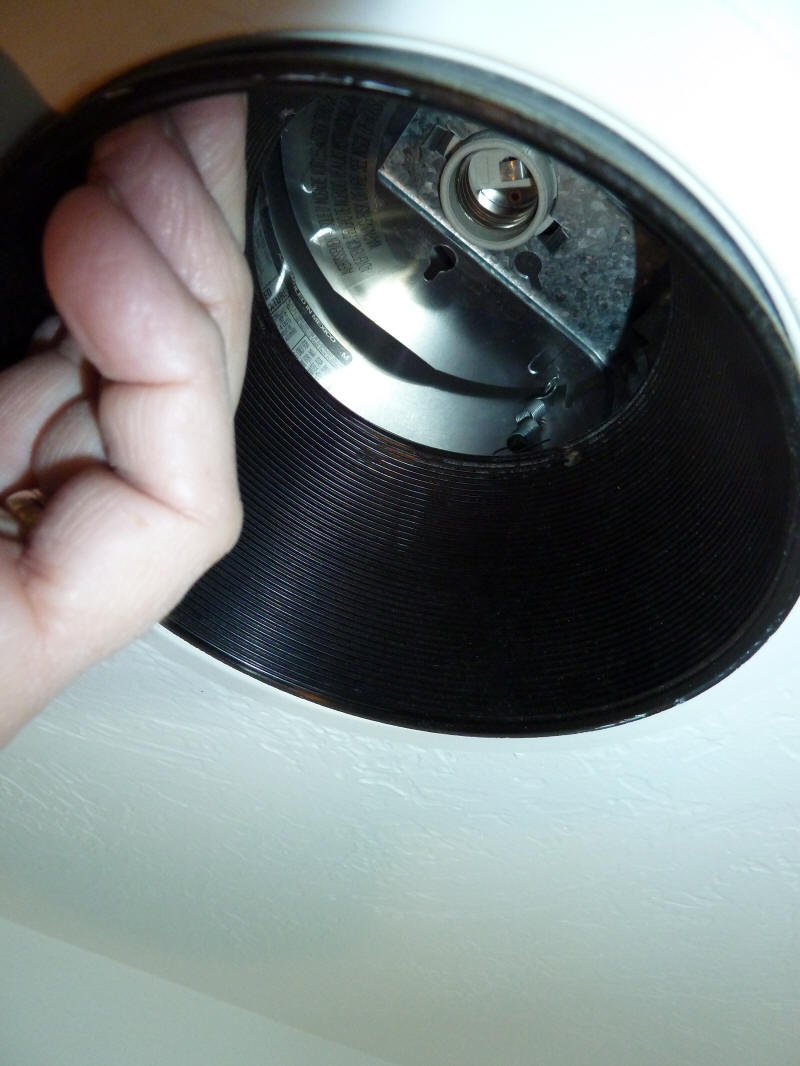
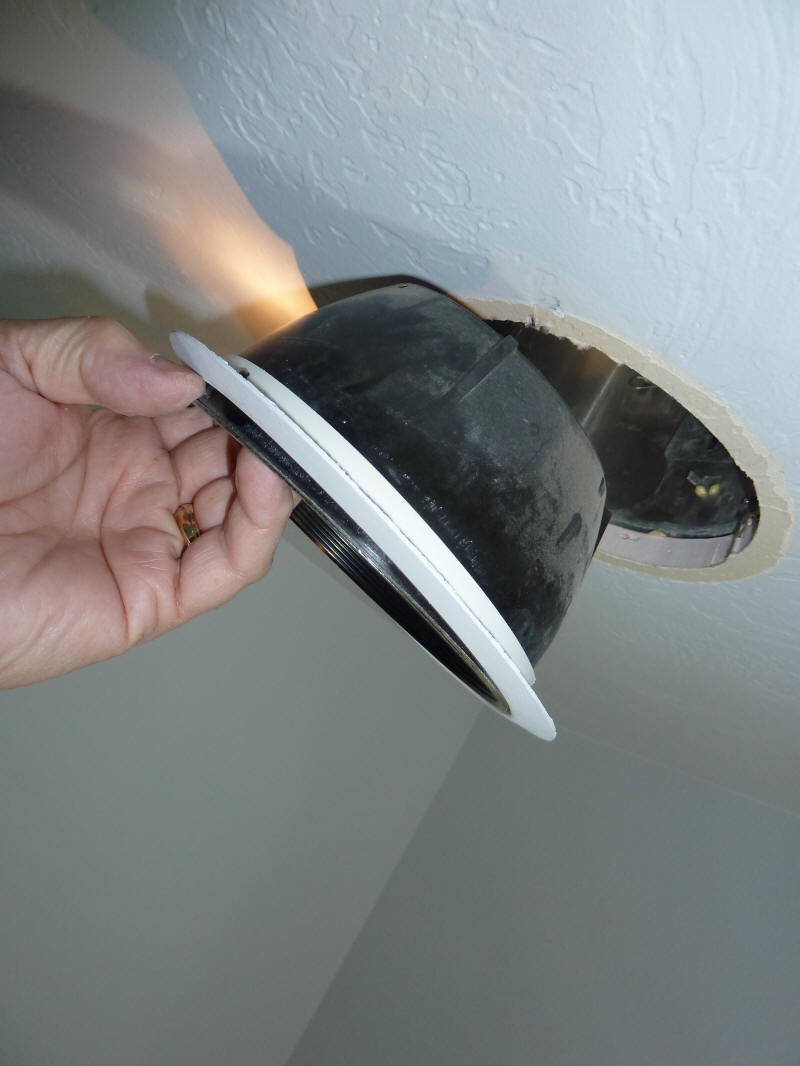
- Pull the bezel on the old can light down -- on ours this involved
disconnecting some springs that hold the bezel in place. Take the old
bulb out.
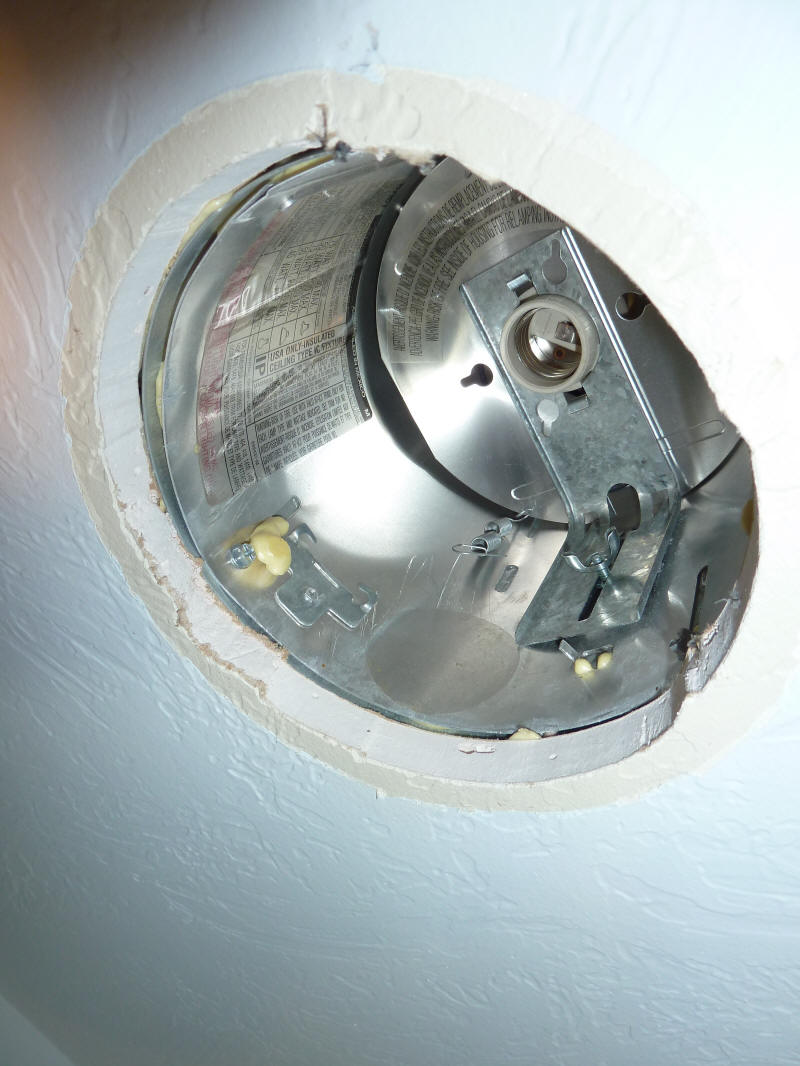
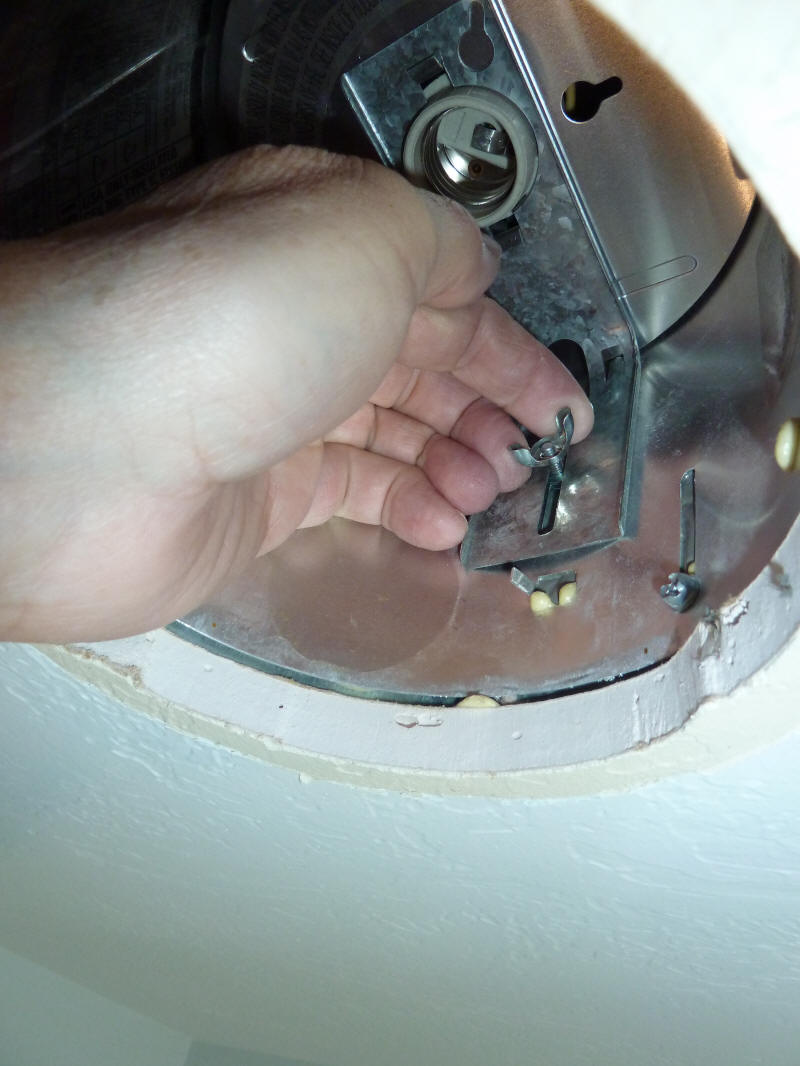
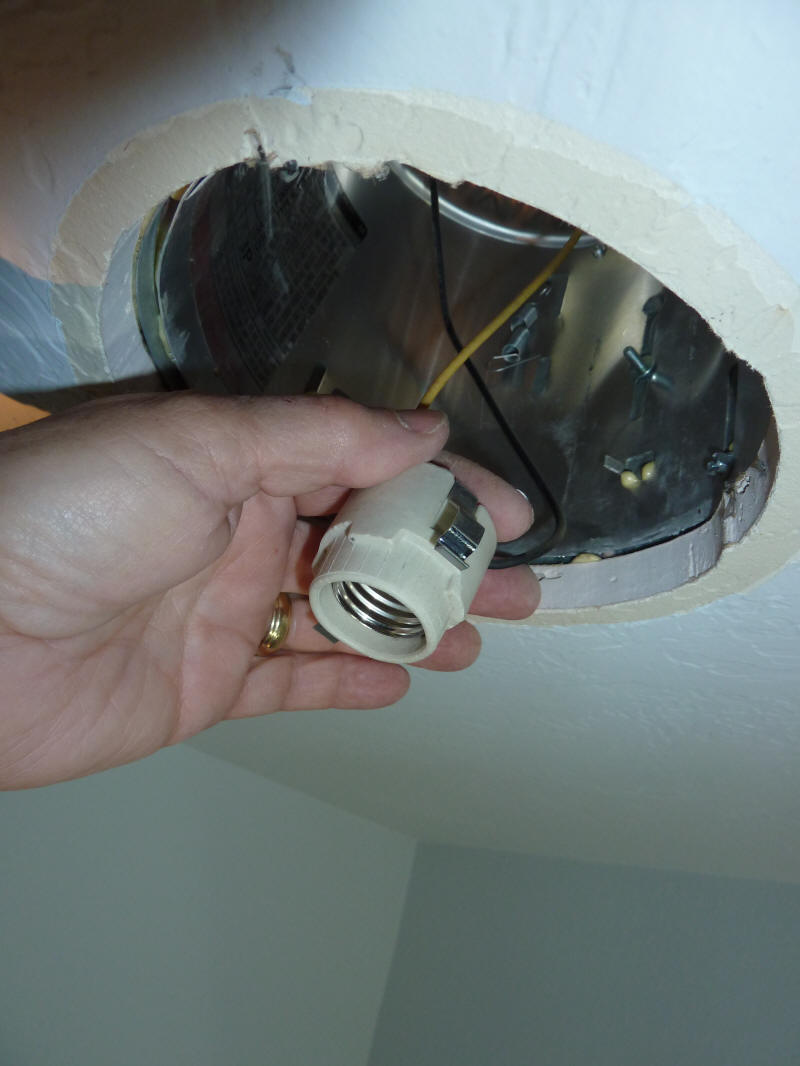
- Take out whatever is holding the bulb socket in place so the the socket
is just on its wires, and can be pulled down a bit. On ourst, this
just involved taking off a wingnut and a sheet metal clip -- a minutes
work.
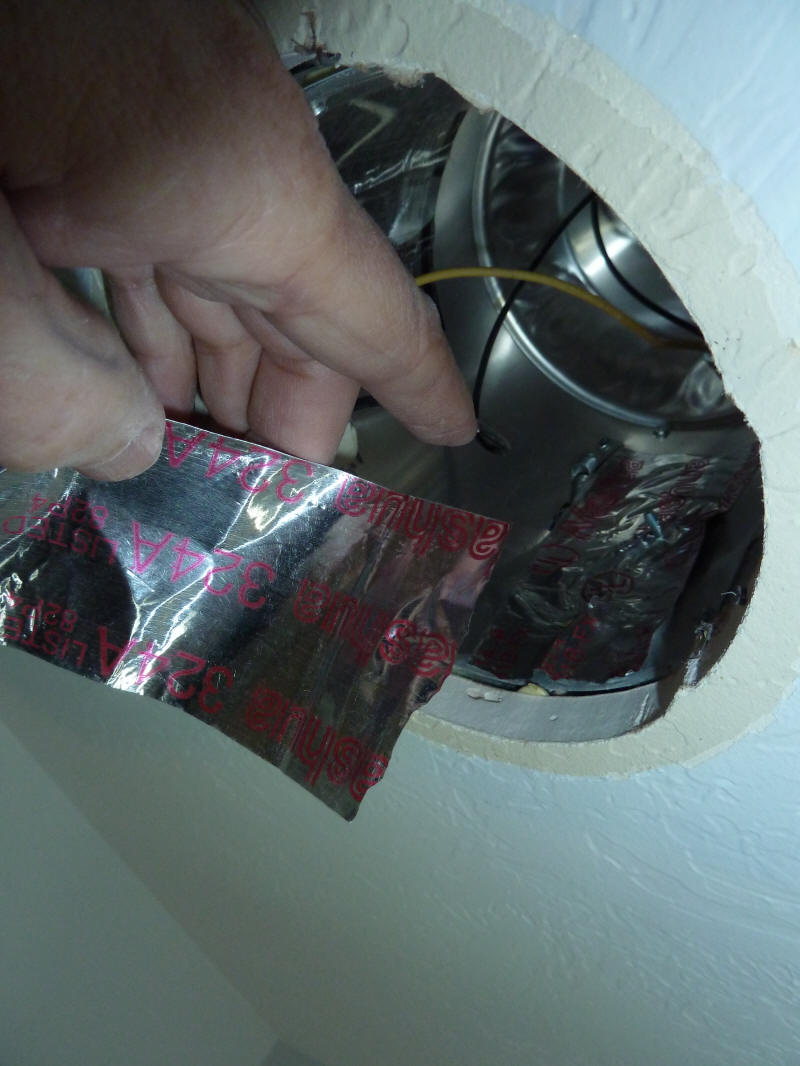
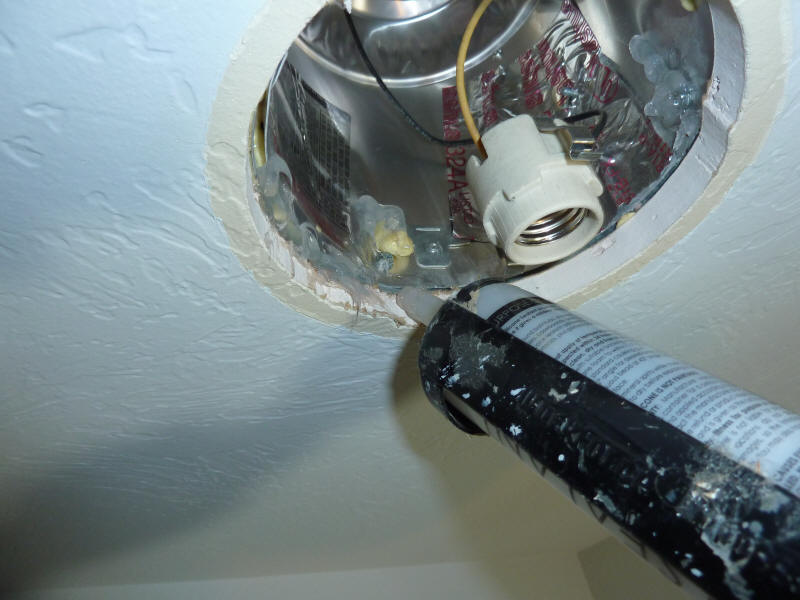
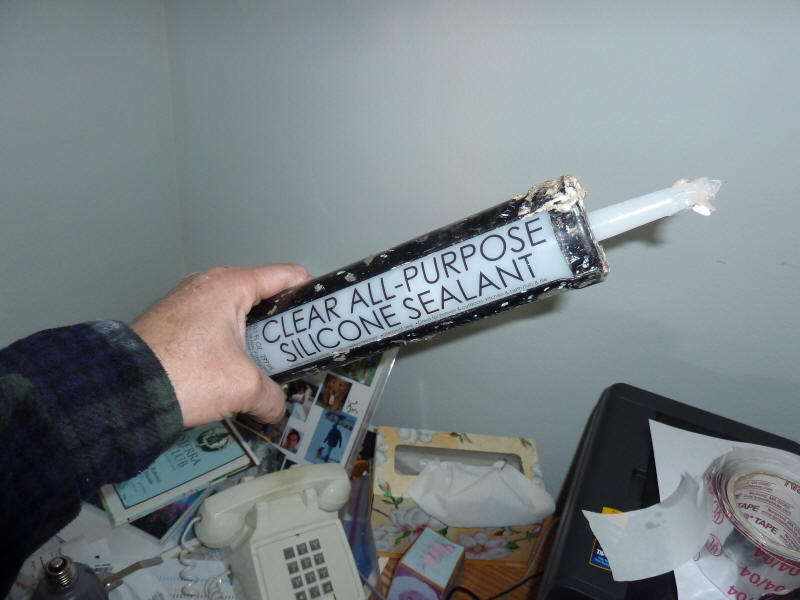
- In our case, I took some time here to seal up all the holes and
slots and cracks in the old can light. I used aluminum tape
on the open slots, and silicone caulk for the gap at the sheetrock and a
couple other places. Our cans are already insulated over in the attic,
but if yours are not you might consider this. If concerned about
having insulation right up against the cans, you can buy fire treated boxes
that are made for covering cans before insulating. Anyway,
this is your chance to seal up the big thermal hole that can lights cause in
your ceilings.
- Screw the new fixture into the old can light socket. I'd check
that it works at this point before pushing it up into the can.
- Pull the spring clips out so they are perpendicular to the light
fixture, and push the light fixture up into the old can. On ours this
was surprisingly easy to do.
- Turn on the light and have a beer under the nice warm light.
Results
The light is
Reviews
There were 117 reviews on the Home Depot site. The overall score was 5
out of 5 stars. There were many 5 star reviews -- comments like: "Fantasic
Light", "Blows away CFLs", "Awesome". There was one titled "Beautiful
light, but pricey", which pretty well sums up our opinion. The only
negatives I saw in a quick review were: 1) did not work well with some dimmers,
2) does not fit all cans.