Search
The Renewable Energy site for Do-It-Yourselfers
Building the Body
and Legs for the Solar Dino
| This page provides the details on building the body and legs for the
Solar Dinosaur.
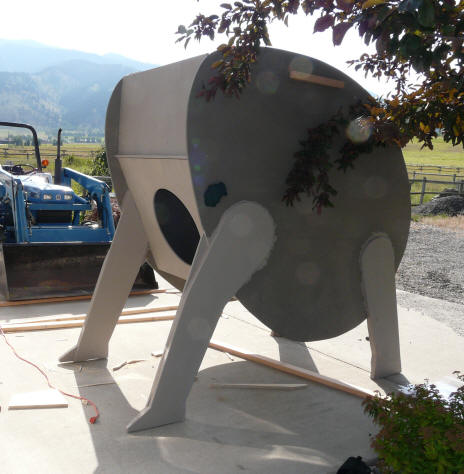
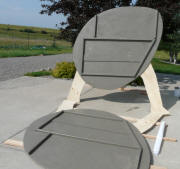
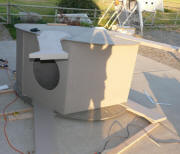
The dino body section box with legs attached.
|
|
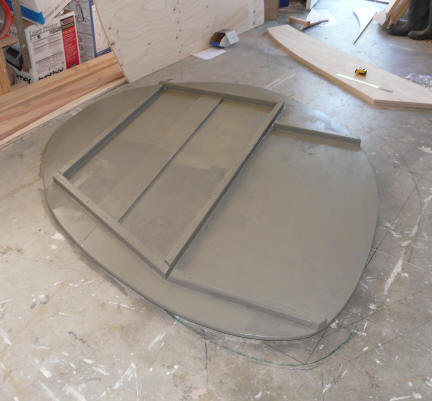
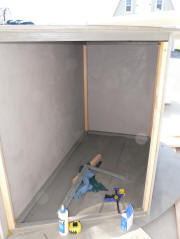
The dino body is basically a plywood
box structure. The sides of the box are cut out in the shape of a dinosaur
in a side view. These sides are connected by a 4 ft wide box section made
from plywood sheets. The inside of the box is the dino "belly"
enclosed play area, and the top of the box forms the "drivers platform".
The box is all made using 3/4 inch exterior plywood. All of the joints are
reinforced with 2X2's that are glued and screwed to the plywood. This box
structure is very strong and rigid, and makes for a sturdy play structure.
|
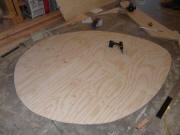
One of the dion sides
just after cutting it out.
|
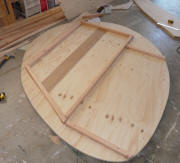
The 2X2 cleats that are
used to glue and screw
the box together with. |
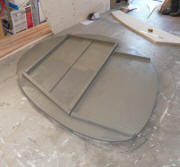
Everything gets a coat
of paint in the shop. |
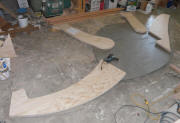
Trail layout of the sides,
neck, and tail slide. |
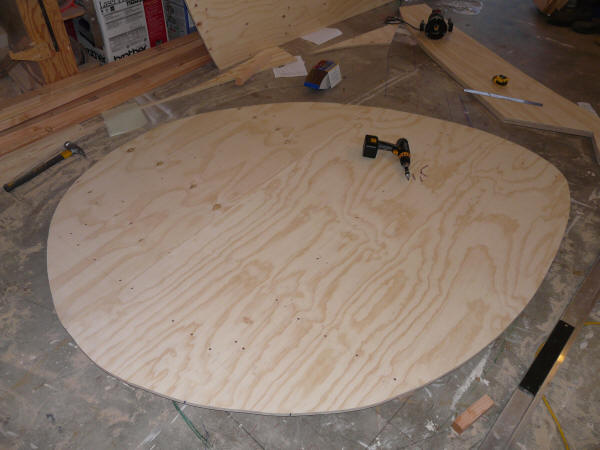
As described in the overall design
section, the dino shape was sketched on the shop floor first. I traced the
dino shape from the floor drawing onto some clear plastic sheeting, then cut the
shape out in the clear plastic, and used this to transfer the shape to the 3/4
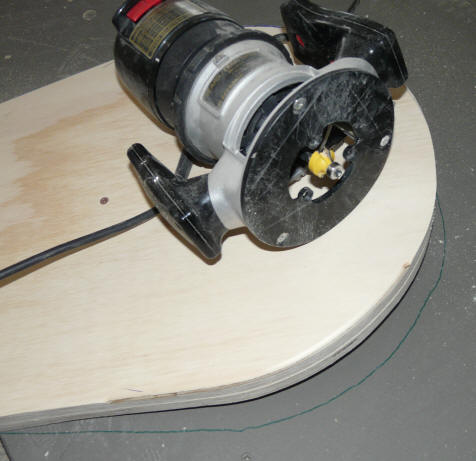
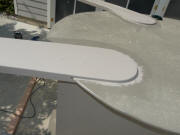
inch plywood. The curved pieces were cut out with an electric saber saw,
then sanded smooth, and rounded over with a router, and then given a final
sanding.
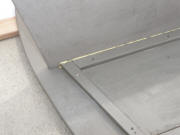
The 2X2 cleats that are used to
connect the body box edges together were laid out and screwed and glued to the
sides. Weather resistant coated deck screws were used along with the glue.
These cleats are essential to make strong edge joints. The edge of the 2X2
that will will be exposed should be rounded over.
Since the exterior plywood is subject
to degradation in outside conditions, I made sure that all of the parts got a
good coat of exterior house paint in the shop. A 2nd coat will be applied
before winter sets in.
On the 2nd picture above, the dino
belly enclosure is toward the top of the picture, and the open "drivers
platform" toward the bottom.
The size of these was determined by
making the making sure that the belly enclosure was big enough for small kids to
get in and play in, and that the drivers platform level was enough below the top
of the side of the dino so that the side makes an effective rail to prevent
accidental falls off the platform.
|

A dino leg in the vice for
smoothing the edges.
|
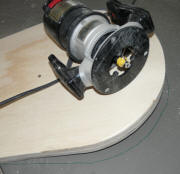
A round over bit in a
router was used to
smooth all exposed edges. |
The three layers of each
dino leg being assembled
so they lap over both sides
of the dino side. |
This shows the middle
lamination of the leg
butting up flush to the
dino side. |
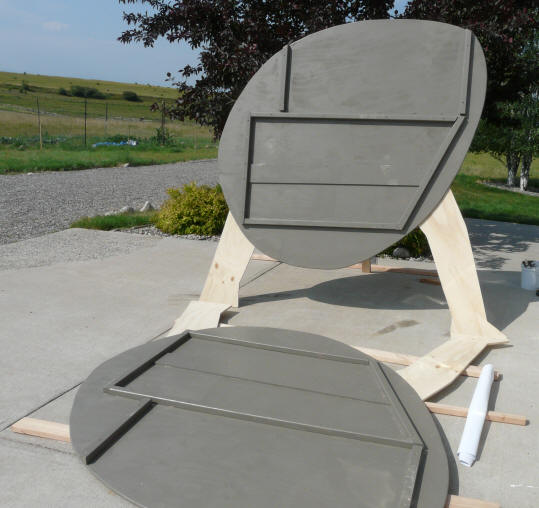
The dino legs are made from three
sheets of 3/4 inch plywood laminated together. The first sheet laps over
the dino side piece on the outside, the 2nd sheet butts flush up to the dino
side piece, and the 3rd sheet laps over the inside of the dino side piece.
So, the dino side is sandwiched between the top and bottom layers of the leg.
The three layers of the leg are
screwed and glued to each other and to the dino side piece with glue and screws.
Makes a very strong leg.
The legs were made so that the dino
has a long "wheelbase" for stability.
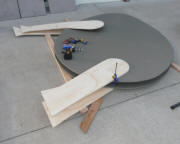
|
The two sides ready for
the center of box
sections. |
Adding the first section
that makes up the center
of the box. This is the
bottom of the driving platform. |
showing the glue and screw
joint used on all of the
joints. Use deck screws. |
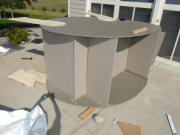
Nearly finished box just before
the front piece is put in. |
The sequence above shows the assembly
of the box. Lay one side down on the ground, and start gluing and screwing
in the pieces that make up the box. For our dino, the box pieces are 4 ft
wide. Once all of the box pieces that make up the belly and drivers
platform are secured to the side on the ground, bring the other side in over the
top -- this is where you will find out how good a job you did of installing the
cleats on the other side -- they should just slide into place -- mine did :)
Glue and screw the top side in place,
and then add cleats for the edges that go across the box, and glue and screw
them. Once this is done, the dino body box is pretty bombproof.
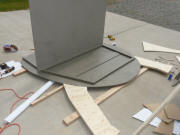
|
Nearly finished box from
the top. |
Showing how the 3 layer
legs lap over both sides
of the dino sides. |
Another view of the
completed box. |

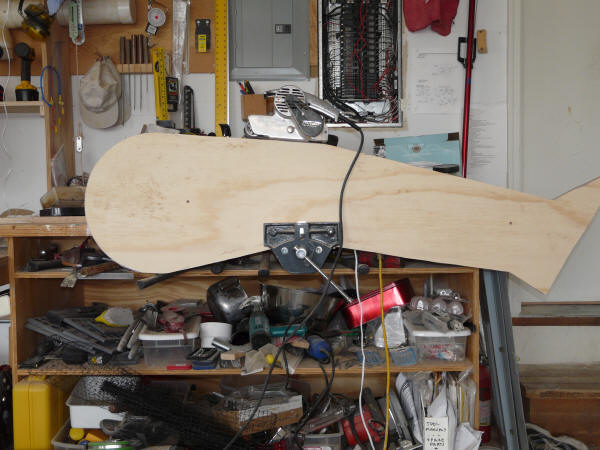
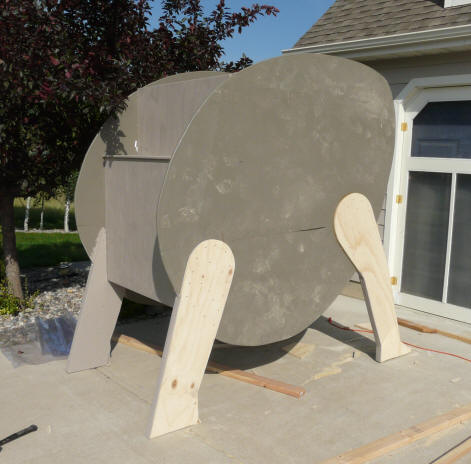
On its feet! |
At this point, finish the legs by
applying the inner layer. Then tip the dino up onto its legs.
It is pretty heavy at this point, and
I used the tractor my neighbor and I share both for the tip up and to carry the
whole thing to the backyard.
The neck and tail slide are added
once its on its footings.
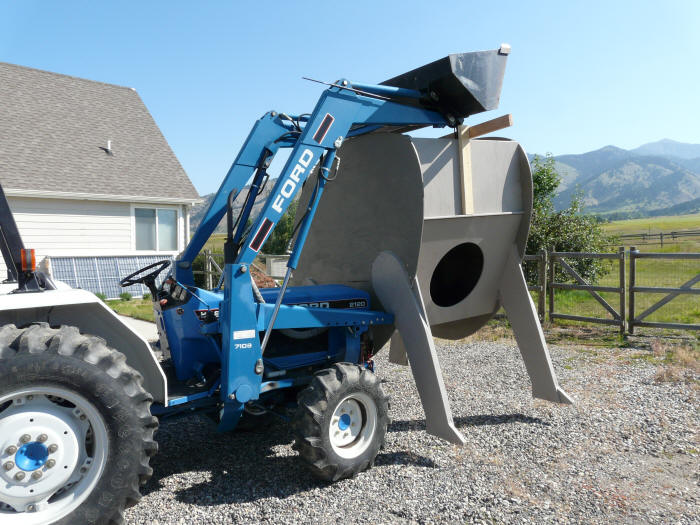
Using the tractor to move dino out to the backyard. I think that 4 strong
people could lift
and carry dino without any mechanical aid, but its pretty heavy.
Gary September 6, 2009