Search
The Renewable Energy site for Do-It-Yourselfers
Building the Dino
Slide
|
Here is detail on building the the slide
for the solar dino play structure.
The slide is made from 3/4
inch exterior plywood along with some Medium Density Overlay (MDO)
plywood.
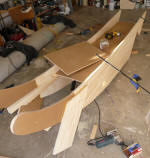
The tail has two sides that
support a sliding surface between them.
The two sides of the tail are
made fairly deep (about 18 inches at the thickest) so that they form a
beam that is deep enough to support the slide and sliders.
As with all the parts on the
dino, all of the exposed edges are rounded over with a router, and then
sanded smooth. |
|
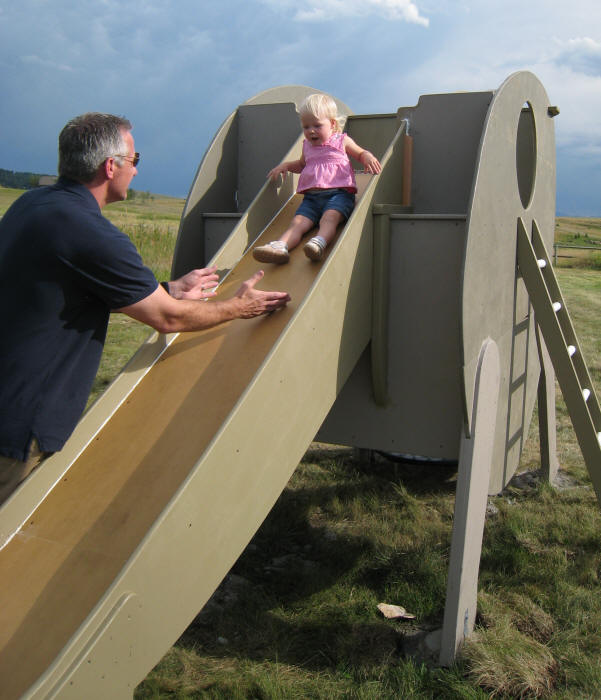
Our slide has a slope of 7.5 vertical
inches in 12 horizontal inches (27 degrees). This is a number I picked up
off some of the slides we visited, but either I measured wrong, or the waxed MDO
is slicker than most slides. Our slide turns out to be a bit of a rocket.
I lengthened the legs on the bottom a
bit to take a little of the grade out, but its still pretty fast. But, the
kids think its great!
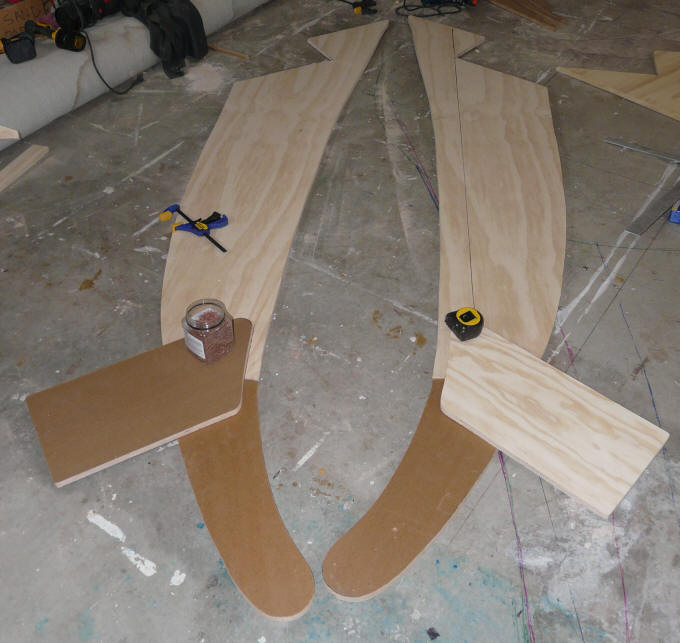
To transfer the shape of the tail
from the drawing on the shop floor, I laid some clear vinyl I had around over
the floor and traced the slide on the vinyl. I then cut out the tail shape
from the vinyl, and then traced around the vinyl onto the plywood.
The slide is long enough (114 inches)
that two pieced of plywood are spliced together to make it. A combination
of the bottom legs and the sliding surface supporting 2X2's hold the spliced
pieces together.
Click on pictures for full size
|
The two sides of the
tail that support the
slide. |
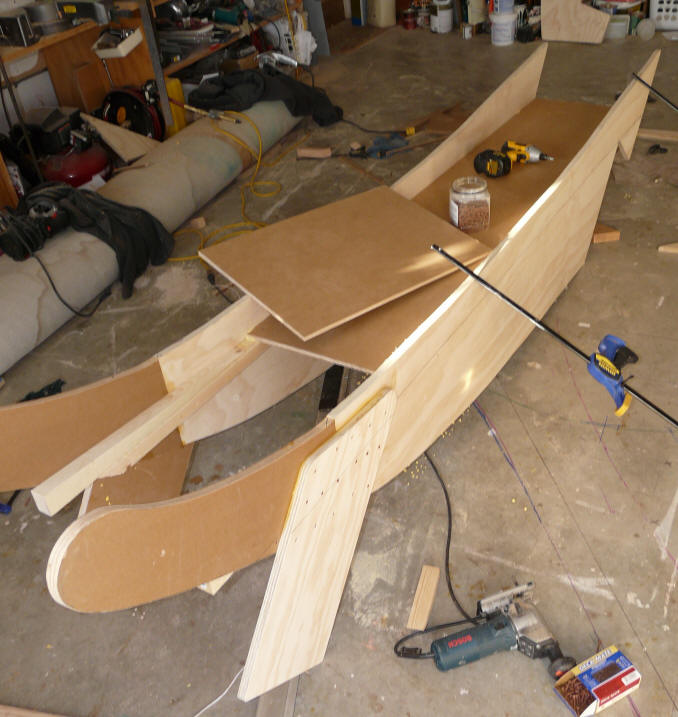
The support legs on the
bottom of the slide. |
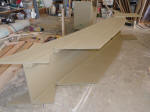
Installing the slide
running surface |
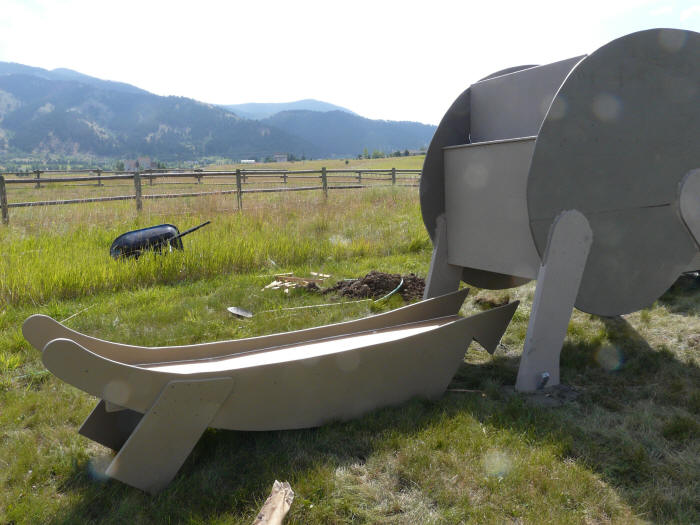
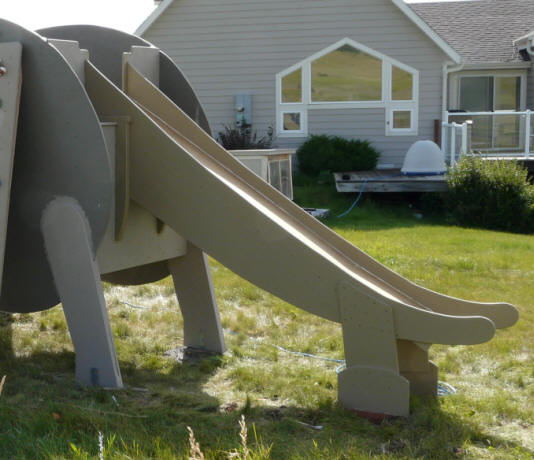
Slide finished and
ready to install. |
The MDO plywood is used for the slide
sliding surface because it its nice and smooth, and it does very well in outdoor
environments (its used for freeway signs in some areas). To make it a bit
slicker and protect it without painting it, I waxed it, and this may have been
overkill, as it is pretty fast.
The slide is attached to the two side
pieces and supported by 2X2's running down the sides. Everything screwed
and glued -- make sure all the slide surface screws are flush.
|

Ready to put the
slide in place. |

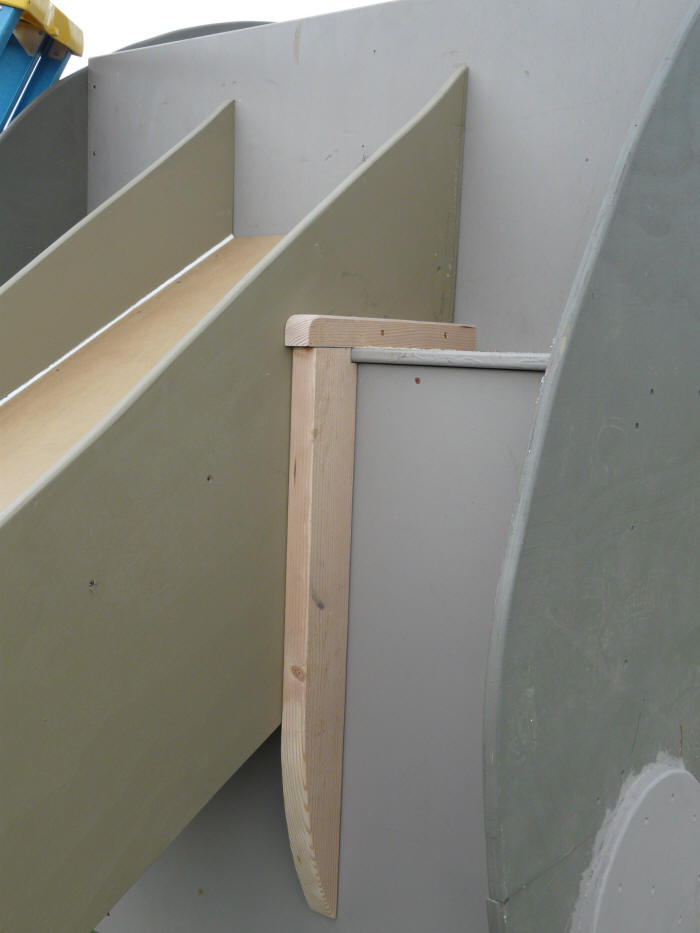
Shows the attachment of the
slide to the dino body.
|
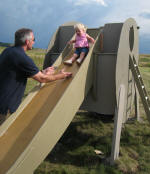
Finished slide -- note
cutout in upper wall for
slide access. |
The slide fastens to the dino body as
shown in the pictures. The 2X2 attachments are secured with screws only so
that the slide can be removed easily.
A rectangular opening is cut in the
back wall of the dino "driving platform" to make it easier to get on the slide.
Be sure to check for anything that
sticks up on the sliding surface.
The top of the slide side rails are
rounded over, then sanded smooth with fine sandpaper, ad then waxed to avoid
splinters in hands.
Gary September 5, 2009