Search
The Renewable Energy site for Do-It-Yourselfers
A DIY Thermosyphon
Water Heating System
System schematic -- Thermosyphon Solar Water Heater
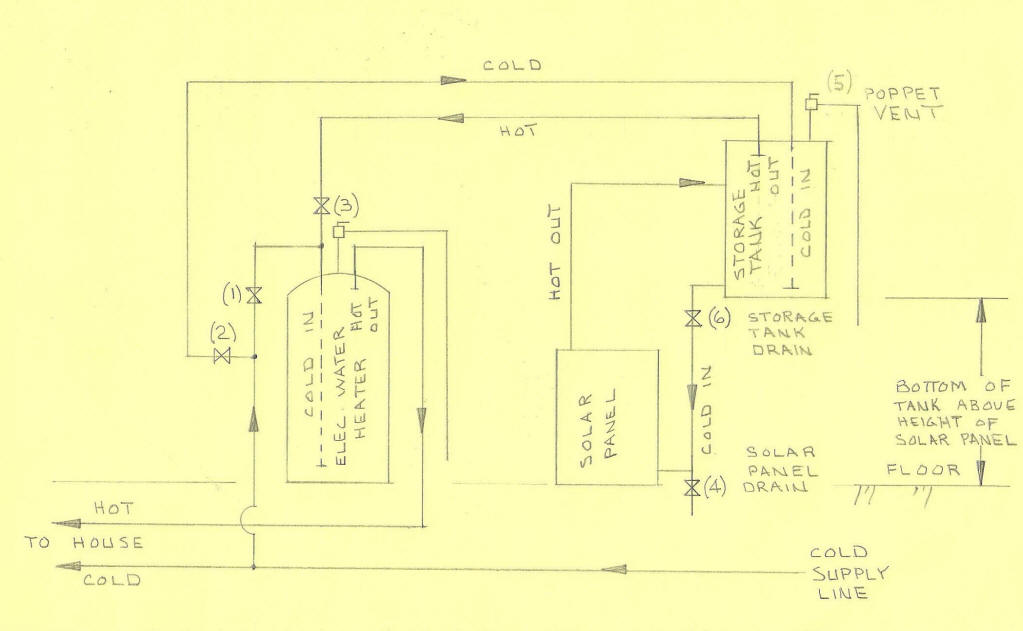
As shown in the schematic, when sun
is on the Solar Panel, the water in the panel is heated, becomes less dense and
rises up into the Storage Tank. The heated water leaving the panel is
replaced by cool water flowing from the bottom of the Storage Tank into the
lower connection on the collector. This continuous natural circulation of
the water through the collector and tank heats the tank water over time.
Sun and gravity take care of the
circulating the water, so no pump is needed. Control is automatic, as flow
stops as soon as the collector cools below the tank temperature.
The system as shown here does not
have freeze protection, so it must be used in non-freezing climates, or be
drained for the winter. It is possible to use thermosyphon systems in freezing
climates by circulating antifreeze through the collector and using a heat
exchanger to transfer the collected heat to the storage tank, but this does add
some complexity.
Building the Collector
I used a roll of aluminum 10 " wide,
which I cut to length and fit under the tubes. I then added the fins over the
tubes and roll aluminum. This fin design seems to give better heat
absorption. This is all held together with stainless steel screw and washers.
There is a 3/4 insulation sheet
behind the plywood and another thinner plywood on the back to protect the
insulation sheet.
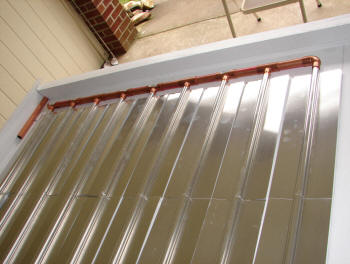
There are two sheets of sun tuf
corrugated polycarbonate on top.
|

The collector box/frame |
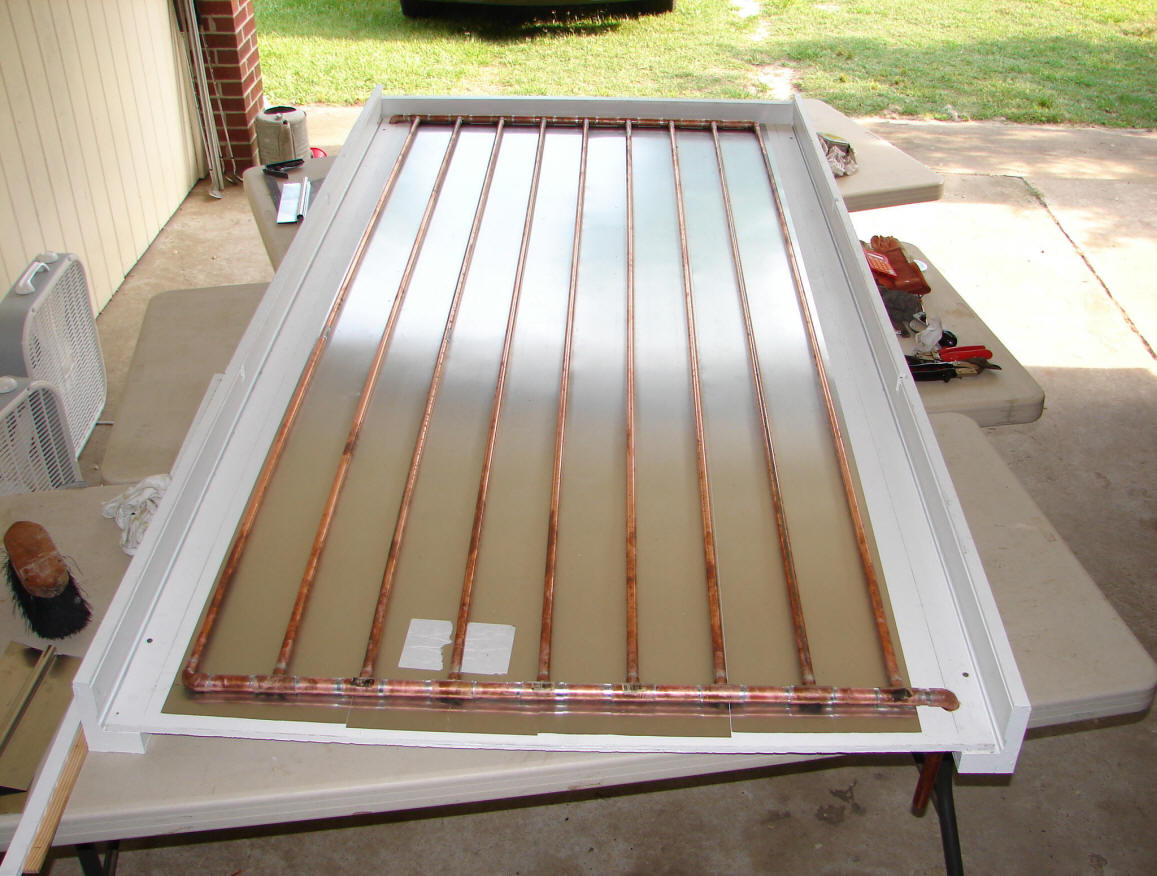
Collector manifold using 3/4 by 1/2 inch
reducing T's to adapt from 3/4 inch manifold
to half inch risers. |
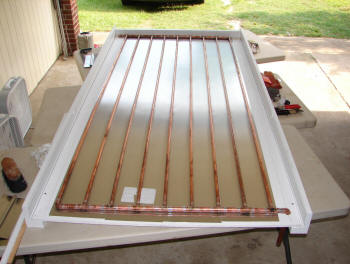
The copper grid was first laid down over
aluminum sheet metal. The fins with grooves
to fit over the copper tubes where then
fastened down with stainless steel screws. |
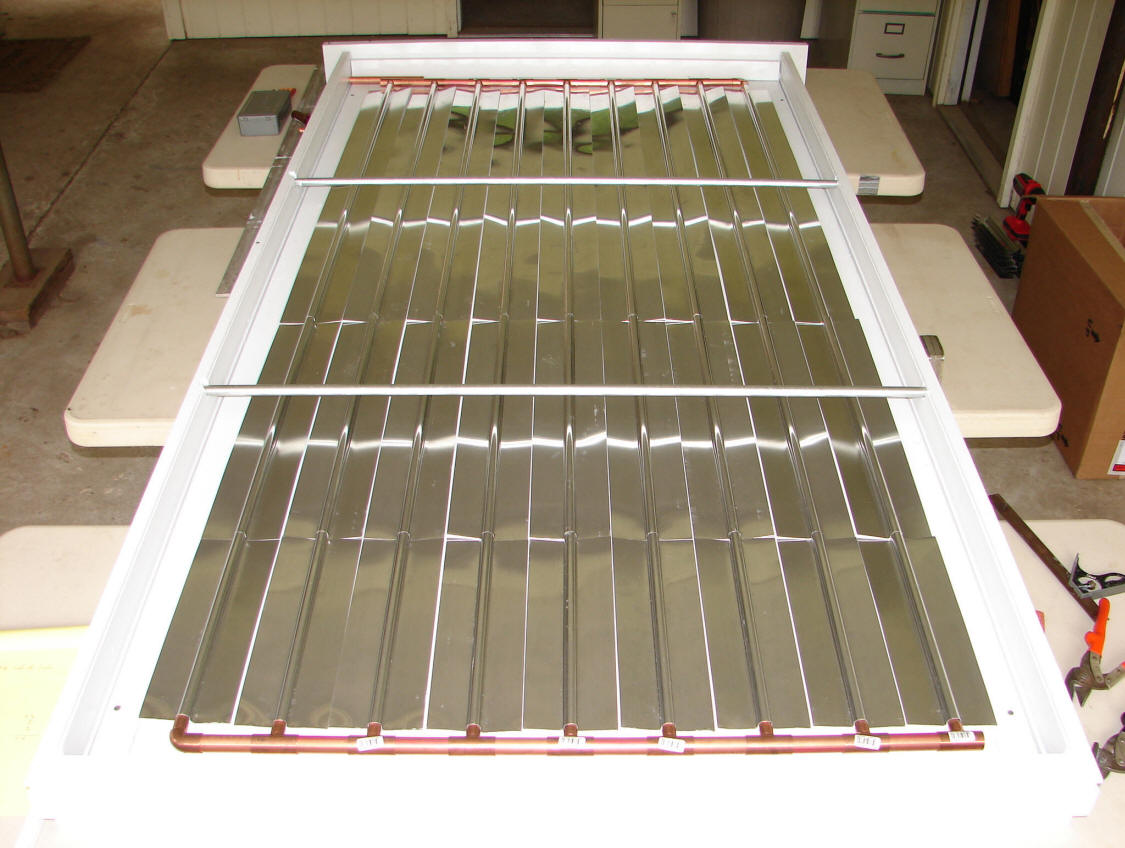
|
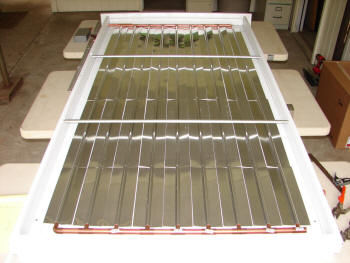
In this picture, the grooves have been formed in
the fins, and the fins have been pressed on over
the copper pipe grid. |
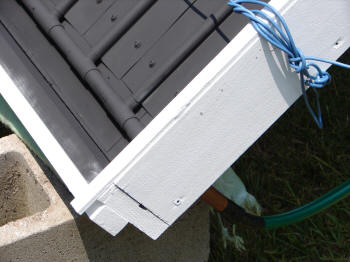
Detail showing 1) flat alum backing strip under tubes,
2) grooved aluminum fin over tubes, and 3) the
stainless steel screws and washers
holding it all together.
(note that the blue wires and support block were
for a test and are not part of the finished collector) |

The absorber painted with flat black high temperature
BBQ paint. Ready for glazing. |
For more more construction details on on a similar type of
collector
construction here... and
here...
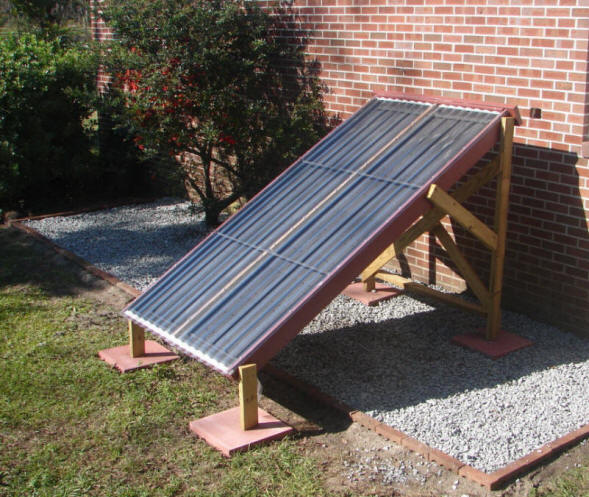
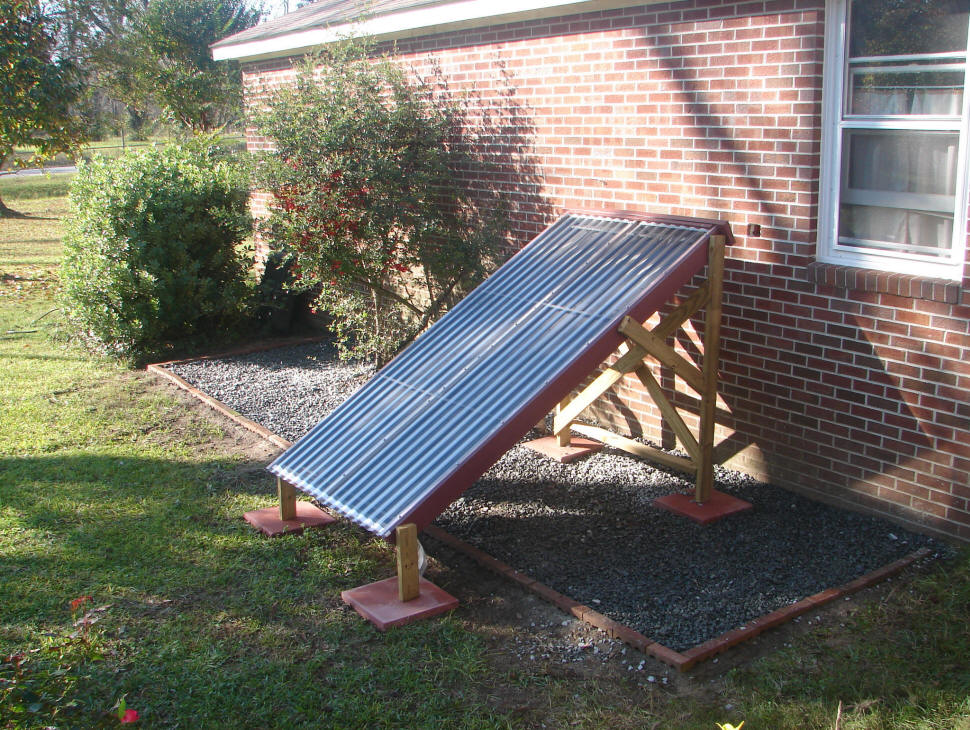
Collector Installation
|

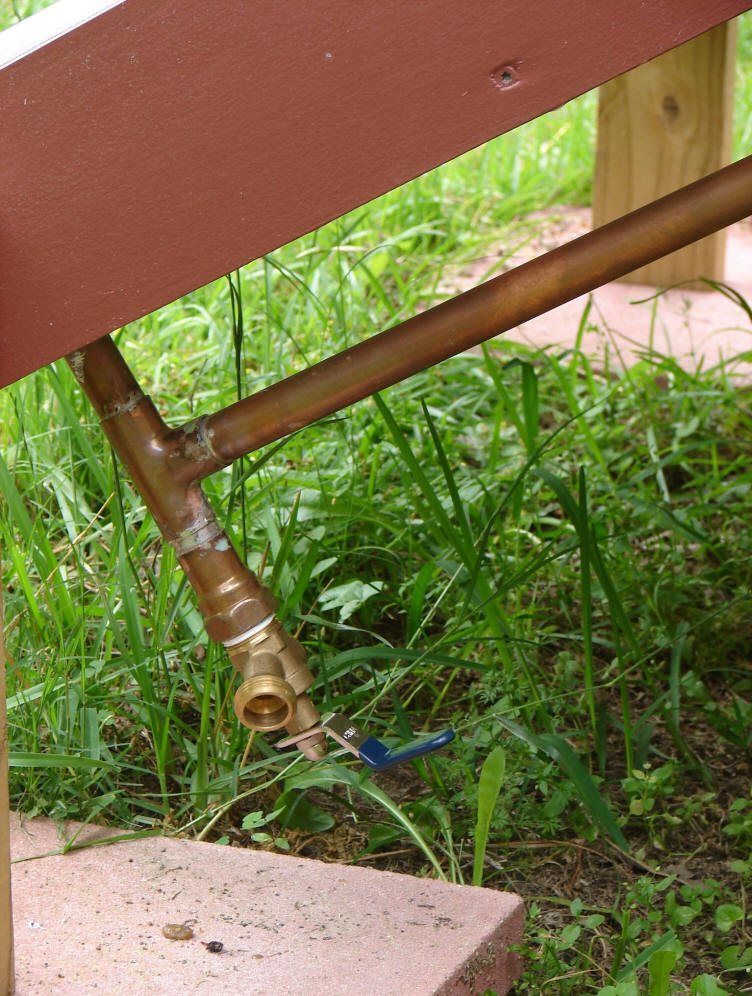
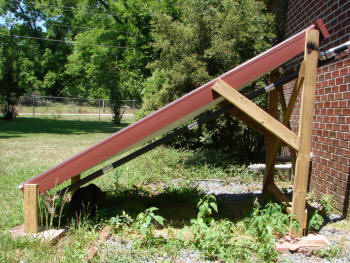
Outside plumbing for the collector.
Note that all the plumbing slopes up toward
the storage tank (which is just behind
the wall and above the collector)
Especially in cold climates, insulating the
pipes would be a good idea. |

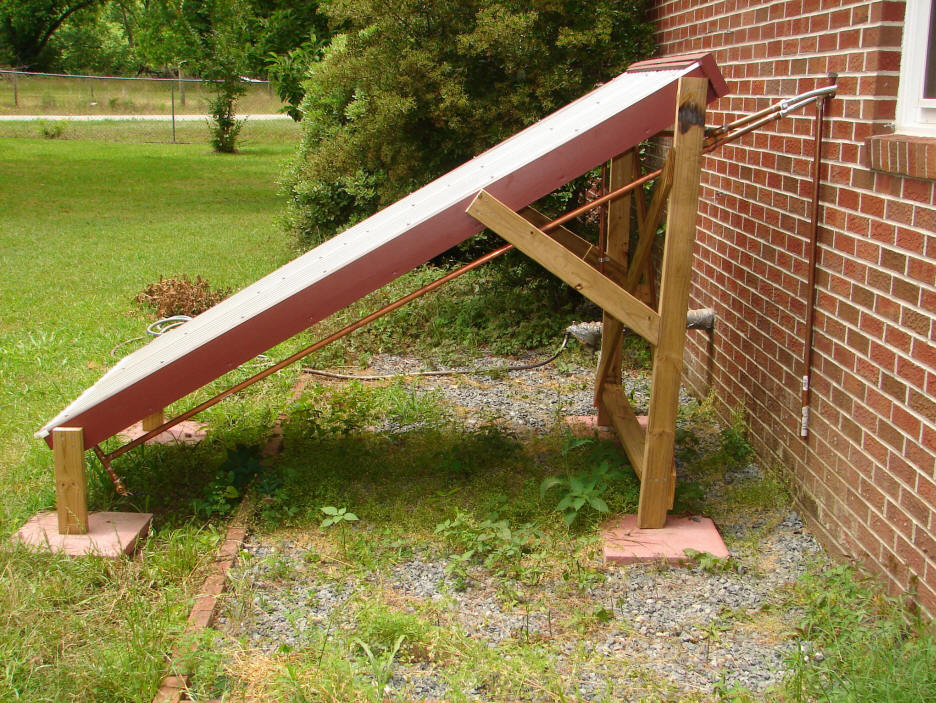
Flex pipe thru wall in case panel should move. |

A valve at bottom of collector allows
collector to be drained for freezing weather. |
|
 |

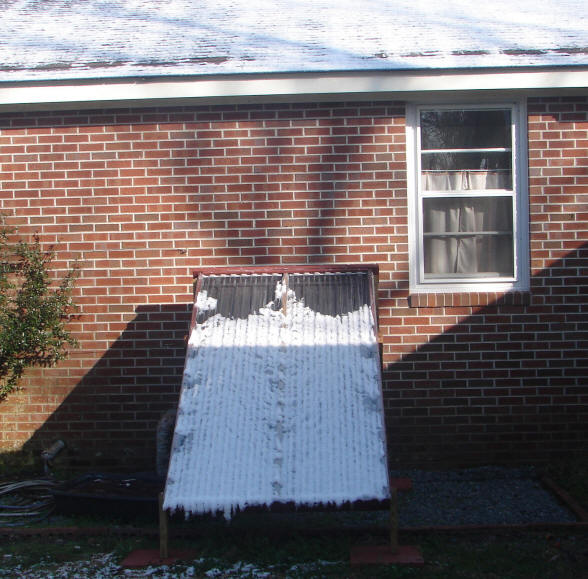
The panel is drained for snow and freezing temperatures. |
Some more pictures of the finished
collector.
Storage Tank and Plumbing
The large tank is a new 85 gal elect,
the storage tank is 50 gal. and was my old gas water heater tank. The shut off's are
shown with the elect. heater in use only. When I move the three shut off levers
then hot water will flow from the storage tank into the cold side of the electric
tank. The solar panel gets it's cold water from the old drain outlet on the
storage tank, the hot water from the panel goes into the old poppet valve
outlet. I am installing a poppet valve into the storage tank and the solar
panel, also temp sensing gages on both. There should be no problem with overheating in
the winter but summer temperatures will have to be monitored closely as it can get up into
the 100's here.
Click on pictures for full size
|
|

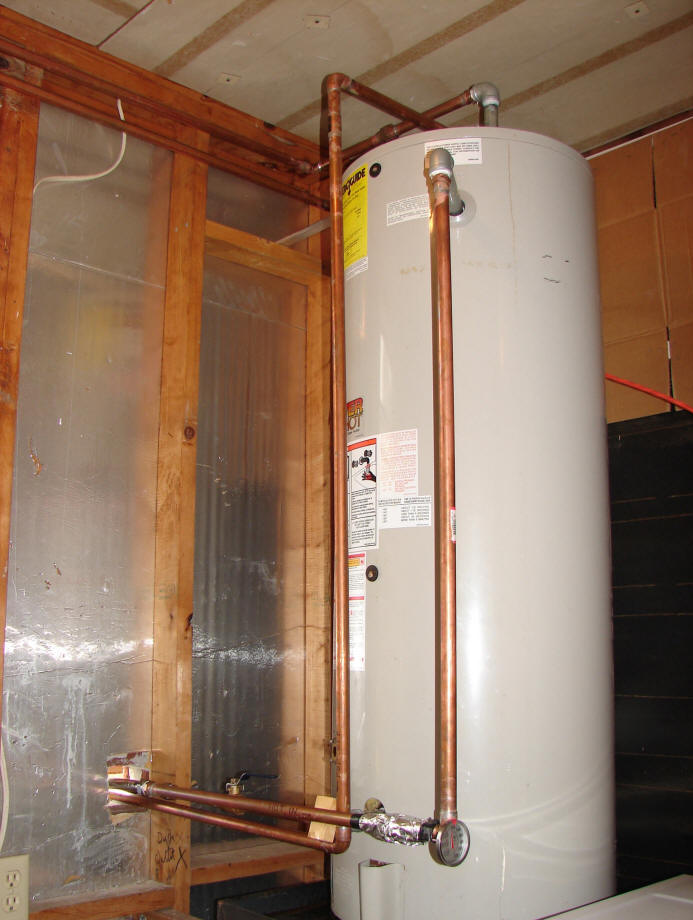
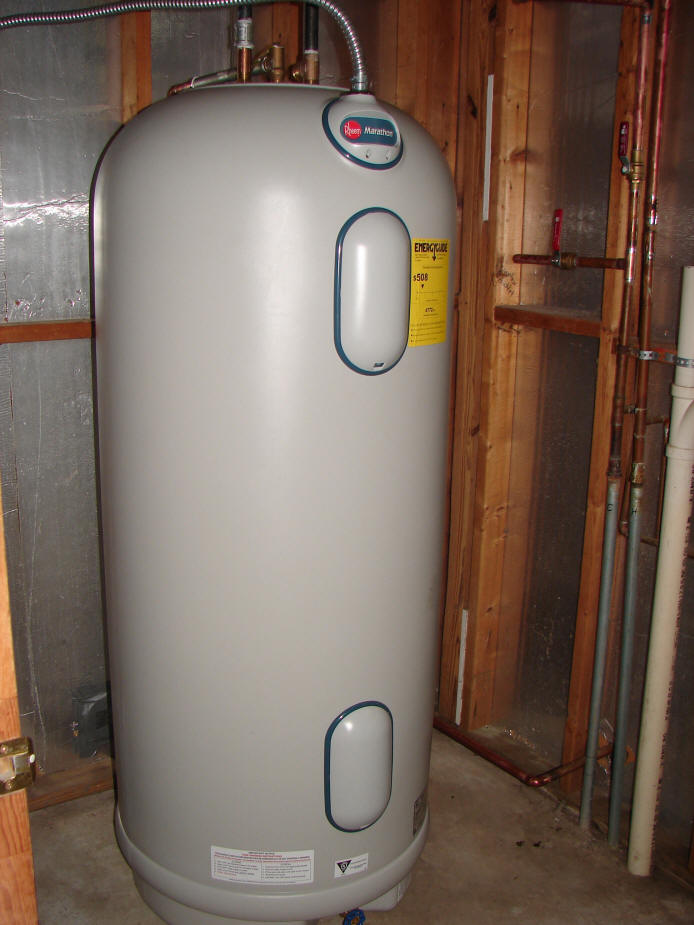
This is the old gas hot water tank that was
converted to a solar heated water
storage tank. |

The solar storage tank for a thermosyphon
system must be located above the collector
for thermosyphoning to occur. |
|
The pictures above show the hot water
storage tank that is heated by the collector, which is located just on the other
side of the wall where the two pipes go out. For thermosyphon systems, the
collector must be located below the tank level, and the plumbing lines must
slope upward from the collector toward the tank in order to establish the
thermosyphon flow.
Click on pictures for full size
|
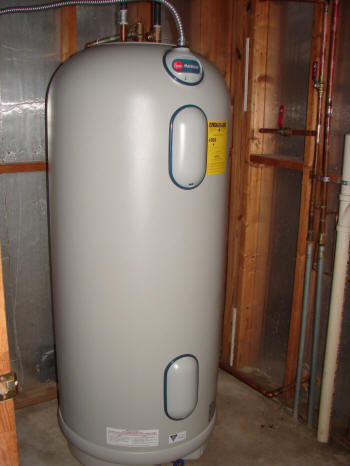
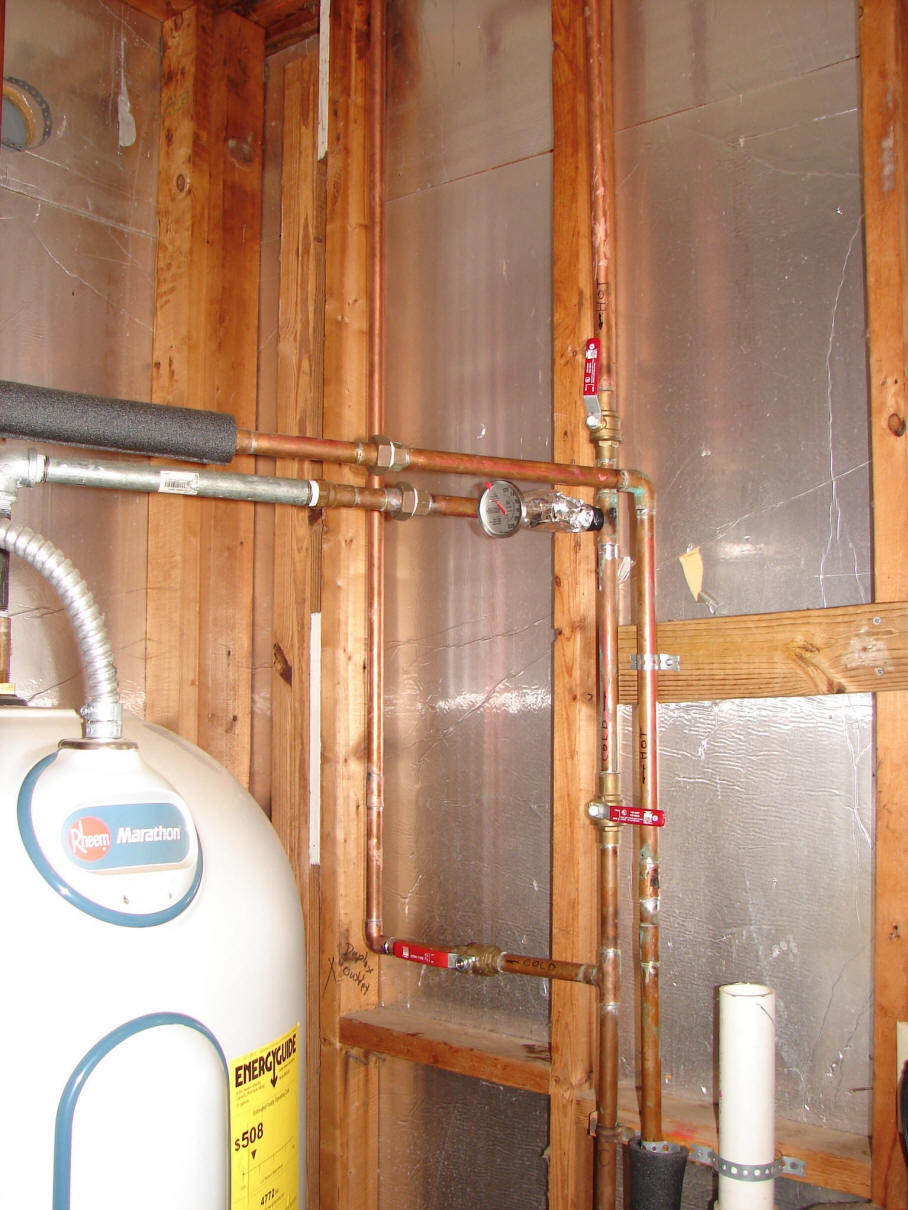
The new electric backup tank. |
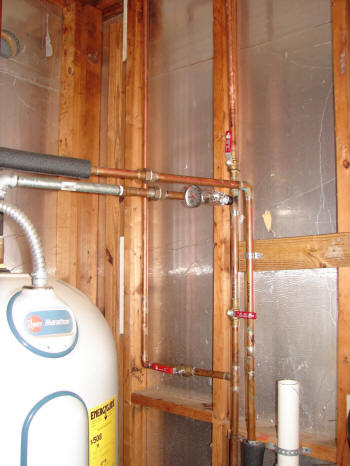
The three valves to control whether thermosyphon
solar
water heater is in or out of the system. |
The pictures above show the new
backup hot water tank. Preheated water from the solar storage tank comes
into the cold water inlet for this tank. This backup tank provides any additional
heat that may be required to get up to the target temperature.
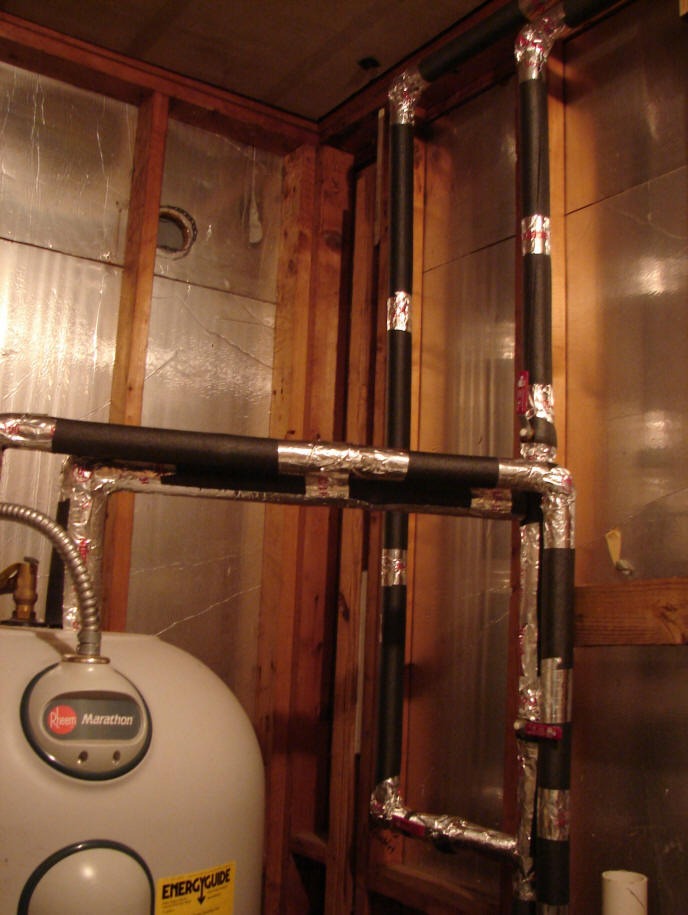
Today I insulated all the pipes in
the system inside and outside with poly pipe insulation and alum. tape. I plan
to add a thermal blanket onto the storage tank tomorrow. This should keep any
heat from getting out of the thermosyphon heating system.
|
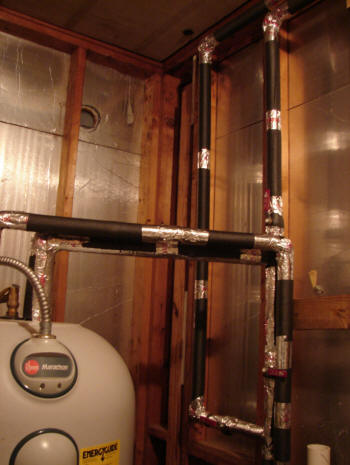
With insulation applied to all the plumbing runs. |
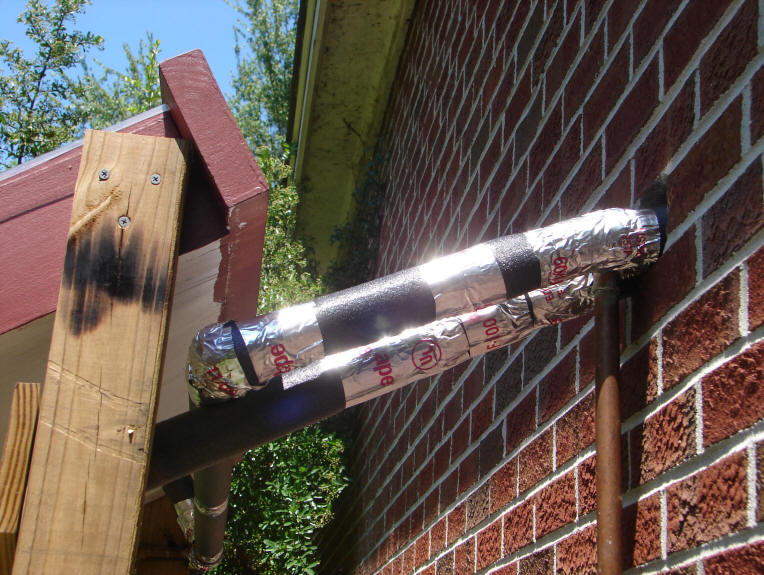
The newly placed insulation on the
outside lines from the collector to the tank. |
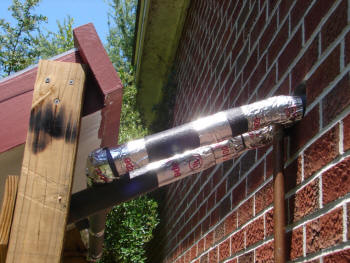
Insulation close up. |
Results To Date
Finally got thru our winter and back
onto my hot water system. It has been up and running for about a week and
performing just great. The temperature is usually around 140 degrees going into the
storage tank. Temperature holds all night. The elect. tank is turned off and we have
hot water to do dishes, clothes, and showers. Completely automatic.
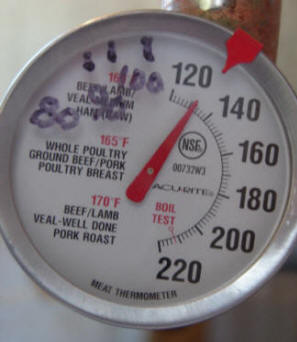
Hot Water !!
The outdoor temperature here has been
in the upper 80's and low 90's. I will let you know if higher temp in July /
Aug. have much effect on the water temperature.
Update
August, 2011
These are some updates and
suggestions from Lonnie after about a year of operation:
| |
Gary:
I continue to get e-mails on the Thermosyphon system from all
around the world. Just wanted to thank you for the great site at
build it solar. System is working and has had no problems.
Several things I did not mentioned in the article, that are
extremely important:
- The solar panel must be tilted to an angle equal to
builders latitude.
- No air can be in the solar panel line.
- The bottom of the storage tank needs to be above the
solar panel.
These question have come up from the e-mails I have received. I
have received question about using diesel truck gas tanks, PEX
tubing, insulation and many others from Africa, South America,
France and some places I have never heard off.
Thanks again,
Lonnie
|
Lonnie
May 26, 2010
Lonnie will answer email questions
at: lh.smith93 AT yahoo DOT com (replace AT with @ and
DOT with a period)

Casey -- supervising the work.
Gary May 26, 2010