Search
The Renewable Energy site for Do-It-Yourselfers
Knick's Solar
Water Heating System -- Tank, Plumbing, & Controls
|
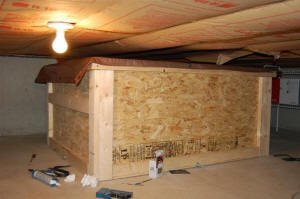
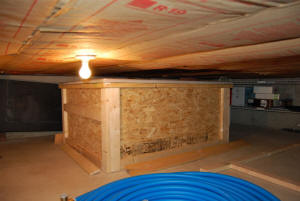
The tank is basically a reinforced OSB
box that is lined with insulation board and then EPDM rubber sheet.
The lining is a single piece of EPDM rubber sheet with no seams -- it
provides a very long life, high temperature, waterproof tank lining.
Water is pumped directly from the tank out through the collectors, and
then returns back to the tank. When the collector cools below the tank
temperature, the controller turns the pump off, and the water in the
collector drains back into the tank for freeze protection.
A large coil of 1 inch PEX pipe is immersed
in the tank, and cold water on its way to the conventional hot water
tank is preheated by passing through the large PEX coil. The PEX
coil acts as both a heat exchanger to preheat the water, and storage for
about 10 gallons of preheated water. The existing water
heater is retained for those times when solar cannot fully heat the
water up.
The combination of a large capacity tank and
the large collector area allow for making enough hot water on sunny days
to last through several cloudy days.
|
|
Building the Tank
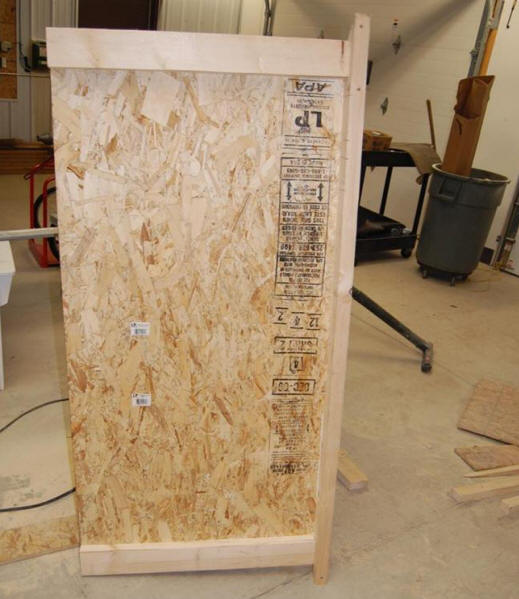
The tank for the system is a simple box made from OSB with a 2X4 frame.
The tank is insulated inside, and is lined with a single sheet of EPDM rubber.
click on pictures for full size
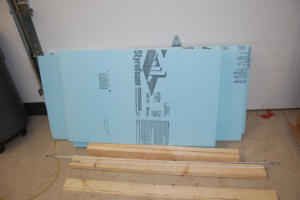
Some the tank parts. |

Side of tank standing on end. |

Tank corner detail. |

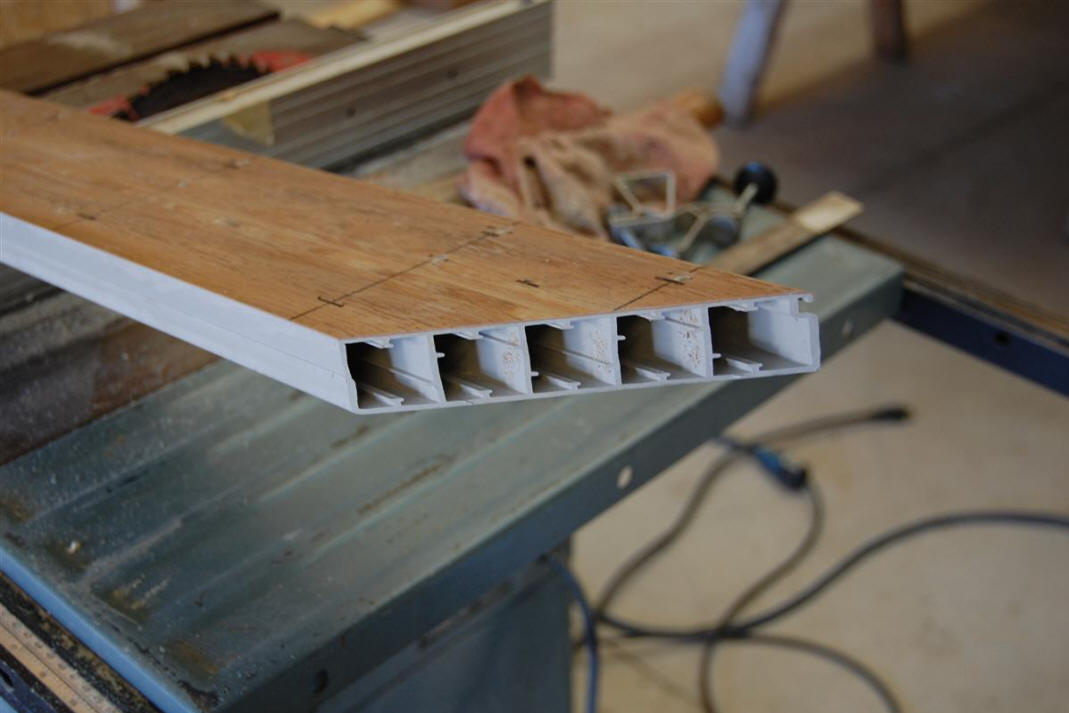
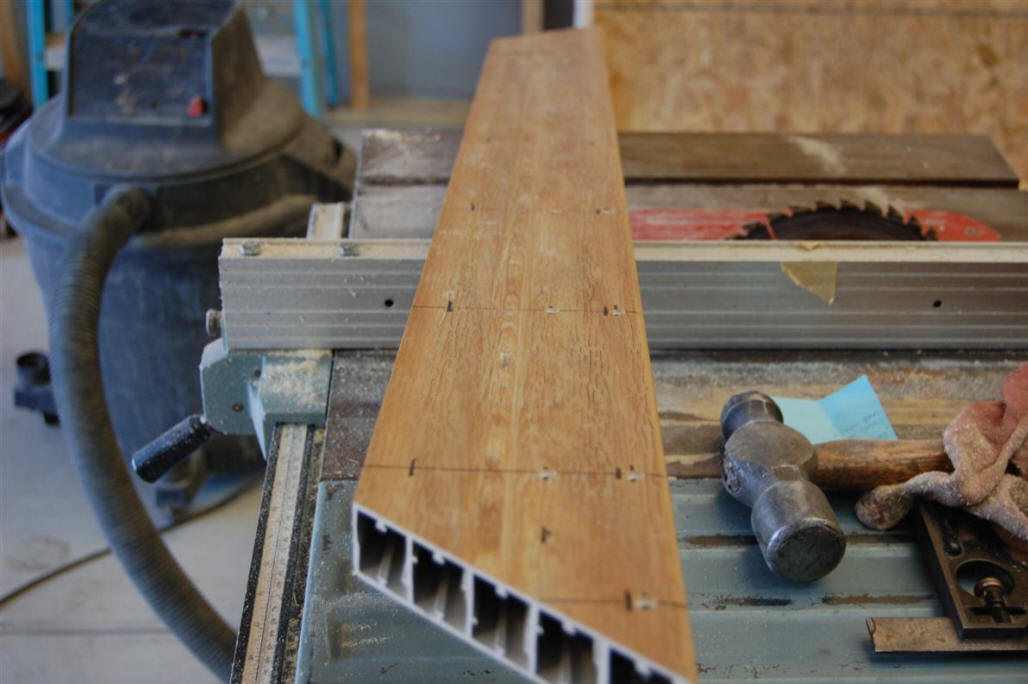
Plastic decking cut on 45.
I should have just butted the two pieces together. |

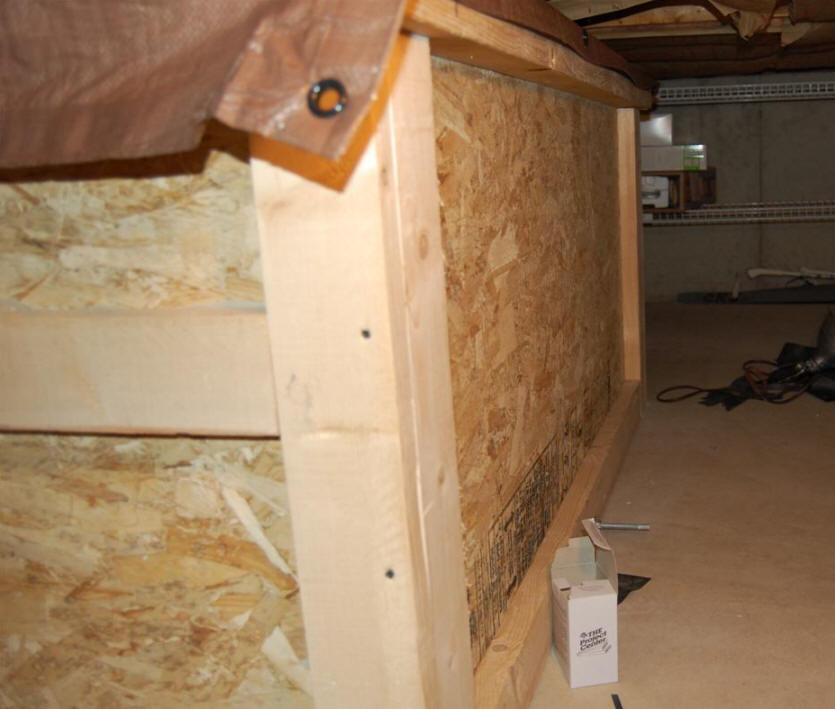
I got these plastic deck wood tank edge
boards from the building supply -- $10 for
24 ft. The plastic wood holds up better than
wood when exposed to the warm tank water. |

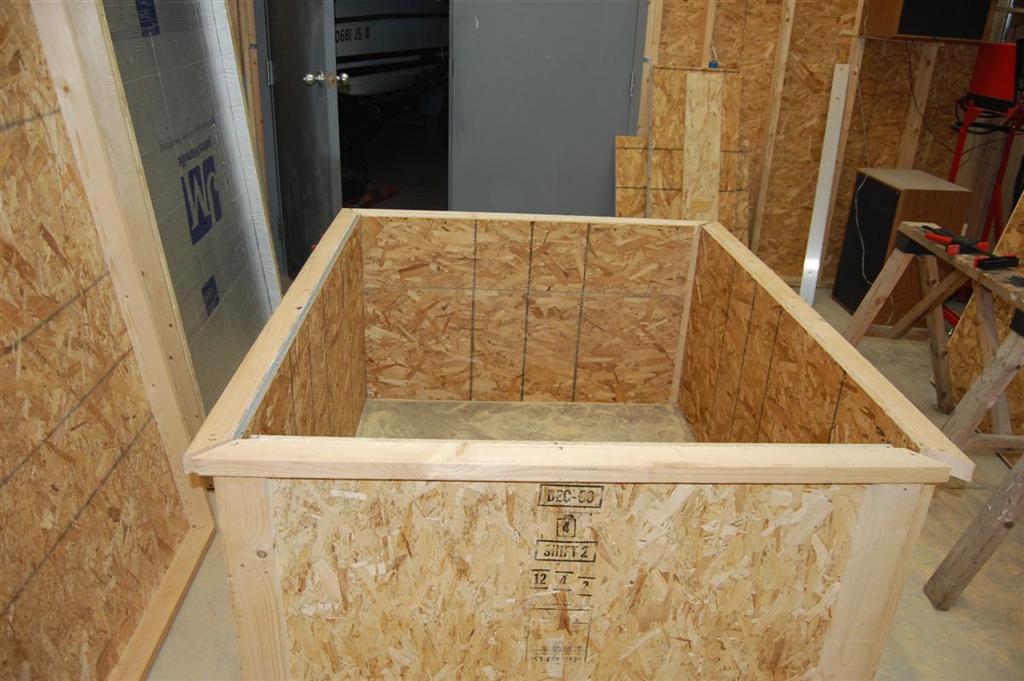
Test assembly of the tank before it goes
into the crawl space. |
Once the tank frame and walls are in place, the inside of the tank is first
layered with foam board insulation. Then the EPDM rubber sheet liner
installed as a single piece. The single sheet of EPDM is folded kind of
like a Chinese food take-out box so that it forms a liner with no seams.
The EPDM liner is brought up over the wood top frame, and then is held in place
by the pieces of plastic deck wood shown above. The lid (see below) them
seals to the top of the plastic deck wood.

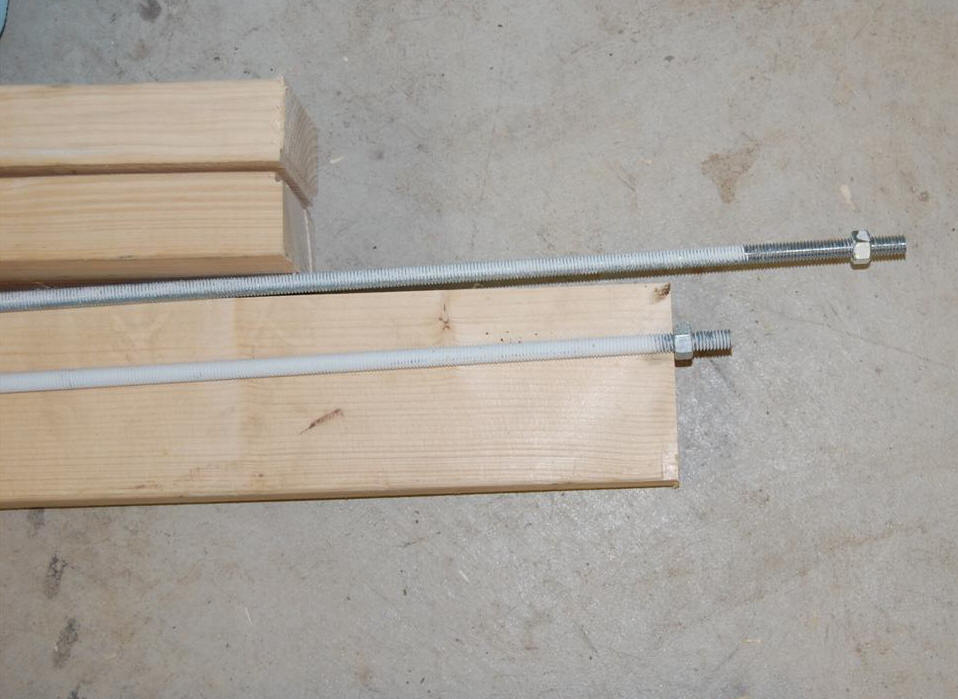
Threaded rod to hold bottom and ends
together. |
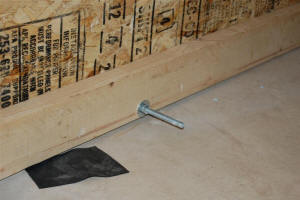
I ran the threaded rod from one side to the
other to help hold the bottom. |
Grooves cut in the bottom insulation board
for the threaded rods. |
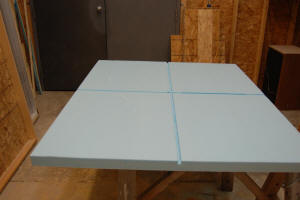
Lid

Dar helped with applying the EPDM sheet
to the lid. This is a lot easier with two people. |
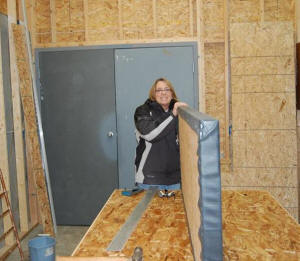
I caught her off guard, she looks pretty happy! |
Lid with EPDM applied |
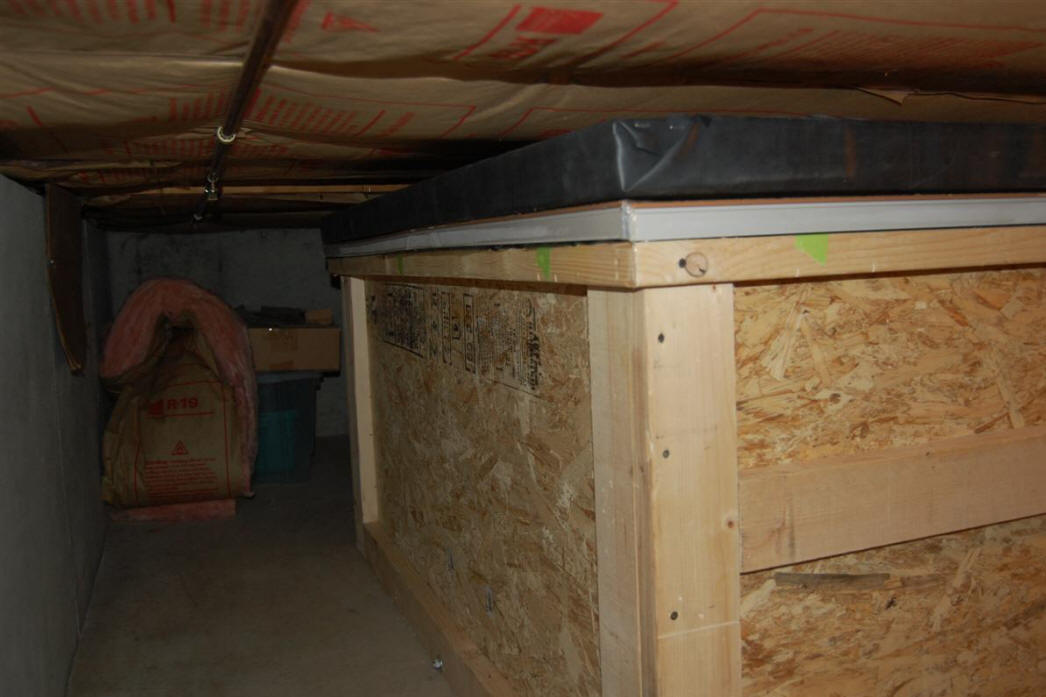
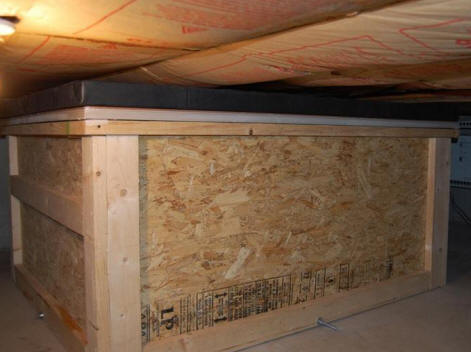
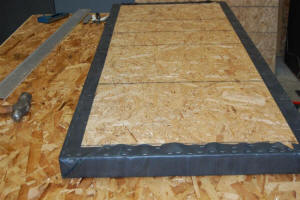
Putting tank together in crawl space. |
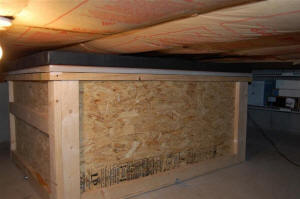
Finished tank with lid just sitting on tank. |
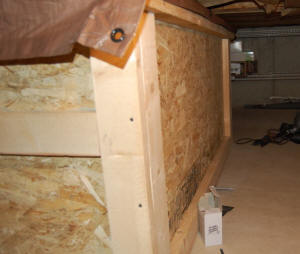
Side view of the tank. |
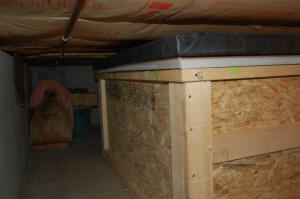
The lid in place on tank. |
|

I will apply shims between the joist and the
lid to hold the lid tightly in place. |
The pictures just above show the lid in place on top the plastic deck wood
sill. The lid must be pressed down tightly enough so that no water vapor
from the hot tank water escapes between the lid and the sill.
Plumbing

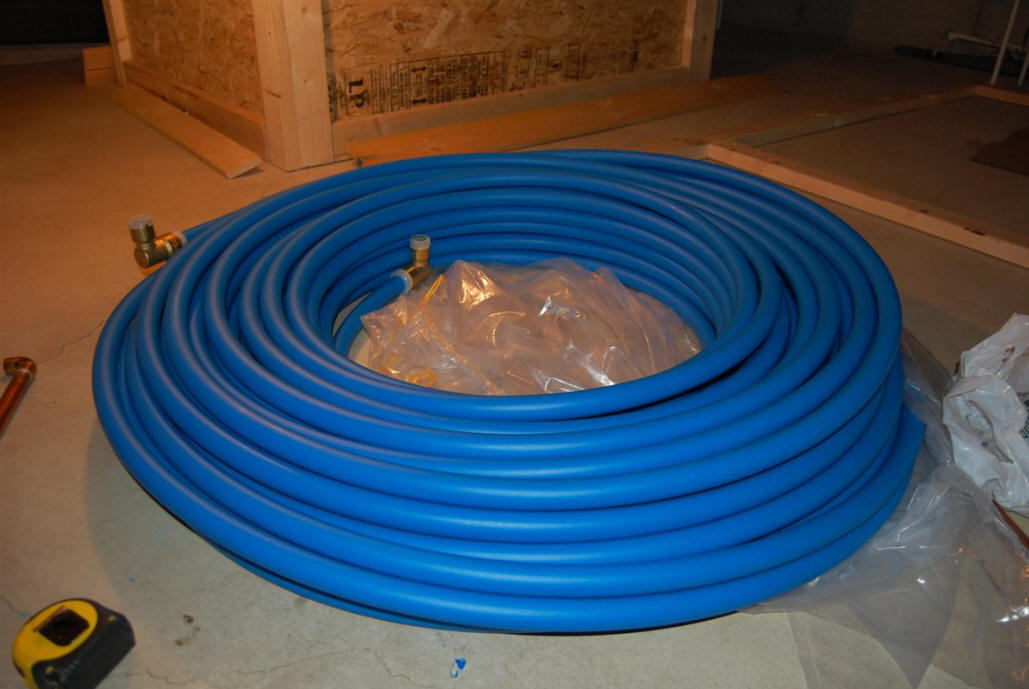
300 ft of 1 inch PEX heat exchanger coil
ready to go in the tank. |

The Watts Fittings seem to work well. I did
not have the 1 inch tool to crimp with
regular PEX fittings. |
I have about 5 inches between the bottom of
the joists and the top of the tank. This will be
a tight fit. |
The pictures above show the 300 ft coil of 1 inch PEX pipe that will be immersed
in the tank water. The cold water on its way to the hot water tank first
passes through the PEX coil and picks up heat from the storage tank. While
PEX is not highly conductive, there is so much surface area in this big coil
that it does well as a heat exchanger. It also holds about 10 gallons of
water right in the coil that is fully heated to tank temperature and will
satisfy most single hot water demands.

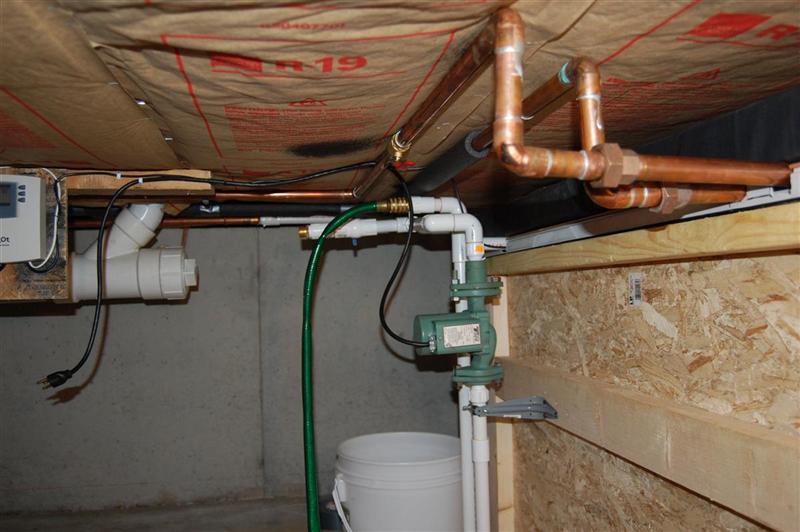
Circulation pump set up.
|
|
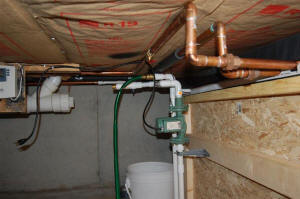
Copper pipes are connected to the 300 ft
PEX coil heat exchanger inside the tank. |
The pump shown above circulates water from the tank through the collector,
and then back to the tank. This type of pump must be mounted below the
tank water level so that the pump stays full of water after a collector drain
back (the pump is not self priming).
The white plastic pipe U-tube arrangement allows the pump casing to remain full
of water after the collector drains back into the tank when the pump shuts down,
and without having any penetrations of the tank liner below the tank water line.
It is very important that the line that returns water from the collector
to the tank terminates above the water line in the tank. This allows air to go up this
line during the drain back process. If air can't get up this line, the
collectors will not drain and could be damaged by water freezing in them.
All the connections to the tank are made through slots in the plastic wood
edge board so that the EPDM tank liner does not have any penetrations. Its
also best not to have any penetrations through the tank lid as this makes it
difficult to remove the lid.
The pump is a taco 007-f4. Purchased on ebay for $28 shipped and with
flanges. I went this route to see how the flow would work. I was going to test
the flow rate but have not as of yet. I may upgrade to a stainless or bronze
later.
Controls
| |

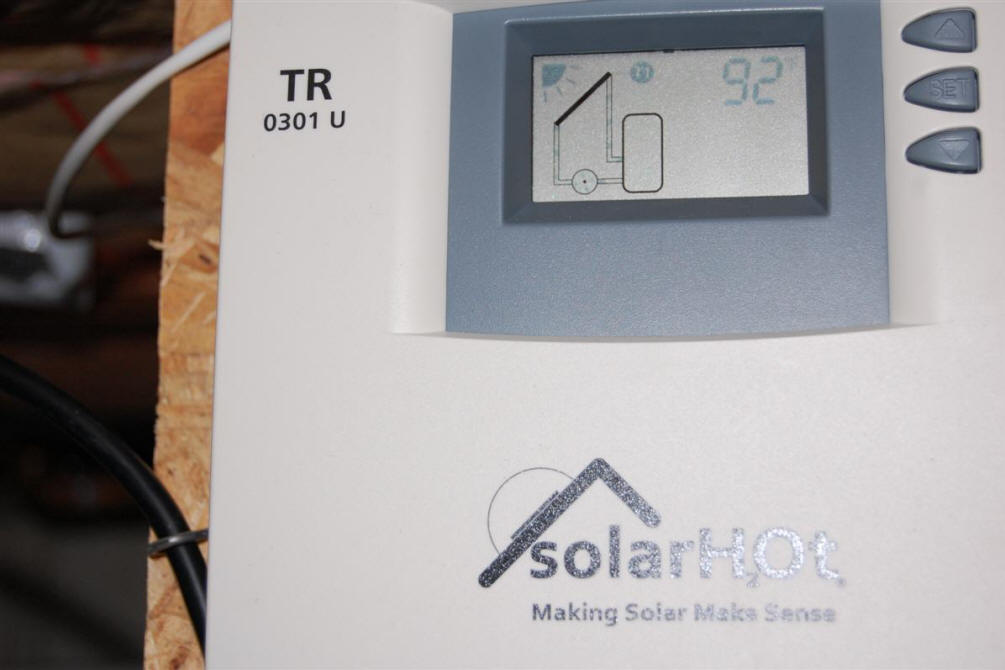
A Steca TR 300 U differential controller is
used to control the pump that circulates
water to the collectors. |
|
The differential controller has one
temperature sensor in the storage tank, and a 2nd sensor in the collector.
It turns the pump on to circulate water from the storage tank through the
collectors when the collector temperature exceeds the tank temperature by a set
amount (usually 12 to 16F). The pump is turned off when the collector
temperature drops to within a set difference with the tank sensor (usually 2 to
4F).
Go on to
the Performance page ...
Go back to index
page...
Gary May 28, 2010